YT Lighting
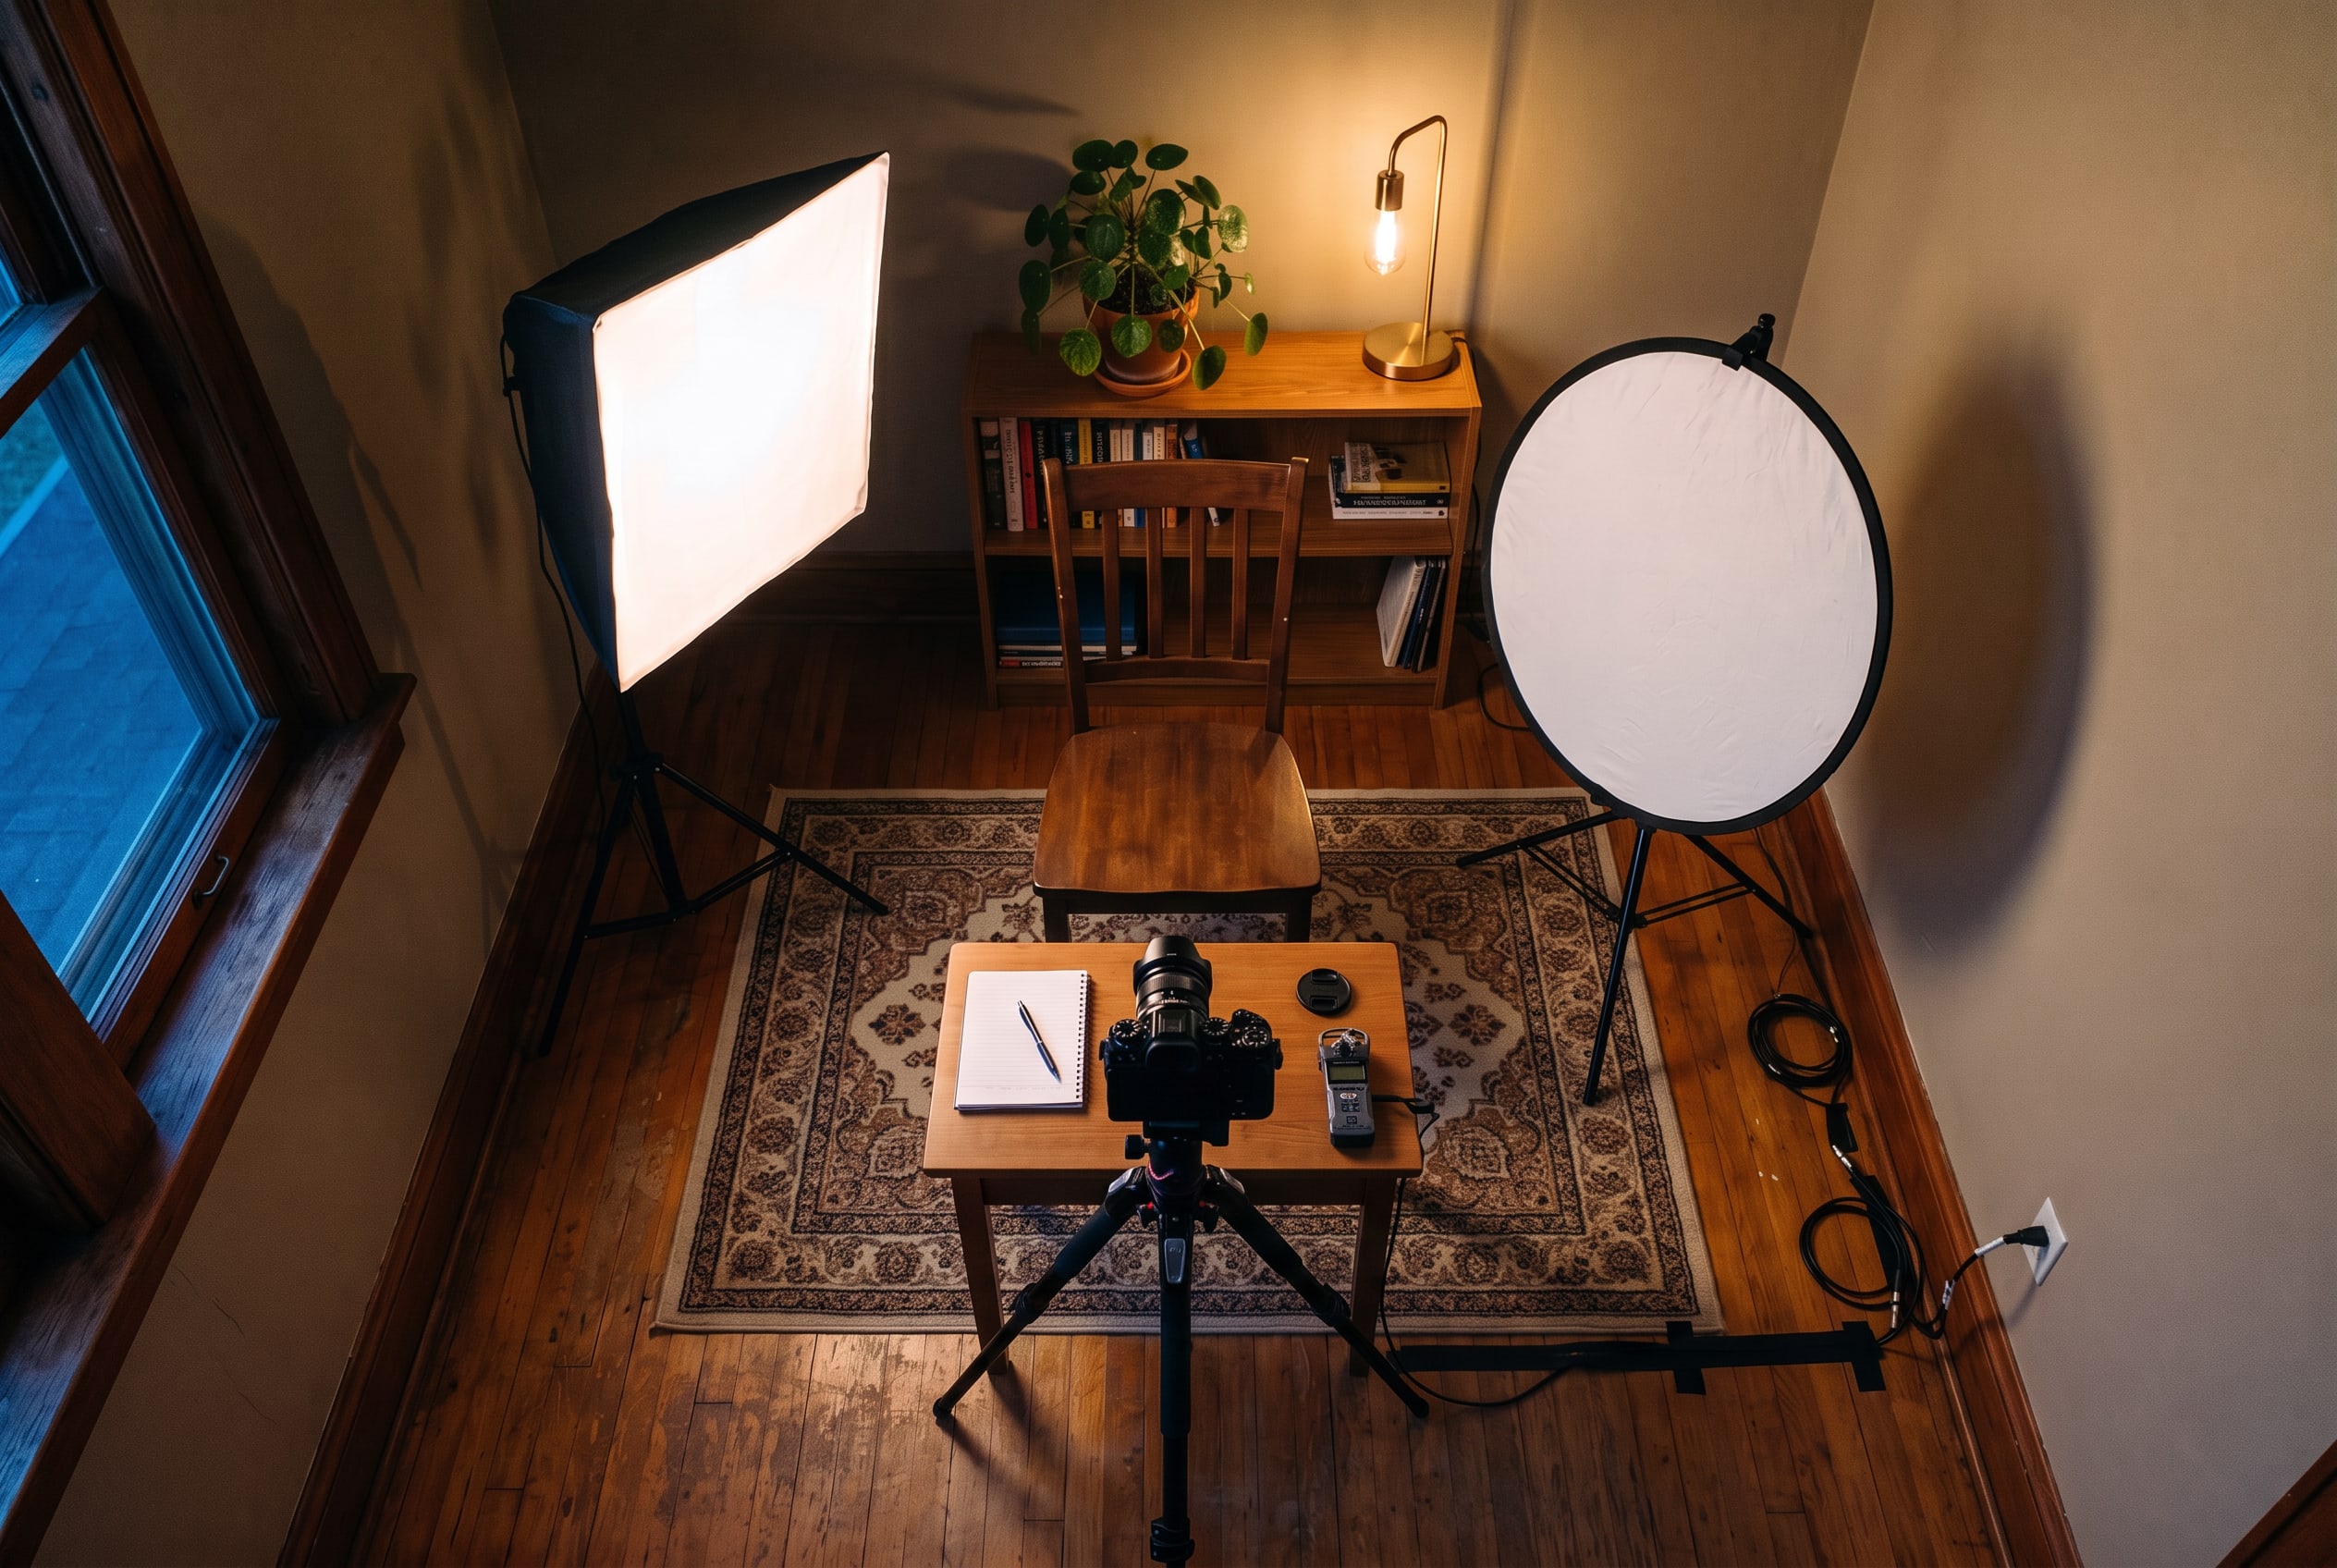
A small home studio seen from above: a chair facing a camera on a tripod, a softbox at 45 degrees to one side, a white reflector opposite and a lamp behind the chair

Free tool

A lighting diagram for the room you film in, with distances, settings and kit

Tell it where the window is, where you and the camera will be and what you can spend, and it draws where each light goes, how far away and how high, with the settings to start from and the kit at three budgets.

  The Light Planner

Plan your light

Eight setups, one for each place you film (at a desk, or out in the room) and each place a window can be: beside you, in front of you, behind you, or none. Each has a top-down diagram, the settings to start from and the kit at three budgets, and the last two sections adjust any plan to your room. Distances are from your face and heights from the floor; seated, your eyes are about 4 ft up. The kit is named by type: the Kit page has the pieces.

Light PlannerYT Lighting
WhereAt a desk
WindowBeside you
Plan1 of 8

At a desk, window beside you

The window is your key light: sit side-on to it, with a white reflector on your other side as fill.

Plan from above: at a desk, window beside you, with the camera, the key, the fill and the back light placed as the list says.LAMPCAMERA · 2–3 FTKEY · THE WINDOW3–6 FTFILL · 2 FTBACK · 6 FT UPYOU4 FT
Plan · seen from aboveDistances from your face

The diagram

  • Camera: on top of the monitor or on a small arm just behind it, lens at eye level, 2 to 3 ft from your face.
  • Key (the window): to your left or right, 3 to 6 ft from you. Angle the desk so the window sits a little in front of you, 45 to 60 degrees off the camera’s line, and the light reaches both eyes. A sheer curtain softens direct sun.
  • Fill: a white reflector or foam board on the side away from the window, 2 ft from you, at face height, tilted toward you.
  • Back light: a small LED panel or tube behind you on the side away from the window, about 6 ft from the floor, aimed at your hair and shoulder, out of frame.
  • Background: a lamp with a warm bulb in a corner of the frame, or nothing: the room behind you falls off into shade.
  • After dark: a soft LED key where the window was, on the same side, 2 to 3 ft from you, its center 1 to 2 ft above your eyes.

Settings to start from

  • White balance 5600K by hand, or a custom white balance off a sheet of white paper held at your face.
  • Switch off the ceiling light: its warmer color fights the window.
  • After dark, the LED key at 5600K and the back light just bright enough to draw an edge on your hair.

Kit at three budgets

  • Up to $100: a 5-in-1 reflector, propped or clamped on the side away from the window (about $25), a sheer curtain (about $20) and a small battery LED panel for gray days (about $40).
  • Up to $300: the reflector and curtain, a desk key light on a clamp arm for evenings (about $180) and a small RGB tube as the back light (about $60).
  • Up to $800: the reflector and curtain, a 60W-class COB light with a 24-inch softbox and stand as the evening key (about $200), a desk key light as fill (about $180), an RGB tube light on a stand as the back light (about $130) and a warm lamp for the background (about $40).

When cheaper is enough: by day the window and the reflector are the whole setup; the lights buy you evenings and gray days.

Watch for: the sun moving onto you during a long recording. Film when the sun is off that window, or keep the sheer curtain closed.

Light PlannerYT Lighting
WhereAt a desk
WindowIn front of you
Plan2 of 8

At a desk, window in front of you

Facing the window gives soft, even light on your face, key and fill at once; the plan adds a back light to lift you off the room.

Plan from above: at a desk, window in front of you, with the camera, the key, the fill and the back light placed as the list says.LAMPCAMERA · 2–3 FTKEY · THE WINDOW3–6 FTBACK · 6 FT UPWINDOWYOU4 FT
Plan · seen from aboveDistances from your face

The diagram

  • Camera: on top of the monitor, lens at eye level, 2 to 3 ft from you, with the window behind it.
  • Key (the window): straight ahead, behind the monitor, 3 to 6 ft from you. Light from dead ahead is flat; if the window is wide, sit a little off its center so one side of your face is brighter.
  • Fill: none needed: light from the front fills itself.
  • Back light: behind you to one side, about 6 ft from the floor, aimed at your hair and shoulder, out of frame. With the window lighting your front, this is what gives the picture depth.
  • Background: a lamp with a warm bulb behind you, so the room isn’t a dark hole.
  • After dark: a soft LED key just above the monitor and a little to one side, 2 to 3 ft from you.

Settings to start from

  • White balance 5600K by hand, or a custom white balance off white paper at your face.
  • Turn the monitor’s brightness down: its glow adds a blue cast and shows in glasses.
  • The back light just bright enough to draw an edge on your hair and shoulders.

Kit at three budgets

  • Up to $100: a small battery LED panel on a mini stand as the back light (about $50), a sheer curtain (about $20) and a warm 2700K bulb for a lamp you already have (about $10).
  • Up to $300: a desk key light on a clamp arm for evenings (about $180), an RGB tube as the back light (about $60), the sheer curtain and the warm bulb.
  • Up to $800: a 60W-class COB light with a 24-inch softbox or lantern and a stand, placed behind the monitor for evenings (about $200), an RGB tube light on a stand as the back light (about $130), a second RGB tube for the wall behind you (about $100), a warm lamp (about $40) and the sheer curtain.

When cheaper is enough: by day the window does key and fill, and a $50 back light is the whole kit.

Watch for: half-open blinds, which throw stripes across your face. Open them fully, or close them and hang a sheer.

Light PlannerYT Lighting
WhereAt a desk
WindowBehind you
Plan3 of 8

At a desk, window behind you

A window behind you turns you into a silhouette, because the camera exposes for the bright window. Turn the desk if you can; if you can’t, cover the window and light your face.

Plan from above: at a desk, window behind you, with the camera, the key, the fill and the back light placed as the list says.CAMERA · 2–3 FTKEY · SOFT LIGHT2–3 FT · 1–2 FT ABOVE EYESFILL · 2 FTWINDOW · BACK LIGHTYOU4 FT
Plan · seen from aboveDistances from your face

The diagram

  • First choice: turn the desk 90 degrees so the window is beside you, and use the plan for a desk with the window beside you.
  • Camera: on top of the monitor, lens at eye level, 2 to 3 ft from you, framed to keep the window out of shot if you can.
  • The window: close a blackout curtain or blind; or draw a sheer, so the window glows behind you and rims your hair and shoulders as a back light.
  • Key: a soft LED 45 degrees to one side of the monitor, 2 to 3 ft from you, its center 1 to 2 ft above your eyes. With the window open, turn it up until you can expose for your face without the window going pure white.
  • Fill: a white reflector or foam board on the other side, 2 ft from you, or a second light at half the key’s brightness.

Settings to start from

  • The key at 5600K to match the daylight behind you, and white balance 5600K by hand.
  • Expose for your face, then lock exposure.
  • With the curtain closed, use the settings of the plan for a desk with no window.

Kit at three budgets

  • Up to $100: a blackout curtain (about $30), a small LED panel on a desk clamp as the key (about $50) and a white foam board for fill (about $10).
  • Up to $300: a blackout curtain (about $30), a desk key light on a clamp arm (about $180), a 5-in-1 reflector for fill (about $25) and a small LED panel to light the wall behind you (about $40).
  • Up to $800: a blackout and a sheer curtain (about $50), a 60W-class COB light with a 24-inch softbox and stand as the key (about $200), a desk key light as fill (about $180) and an RGB tube for the background (about $100).

When cheaper is enough: with the curtain closed, the up-to-$100 kit lights a webcam close up; the brighter lights are for keeping the window open behind you.

Watch for: auto exposure. Lock it, or every time you lean back the camera darkens your face to hold the window.

Light PlannerYT Lighting
WhereAt a desk
WindowNo window
Plan4 of 8

At a desk, no window

All the light is yours: a soft key at 45 degrees, a bounce or fill on the other side, and a light behind you for depth. The same plan lights any desk after dark.

Plan from above: at a desk, no window, with the camera, the key, the fill and the back light placed as the list says.LAMPCAMERA · 2–3 FTKEY · SOFT LIGHT2–3 FT · 1–2 FT ABOVE EYESFILLBACK · 6 FT UPYOU4 FT
Plan · seen from aboveDistances from your face

The diagram

  • Camera: on top of the monitor, lens at eye level, 2 to 3 ft from you.
  • Key: a soft light 45 degrees to one side of the monitor, 2 to 3 ft from you, its center 1 to 2 ft above your eyes, tilted down at your face.
  • Fill: a white reflector or a light-colored wall on the other side, or a small light at about half the key’s brightness.
  • Back light: behind you on the side opposite the key, about 6 ft from the floor, aimed at your hair and shoulder, out of frame.
  • Background: a lamp with a warm bulb, or an RGB light washing the wall or shelves behind you.
  • Ceiling light: off. Light from straight overhead lights the top of your head and leaves your eyes in shadow.

Settings to start from

  • Key and fill at the same color temperature, 5600K or a warmer 4500K, with the camera’s white balance set to match by hand.
  • Fill at about half the key’s brightness; the back light just bright enough to draw an edge.
  • Practical lamps warm, about 2700K, in the background only.

Kit at three budgets

  • Up to $100: a pair of small LED panels on mini stands as key and back light (about $60), a sheet of diffusion fabric in front of the key to soften it (about $20) and a white foam board for fill (about $10).
  • Up to $300: a desk key light on a clamp arm (about $180), a small LED panel as fill or back light (about $40) and an RGB tube for the background (about $60).
  • Up to $800: two desk key lights as key and fill (about $360), two RGB tubes for the back light and the background (about $200) and a warm lamp (about $40).

When cheaper is enough: in a small room with light walls, one soft key and the walls’ bounce already look finished; the second light adds shape, the third depth.

Watch for: the monitor’s glow. Turn it down, and check your glasses for its reflection.

Light PlannerYT Lighting
WhereIn the room
WindowBeside you
Plan5 of 8

In the room, window beside you

The classic window setup: sit side-on to the window, with a reflector opposite and a back light behind.

Plan from above: in the room, window beside you, with the camera, the key, the fill and the back light placed as the list says.LAMPCAMERA · 4–6 FTKEY · THE WINDOW3–6 FTFILL · 2–3 FTBACK · 6–7 FT UPYOU4 FT
Plan · seen from aboveDistances from your face

The diagram

  • Camera: on a tripod 4 to 6 ft from you, lens at eye level.
  • Key (the window): to your left or right, 3 to 6 ft from you. Turn your chair so the window is about 45 degrees in front of you rather than square to your side.
  • Fill: a white reflector on a stand on the side away from the window, 2 to 3 ft from you, at face height, angled toward you.
  • Back light: behind you on the side away from the window, 3 ft behind you and 6 to 7 ft from the floor, aimed down at your hair and shoulder, out of frame.
  • You and the wall: 4 to 6 ft from the wall behind you, so the background drops into soft shade and your shadow misses it.
  • After dark: a soft key on a stand where the window was, 3 to 4 ft from you, its center 1 to 2 ft above your eyes.

Settings to start from

  • White balance 5600K by hand, or a custom white balance off a sheet of white paper at your face.
  • Switch off the ceiling light: its warmer color fights the window.
  • The back light just bright enough to draw an edge on your hair and shoulders.

Kit at three budgets

  • Up to $100: a 5-in-1 reflector on a stand with a holder arm (about $70) and a sheer curtain (about $20).
  • Up to $300: the reflector on its stand and the curtain, and a 60W-class COB light with a 24-inch softbox and stand for evenings and gray days (about $200).
  • Up to $800: the reflector on its stand and the curtain, a 100W-class COB light with a 35-inch softbox and stand as the key after dark (about $400), an RGB tube light on a stand as the back light (about $130) and a warm lamp in the frame (about $40).

When cheaper is enough: by day the window and the reflector are a complete setup; the lights buy you evenings and gray days.

Watch for: clouds changing the light during a take. Lock exposure and white balance so the camera doesn’t hunt, and on a day of broken cloud, close the curtain and use the LED key instead.

Light PlannerYT Lighting
WhereIn the room
WindowIn front of you
Plan6 of 8

In the room, window in front of you

Facing the window, with the camera between you and it, puts a big, soft light on your face. Add a back light, and light the background so the room doesn’t go dark.

Plan from above: in the room, window in front of you, with the camera, the key, the fill and the back light placed as the list says.LAMPCAMERA · 4–6 FTKEY · THE WINDOW5–10 FTBACK · 6–7 FT UPWINDOWYOU4 FT
Plan · seen from aboveDistances from your face

The diagram

  • Camera: on a tripod between you and the window, 4 to 6 ft from you, lens at eye level.
  • Key (the window): behind the camera, 5 to 10 ft from you. The closer you sit, the brighter and softer it is. Sit a little off its center so one side of your face is brighter.
  • Fill: none needed: light from the front fills itself.
  • Back light: behind you to one side, 3 ft behind you and 6 to 7 ft from the floor, aimed at your hair and shoulder, out of frame.
  • Background: a lamp with a warm bulb, or a light on the wall behind you, so the room isn’t darker than you are.
  • You and the wall: 4 to 6 ft from the wall behind you.
  • After dark: a soft key on a stand 45 degrees to one side of the camera, 3 to 4 ft from you, its center 1 to 2 ft above your eyes.

Settings to start from

  • White balance 5600K by hand, or a custom white balance off white paper at your face.
  • The back light just bright enough to draw an edge on your hair and shoulders.
  • The background lamp warm, about 2700K, and a little darker than your face.

Kit at three budgets

  • Up to $100: a small battery LED panel on a stand as the back light (about $70), a warm 2700K bulb for a lamp you already have (about $10) and, if direct sun reaches you, a sheer curtain (about $20).
  • Up to $300: a 60W-class COB light with a 24-inch softbox and stand for evenings (about $200), the LED panel on its stand as the back light (about $70) and the warm bulb.
  • Up to $800: a 100W-class COB light with a 35-inch softbox and stand for evenings (about $400), an RGB tube light on a stand as the back light (about $130), a second RGB tube for the wall (about $100), a warm lamp (about $40) and the sheer curtain.

When cheaper is enough: by day a back light is the only light you need to buy.

Watch for: your eyes. Facing a bright window makes most people squint: sit further back, or soften it with the sheer curtain.

Light PlannerYT Lighting
WhereIn the room
WindowBehind you
Plan7 of 8

In the room, window behind you

The window behind you wins every time: the camera exposes for it and you go dark. Turn around if you can; if the window has to be in the shot, cover it and bring a strong key.

Plan from above: in the room, window behind you, with the camera, the key, the fill and the back light placed as the list says.CAMERA · 4–6 FTKEY · SOFT LIGHT3–4 FT · 1–2 FT ABOVE EYESFILL · 2–3 FTWINDOW · BACK LIGHTYOU4 FT
Plan · seen from aboveDistances from your face

The diagram

  • First choice: turn around, so the window is behind the camera and you can use the plan for a room with the window in front of you, or turn 90 degrees so it’s beside you.
  • Camera: on a tripod 4 to 6 ft from you, lens at eye level, angled to keep the window at the edge of the frame rather than behind your head.
  • The window: close a blackout curtain, or draw a sheer so it glows instead of burning to white.
  • Key: a soft light on a stand 45 degrees to one side of the camera, 3 to 4 ft from you, its center 1 to 2 ft above your eyes. With the window open behind you it needs real output: a 60W-class light or more, as close as the frame allows.
  • Fill: a white reflector or foam board on the other side, 2 to 3 ft from you.
  • Back light: the window, through the sheer, rims your hair and shoulders.

Settings to start from

  • The key at 5600K to match the daylight, and white balance 5600K by hand.
  • Expose for your face, then lock exposure.
  • With the curtain closed, use the settings of the plan for a room with no window.

Kit at three budgets

  • Up to $100: a blackout curtain (about $30) and a budget kit of two softboxes on stands with LED bulbs, used with the curtain closed (about $70).
  • Up to $300: a blackout and a sheer curtain (about $50), a 60W-class COB light with a 24-inch softbox and stand as the key (about $200) and a white foam board propped on a chair as fill (about $10).
  • Up to $800: both curtains (about $50), a 100 to 150W-class COB light with a 35-inch softbox and stand as the key (about $400) and a 60W-class COB light with a 24-inch softbox and stand as fill (about $200).

When cheaper is enough: with the curtain closed, the up-to-$100 kit does the job; the big light is for keeping the window open behind you.

Watch for: the window in a wide shot. The further the camera is from you, the more window it sees: frame tighter, or move the camera so the window sits at the edge.

Light PlannerYT Lighting
WhereIn the room
WindowNo window
Plan8 of 8

In the room, no window

Three-point lighting, the way most interviews are lit: a soft key, a fill or bounce, a back light, and something warm in the background.

Plan from above: in the room, no window, with the camera, the key, the fill and the back light placed as the list says.LAMPCAMERA · 4–6 FTKEY · SOFT LIGHT3–4 FT · 1–2 FT ABOVE EYESFILL · 2–3 FTBACK · 6–7 FT UPYOU4 FT
Plan · seen from aboveDistances from your face

The diagram

  • Camera: on a tripod 4 to 6 ft from you, lens at eye level.
  • Key: a soft light on a stand 45 degrees to one side of the camera, 3 to 4 ft from you, its center 1 to 2 ft above your eyes (5 to 6 ft from the floor), tilted down at your face.
  • Fill: on the other side, at eye level: a white reflector 2 to 3 ft from you, or a light at about half the key’s brightness.
  • Back light: behind you on the side opposite the key, 3 ft behind you and 6 to 7 ft from the floor, aimed down at your hair and shoulder, out of frame.
  • Background: a lamp with a warm bulb in the frame, or a light washing the wall.
  • You and the wall: 4 to 6 ft from the wall behind you, so your shadow lands on the floor and the wall stays darker than you.
  • Ceiling light: off.

Settings to start from

  • Key and fill at one color temperature, 5600K or a warmer 4500K, with the camera set to match by hand.
  • Fill one stop under the key: about half its brightness.
  • Practical lamps warm, about 2700K, and a little darker than your face.

Kit at three budgets

  • Up to $100: a budget kit of two softboxes on stands with LED bulbs as key and back light (about $70), a white foam board for fill (about $10) and a warm 2700K bulb for a lamp in the background (about $10).
  • Up to $300: a 60W-class COB light with a 24-inch softbox and stand as the key (about $200), a white foam board as fill (about $10) and a small LED panel on a stand as the back light (about $70).
  • Up to $800: a 60W-class COB light with a 35-inch softbox and stand as the key (about $250), a second 60W-class COB light with a 24-inch softbox and stand as fill (about $200), an RGB tube light on a stand as the back light (about $130) and a warm lamp (about $40).

When cheaper is enough: in a small room with light walls, a key and a reflector already look finished; the back light is the next buy.

Watch for: spill on the background. If the wall is as bright as you are, move further from it, or turn the key so the edge of its beam falls on you and not on the wall.

Adjust for your room

Small room

Under about 10 by 10 ft. Keep the key close and soft: a 24-inch softbox or a desk light fits where a big softbox won’t. Sit as far from the wall behind you as you can, 3 ft at the least. White walls bounce light everywhere, which is free fill; if your face looks flat, hang something dark on the side away from the key to bring the shadow back.

Medium room

About 10 to 15 ft across. The plans as written.

Large room or open plan

Over about 15 ft across. The walls are too far away to bounce much light back, so the shadow side goes dark: use the fill in your plan rather than skipping it. Light the background too, or it drops to black behind you. The space lets you put 6 ft or more between you and the wall, which helps.

White or light walls

Free fill: the walls bounce the key back onto your shadow side, and you may not need a fill at all. Turn the key so it doesn’t hit the wall behind you.

Dark walls

No bounce: the shadow side goes darker, so the fill matters, and so does the back light, which separates dark hair and clothes from a dark wall.

Colored walls

Light bounced off a colored wall takes its color onto your skin. Use a white reflector for fill instead of the wall, and keep the lights pointed away from it.

Low ceiling

Under 8 ft. There is little room above a stand: clamp the back light to a shelf or the top of a door frame, keep the camera level so the ceiling stays out of shot, and keep the key at the low end of the plan’s height. A white ceiling can be bounced off for soft fill; a colored or wood one tints you.

Glasses

Raise the key higher, 2 ft or more above your eyes, and further to the side, about 60 degrees off the camera’s line, so its reflection leaves the lenses away from the camera. Tilt the frames down a little, and turn the monitor down.

Settings every plan starts from

  • Shutter: 1/60 of a second at 24 or 30 frames per second, 1/120 at 60. In the US that also stops mains-powered lights flickering; on 50Hz power, as in the UK and most of Europe, use 1/50 or 1/100.
  • White balance: set by hand to the light on your face, never auto, so the color doesn’t drift during a take.
  • Exposure: set for your face, then locked. On a phone, press and hold on your face to lock focus and exposure; on a webcam, turn auto exposure off in its app once the lights are set.
  • Aperture and ISO: on a camera, f/2.8 to f/4 for a talking head and the lowest ISO the light allows. If the picture is noisy, add light before you raise the ISO.
  • Light levels: fill at about half the key’s brightness, the back light just bright enough to draw an edge, practical lamps a little darker than your face.
  • Color temperature: every light on your face at the same kelvin; warm practicals, about 2700K, only in the background.

How it works

  1. Describe the room

    How big it is, what color the walls are and how high the ceiling is. White walls bounce light back onto you as free fill; dark walls swallow it, and the plan adds a fill to make up for it.

  2. Place the window, the camera and you

    The window beside you, in front of you, behind you, or no window at all. Then where you film: at a desk with the camera on the monitor, or out in the room with the camera on a tripod.

  3. Set a budget

    Up to $100, $300 or $800. Every plan shows all three, so you can see what the next step up buys and when the cheaper kit is enough.

What every plan gives you

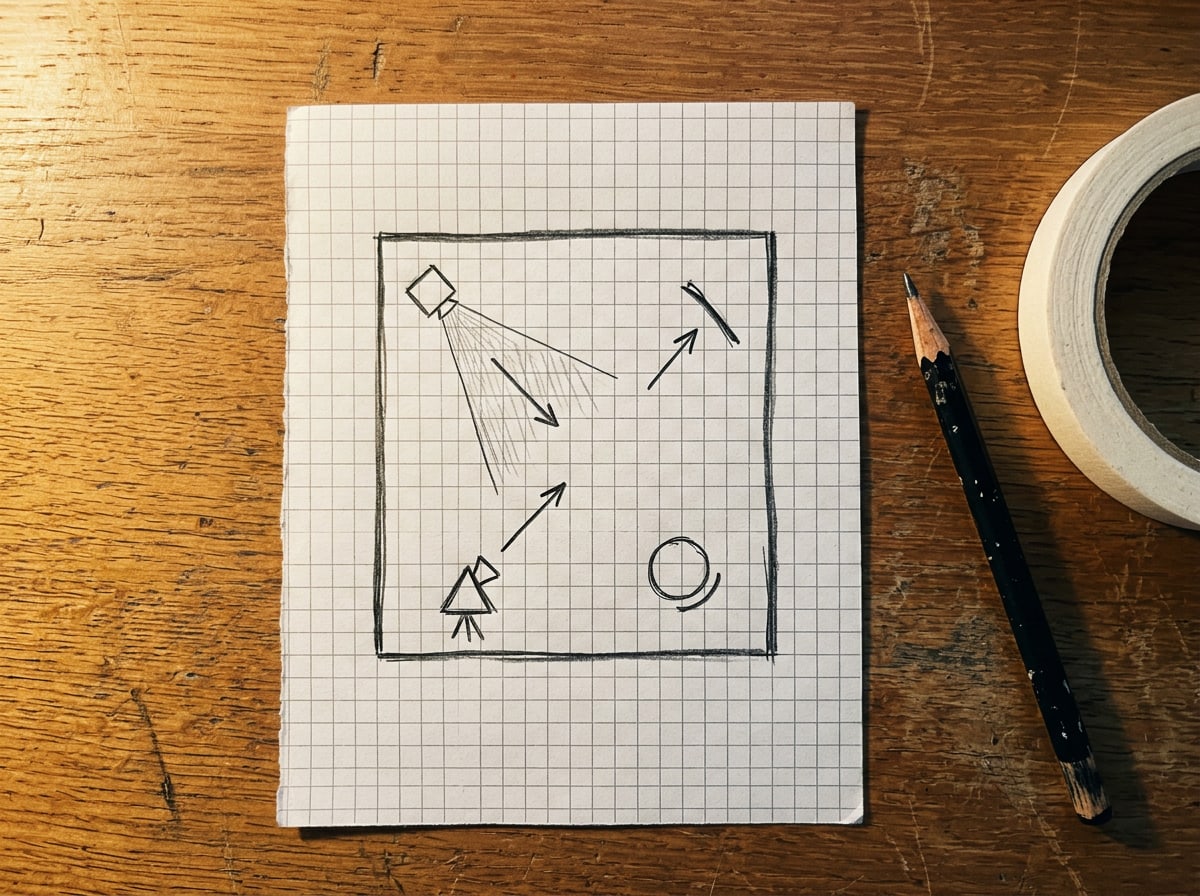
A lighting diagram drawn from above on squared paper: a chair, a camera on a tripod, a light at 45 degrees to one side and a reflector opposite, with arrows for where each points
01

A top-down diagram

Where the camera, you and each light go, seen from above, with distances in feet and heights from the floor. The light doing the work comes first.
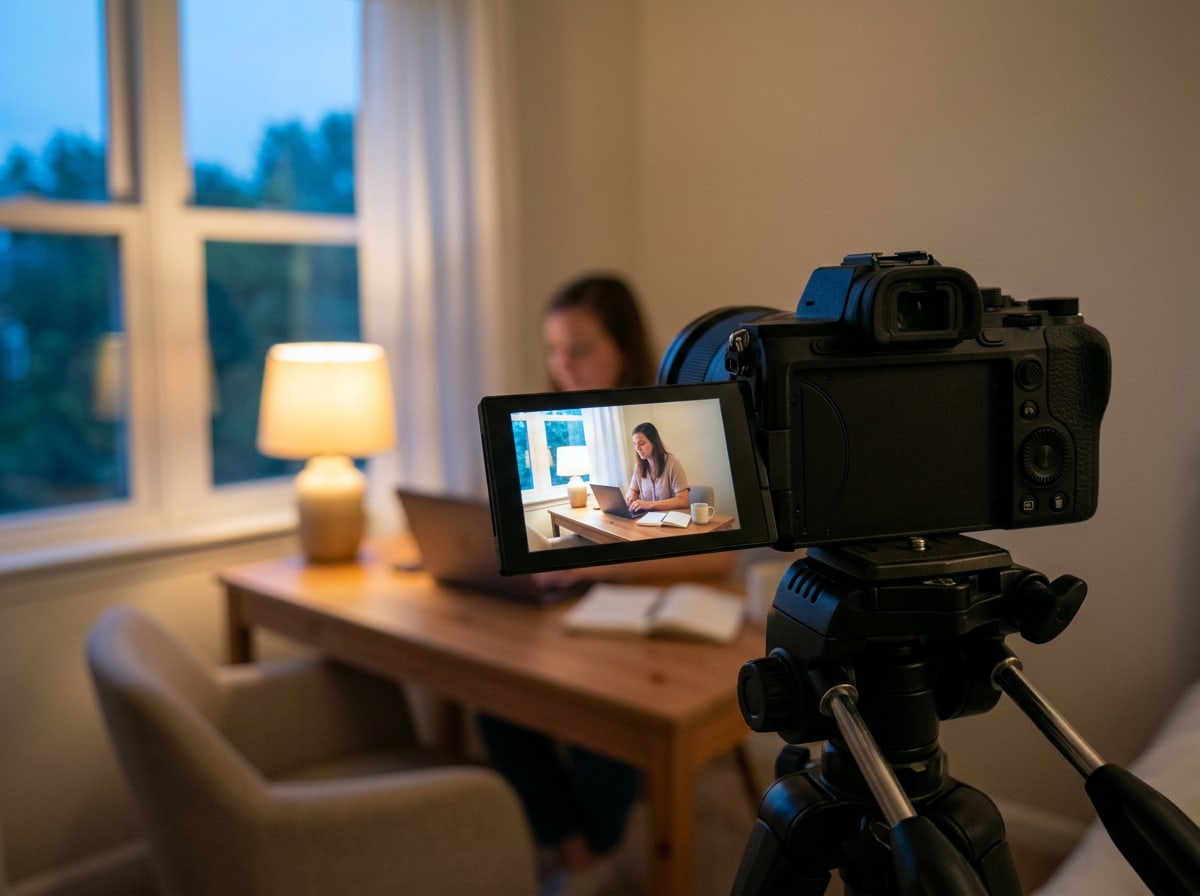
The flip-out screen of a camera on a tripod, showing a person at a desk lit softly from one side by a window
02

Settings to start from

White balance in kelvin, the shutter speed for your frame rate and how bright each light should be against the key: a starting point you adjust by eye, not a recipe.
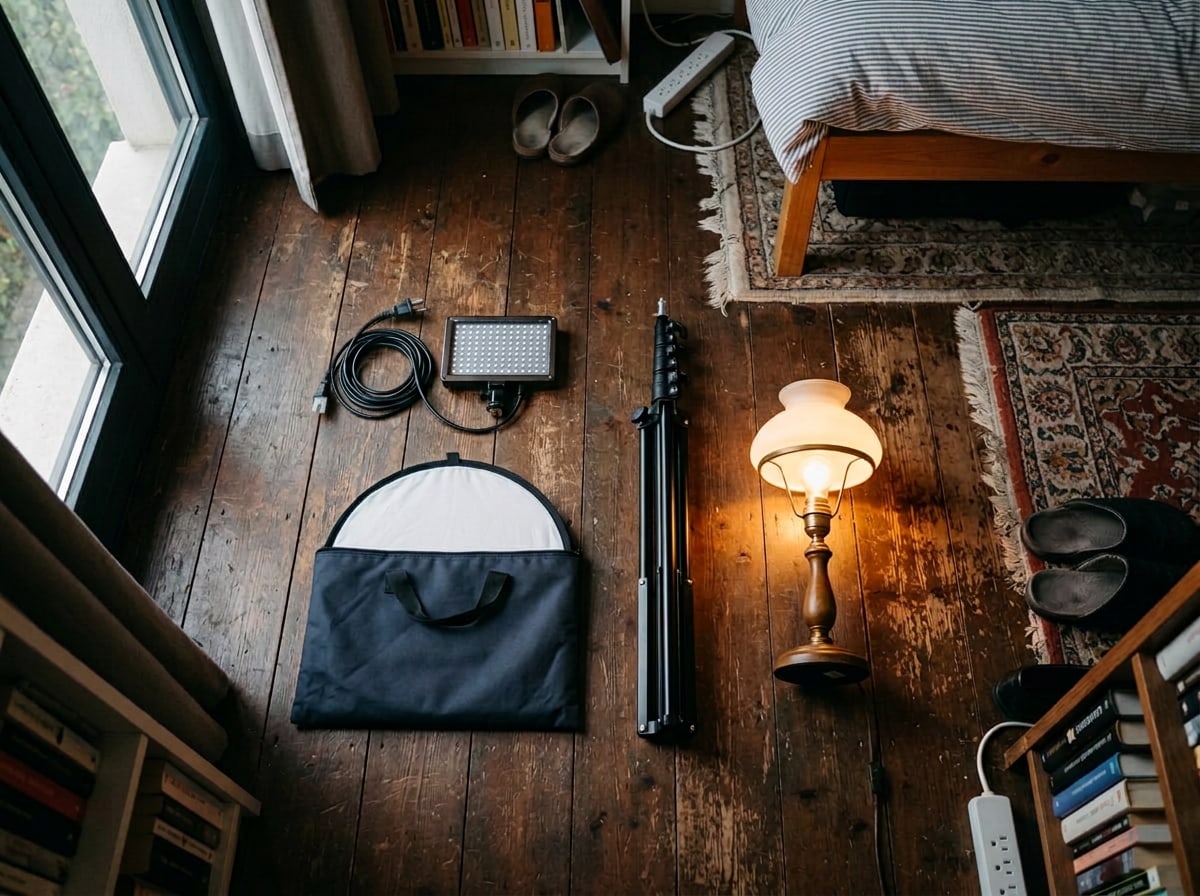
A small LED panel, a folded white reflector, a light stand and a table lamp with a warm bulb laid out side by side on a wooden floor
03

The kit at three budgets

What to buy for up to $100, $300 and $800, with the pieces on the Kit page and a line on when the cheaper kit is enough.
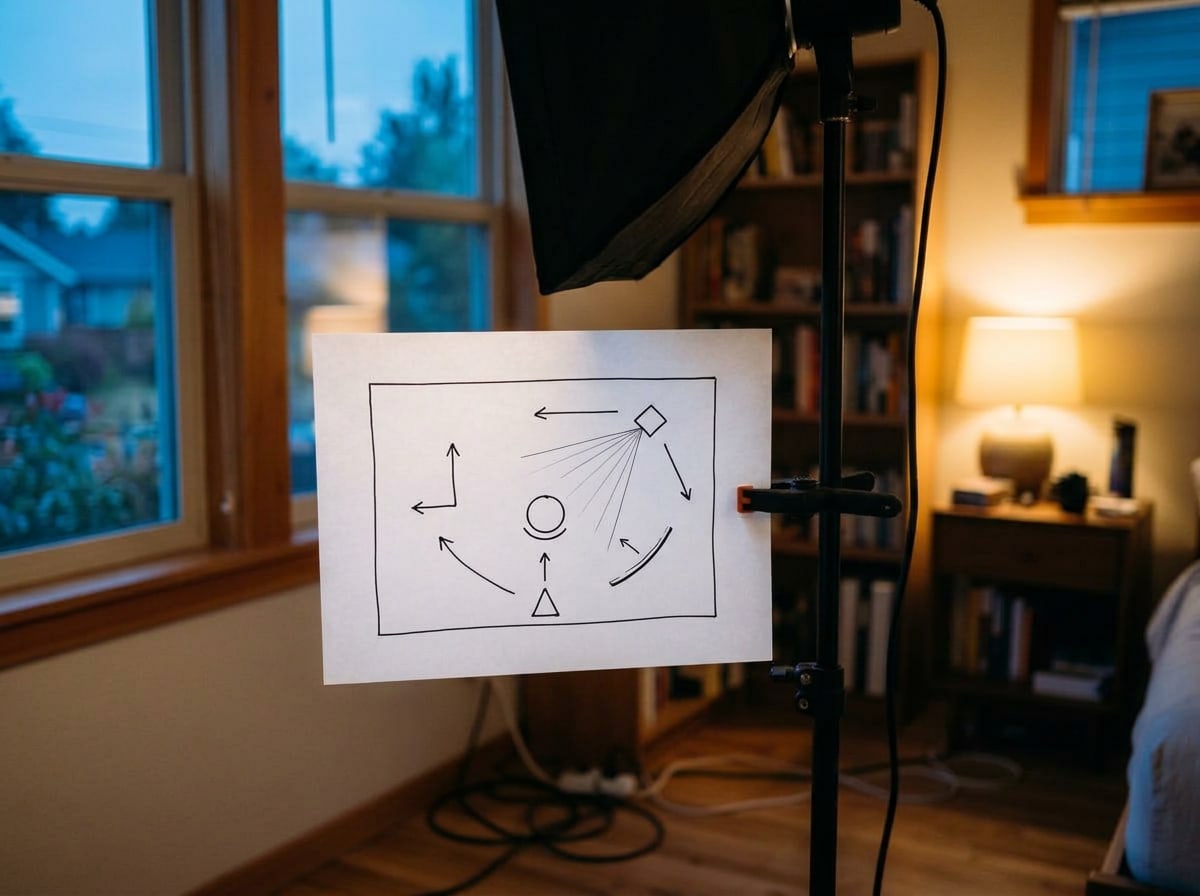
A printed lighting plan clipped to a light stand in a spare room, next to a softbox mounted on the same stand
04

A plan to print

Print the plan you chose and set up with it in your hand: the diagram, the settings and the kit list, without the menu and the pictures.

Questions about lighting at home

Is the Light Planner free?

Yes. There is nothing to sign up for, download or pay, and nothing is sold on this page. The plans name kit by what it does in the setup; the Kit page links to where to buy it, and some of those links may earn YT Lighting a commission at no extra cost to you.

Do I need three lights?

No. Most plans start with one light doing the work, the key, and a white reflector on the other side as fill. A back light, which lifts you off the background, is the usual second buy. By day, a window beside you or in front of you is a big, soft key light that costs nothing.

Should I buy lights or a better camera first?

Lights, for most people filming at home. Phones and webcams have small sensors, and in a dim room they turn noisy and soft as they push their exposure up. Put the same camera in front of a soft key light and the picture changes more than a new camera would change it. Once the light is right, a better camera’s difference shows; before that, you mostly pay for a sharper view of a dark room.

Can I use a window as my main light?

Yes, and it is often the best light in the house: big, soft and free. Sit with it beside you or in front of you, never behind you. It changes with the time of day and the weather, so record at the same time each day, hang a sheer curtain to soften direct sun, and keep a soft LED for gray days and evenings, set to daylight (about 5600K) so the two match.

Why do I look orange or blue on camera?

Your camera’s white balance doesn’t match the light on your face. Set it by hand instead of auto: about 5600K for daylight and daylight LEDs, about 2700 to 3200K for warm household bulbs. If a window and a warm lamp both light your face, one side turns blue and the other orange, and no setting fixes both: set your LEDs to daylight and switch the lamp off, or close the curtain and light with the LEDs alone.

My lights flicker on camera. How do I stop it?

In the US, mains power runs at 60Hz, and many LED and fluorescent lights pulse with it. Set your shutter to 1/60 or 1/120 of a second and every frame catches the same amount of light. At 24 frames per second that means 1/60 instead of the usual 1/50. On 50Hz power, as in the UK and most of Europe, use 1/50 or 1/100. If one light still flickers, its dimmer is the likely cause: try it at full brightness, or look for a light sold as flicker-free.

I wear glasses. How do I keep the light out of them?

Raise the key light and move it further to the side, so its reflection bounces off the lenses away from the camera rather than into it. Tilting the glasses down a little, by lifting the arms a fraction of an inch off your ears, does the same. A bigger, softer light makes a dimmer reflection than a small bright one, and turning the monitor down stops its glow showing in the lenses. Anti-reflective coatings help most of all.

My room is small. Will a plan still work?

Yes: the plans are written for bedrooms, spare rooms and desks. In a small room, keep the key close and soft, sit as far from the wall behind you as the room allows (3 ft at the least), and use the light the walls bounce back: in a white room it is free fill, and you may not need a fill light. If the walls flatten your face, hang something dark on the side away from the key to bring the shadow back.

How do I light darker skin well?

Expose for your face, not the room. Auto exposure sets itself for the whole frame, so against a bright wall it leaves darker skin too dark: lock the exposure with your face where you want it, then light the background to suit. A large, soft key and a white bounce give even light and keep shine down on any skin. Keep the key and fill at one color temperature, so your skin stays its own color.

Do I need RGB lights?

Not to look good. Your face wants a white key and fill at one color temperature. RGB lights earn their place behind you: a color on the wall or a rim on your shoulder separates you from the background and gives the set a look of its own. Add one once the key is right, as the back or background light.

Where do the plans come from?

They follow the standard practice used to light a person on camera: a soft key at about 45 degrees, fill on the other side, a back light for separation, and the window used as the key wherever there is one. They are a starting point for your room, not a measurement of it: set up, look at the picture, and move each light a little until it looks right.