What Is ISO Photography, Clearly Explained for Beginners
What is ISO photography? See how raising ISO brightens dim scenes but adds noise, and when fixing the light helps keep photos clean in low light.

Chapters
In short
ISO photography is the camera setting that controls how strongly its sensor responds to light, making an image brighter at higher values and darker at lower ones. Higher ISO can help in dim scenes or freeze motion, but it also adds grain and reduces detail, while low ISO generally keeps images cleaner and easier to edit. Add light or adjust aperture and shutter speed first when possible, then raise ISO only as much as the scene requires.
Turn up the volume on a quiet song and you get more hiss along with the music. Your camera’s ISO setting works in a similar way. It controls how sensitive the sensor is to light, which matters most when the room is dim.
Raise ISO and the picture brightens, but it also picks up more grainy noise. Keep it low and the image stays clean, as long as you have enough light.
This post covers where ISO came from, how it shapes your photos, how it works in video, and how fixing your light first lets you keep it low.
What Is ISO Photography and Where It Began
ISO sets how sensitive your camera is to light, and its roots go back to film.
How sensitive your camera is to light
Your sensor records light, and ISO controls how strongly it responds. It’s about how the sensor reacts, not how much light is in the room. Turn ISO up and the image brightens; turn it down and it darkens.
It’s measured in numbers like 200 and 400, where a higher number means brighter.
ISO in cinematography is the same setting. Video ties your shutter speed to a steady frame rate, so you can’t stretch it to gain light, which makes ISO matter more.
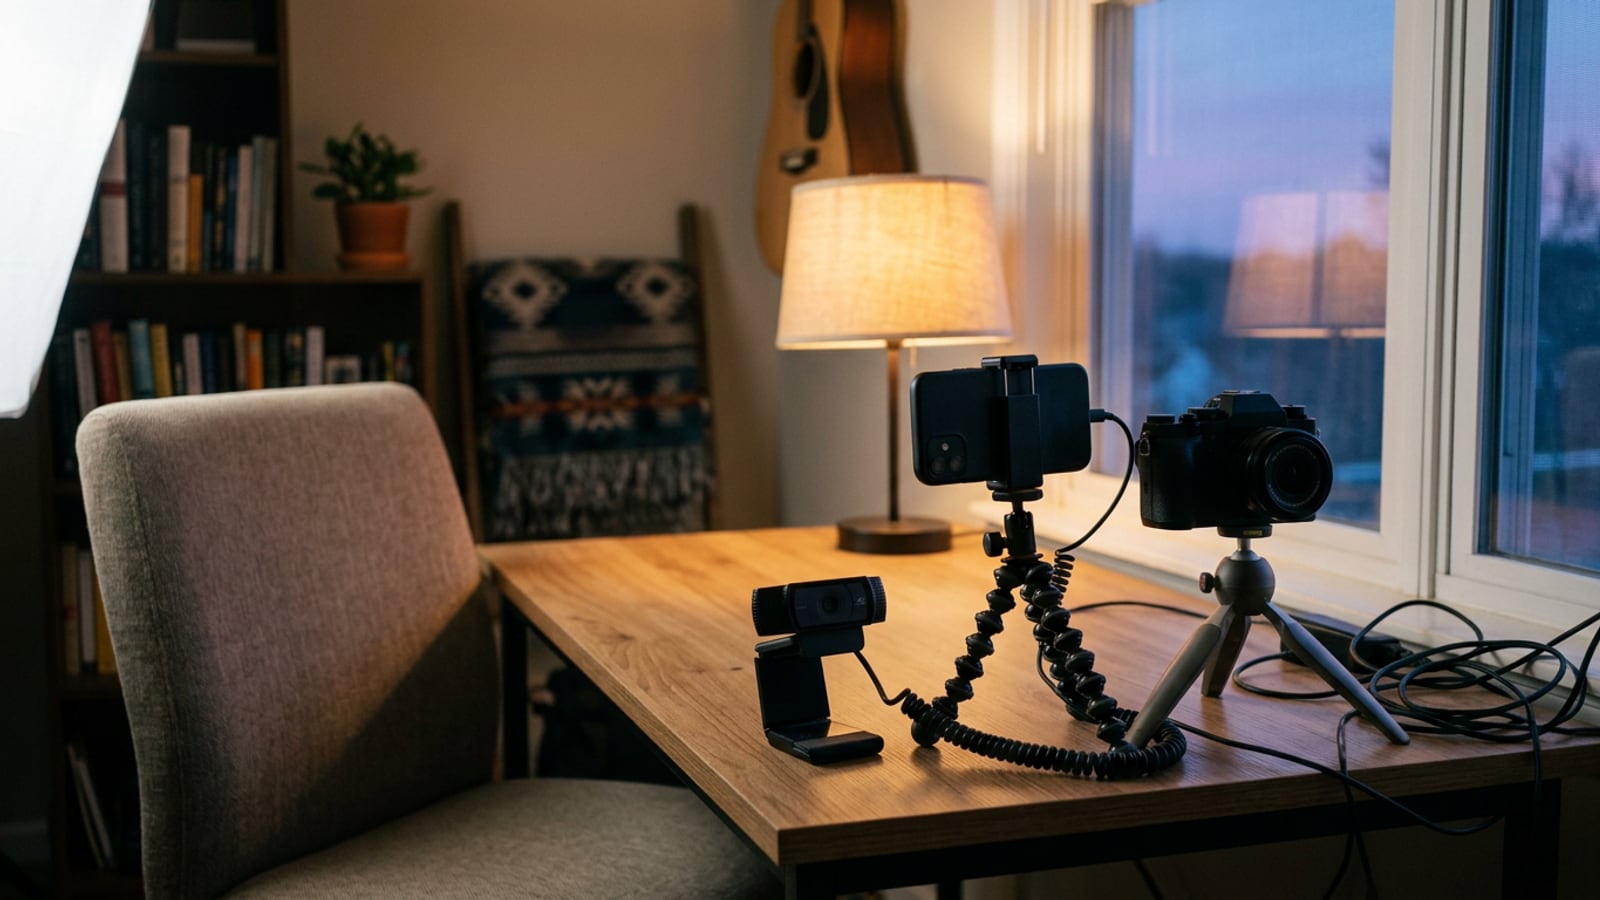
Consider a streamer at a basement desk. Instead of cranking ISO, they add one lamp on their face and keep the setting low, so the picture stays clean. Fix the light first.
How film speeds became a shared standard
Before digital, ISO described film. Each roll carried a speed rating fixed for every frame, and those ratings became a shared standard through the International Organization for Standardisation. Digital lets you change sensitivity shot by shot.
What happens if you shoot 400 ISO film at 200? You’re telling the camera the film is slower than it is, so it adds more light than the film needs. Photos come out too bright, and highlights can wash out.
Balancing ISO with aperture and shutter speed
ISO works with aperture (the lens opening) and shutter speed (how long light hits the sensor). These three are the pillars of exposure, and changing one usually means adjusting another. Prioritize one setting and adjust the others around it.
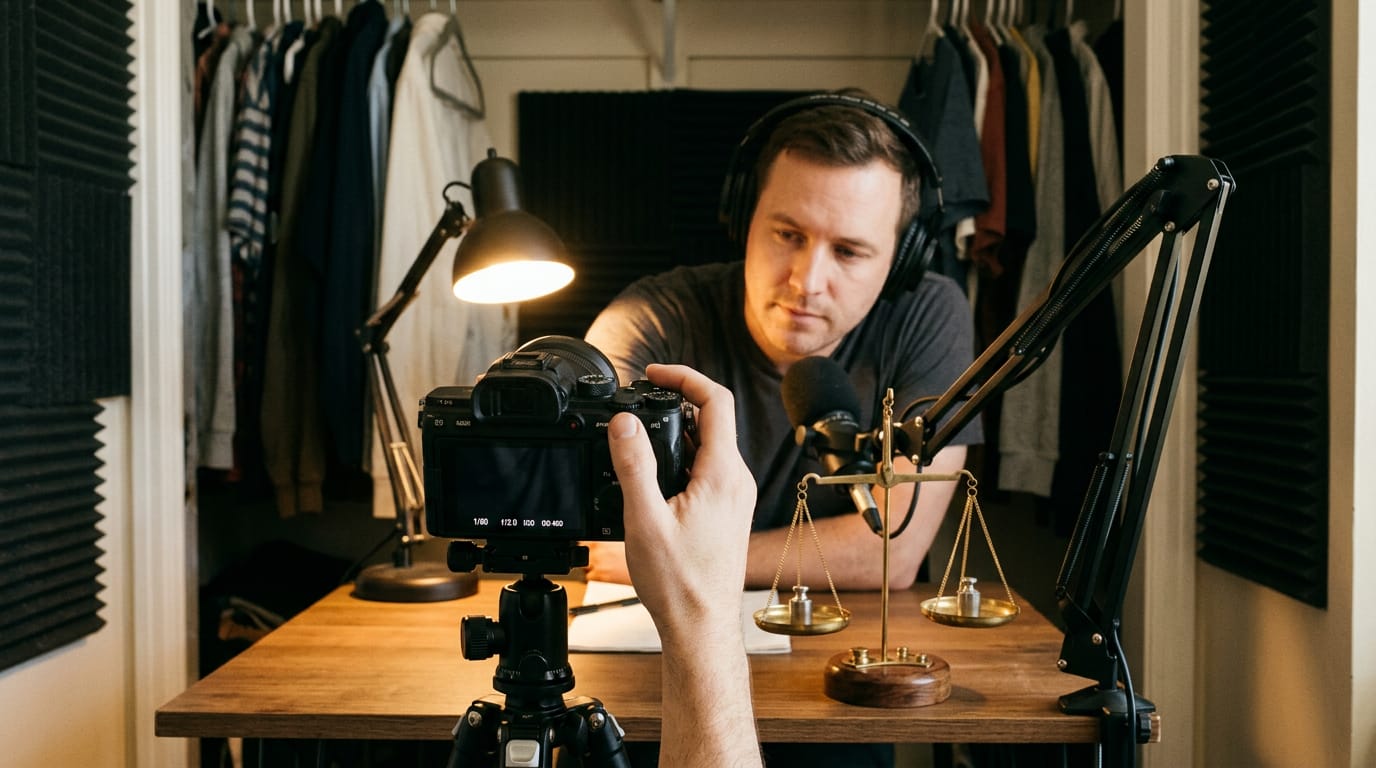
A podcaster in a closet studio widens the aperture for a sharp face, adds a lamp, and keeps ISO low for a clean picture. Then step up to manual mode to set all three yourself.
How ISO Changes Your Photos
Turning ISO (your camera’s light sensitivity setting) up or down always comes with a trade-off.
Making your photo brighter or darker
Raising ISO brightens your image, and lowering it darkens the picture. Think of a streamer in a basement corner who bumps ISO up so her face shows on screen. The brightness works, but the cost comes later.
Brighter isn’t always better. The goal is a good picture, not just a bright one.
Trading brightness for noise and grain
Higher ISO brings a few side effects:
- Digital noise. Speckled, colored specks show up most in shadows, and you’ll also hear it called grain.
- Softer detail. Grain reduces sharpness and clarity, so fine hair and edges lose their crispness.
- Lower overall quality. Quality drops as ISO rises, and each step takes a little more from the picture.
Consider a course creator filming lessons at a desk by a dim window. Cranking ISO to brighten her face would speckle the whole frame, so she adds one affordable soft light and keeps ISO low.
Balancing the two means using the lowest ISO that still exposes well and letting light do the rest.
Raising ISO and brightening in post both lift the picture, but ISO changes what the sensor records, while editing only adjusts what’s there.
How ISO affects editing flexibility
Dynamic range is the span between the darkest shadows and brightest highlights a file can hold. According to a study on photographic noise performance in consumer cameras, dynamic range shrinks when ISO goes up.
Low ISO gives you post-processing flexibility, meaning room to adjust after the shoot. A portrait photographer shot a client’s headshot at low ISO, then lifted the shadows a little in editing, and the skin stayed smooth with no re-shoot.
Noisy photos are harder to salvage. Noise reduction can smooth the speckle, but it softens detail too. It’s easier to recover a clean file than to rescue a noisy one.
When grain works in your favor
Not every bit of grain is a problem. Some creators add it on purpose for a moody or vintage feel.
Most talking-head videos and product shots need a smooth, clean low-ISO look. Picture a home baker filming a recipe video. She keeps ISO low and adds one soft light by the stove, so the frosting looks creamy, not speckled.
Clean is the default. Grain is your choice.
Common ISO Numbers and Your Base Setting
Once you know what ISO does, the next step is picking numbers. Here’s the common scale, where your camera starts, and how to choose by the light you have.
ISO numbers from 100 up to 6400
The standard scale runs:
- 100
- 200
- 400
- 800
- 1600
- 3200
- 6400
According to a chapter on flash and ambient light exposure, each step from 100 through 6400 doubles the brightness of the image. Exact ranges vary by camera, so check your manual for the numbers yours offers.
Your camera’s native base ISO
Your native base ISO is the lowest setting your sensor runs at without a digital boost, and it’s usually ISO 100. Older cameras often start at ISO 200. Stay at base when you can, since that’s where image quality is highest.
Some cameras have dual native ISO, with two base points tuned for different kinds of light, so check yours before you assume one setting fits every room.
Extended ISO stretches your range past the native numbers, giving you higher settings when you need them. Treat it as a last resort, since the image usually pays for it in noise.
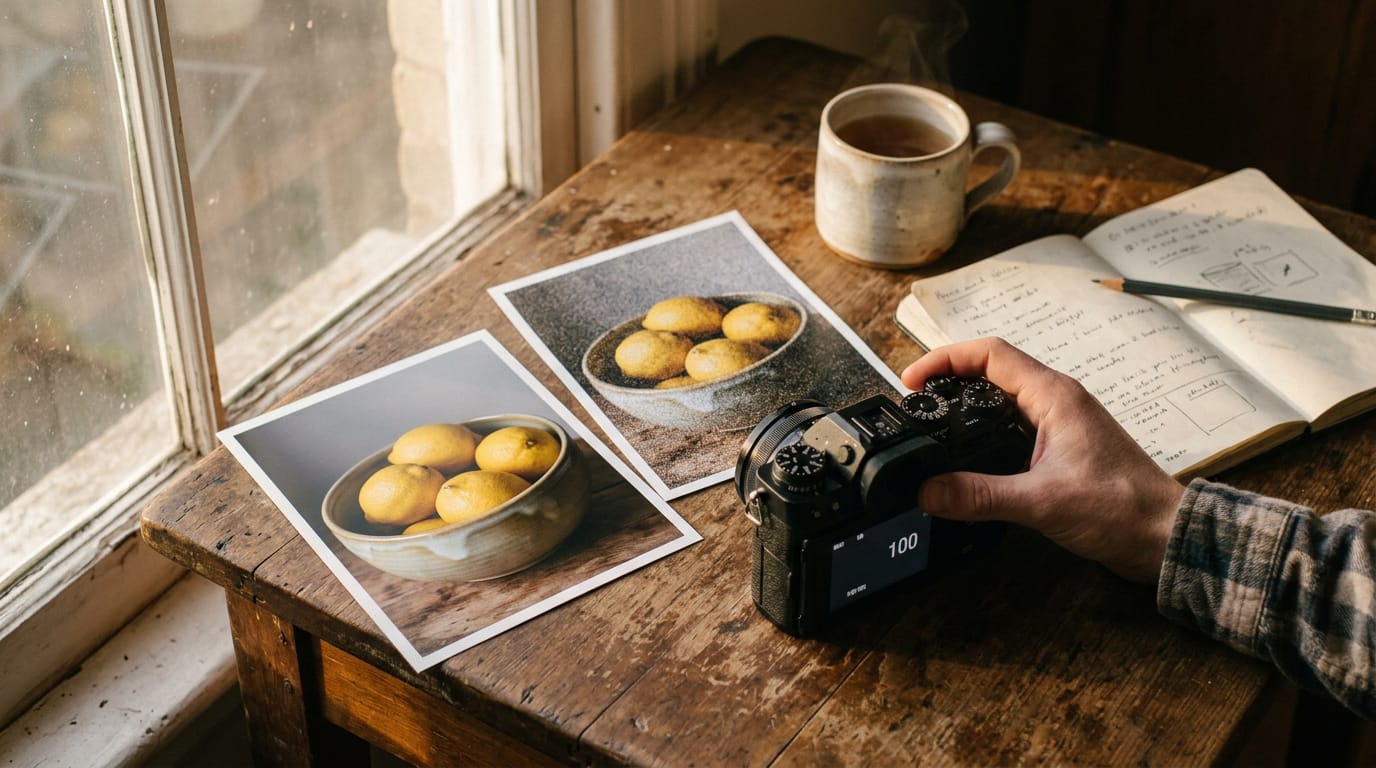
Which ISO fits your lighting
Match the number to the light hitting your subject:
- ISO 100 to 200: bright sunny outdoors
- ISO 400 to 800: cloudy days or indoor rooms
- ISO 1600 and up: dim or dark scenes
Consider a podcaster filming in a converted closet who sets ISO 1600 to brighten her face, then spots grain across her skin. She clips a lamp at shoulder height, drops to ISO 400, and the picture comes out clean.
Light first, ISO second: the goal is to lower ISO, not raise it.
Studio lights are steady and under your control, so you can often sit at base. Outdoor light shifts with the clouds, so your number will move with it.
Is 3200 a high ISO? Yes, it falls in the 1600 and up range for dim scenes, so it’s on the high end. How clean it looks depends on your camera.
Using ISO Well in Everyday Shooting
ISO should be the last setting you touch, not the first. Here’s when to keep it low and when to let it climb.
Keep ISO low whenever you can
Make your camera’s lowest ISO your default. When the frame looks dark, adjust aperture (the lens opening) and shutter speed (how long the sensor collects light) first. Both add light without adding grain.
A slower shutter only works on a still subject, so use a tripod. A streamer filming a desk setup can then keep ISO at its lowest and still get a clean image.
When raising ISO is worth it
Raise ISO to freeze fast motion or to shoot in dim spaces like dance floors. A videographer covering a dance floor bumps it so the dancers stay sharp instead of smeared.
Sunset events and weddings work the same way: as the light fades, a modest bump keeps the moment usable.
Here’s the trade-off: a little noise (grainy speckle in dark areas) is usually easier to live with than blur, the smear from motion your shutter couldn’t freeze. Grain is a texture. Blur is a miss.
Ways to cut down on noise
Each fix below either lowers ISO or lets you keep it low:
- Use a lower ISO. It’s the most direct fix, so use it whenever the scene allows.
- Open the aperture wider. More light gets in at the same ISO.
- Add flash or external light. Extra light lets ISO stay put.
- Use a tripod. Steady support makes a slower shutter safe at low ISO.
- Add light before raising ISO. Fix the light first. A podcaster filming in a converted closet clicks on a desk lamp, and the grain fades without touching the ISO dial.
Test your limits and trust your judgment
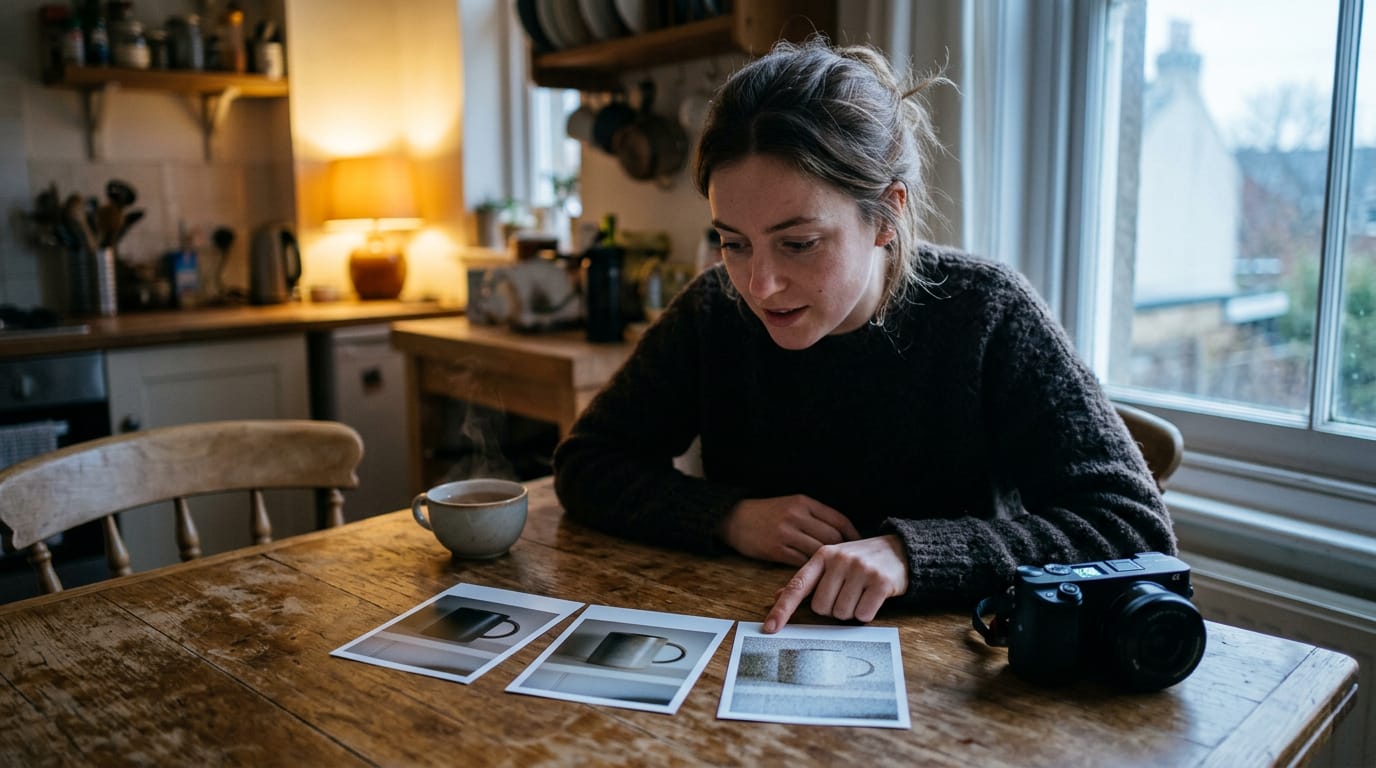
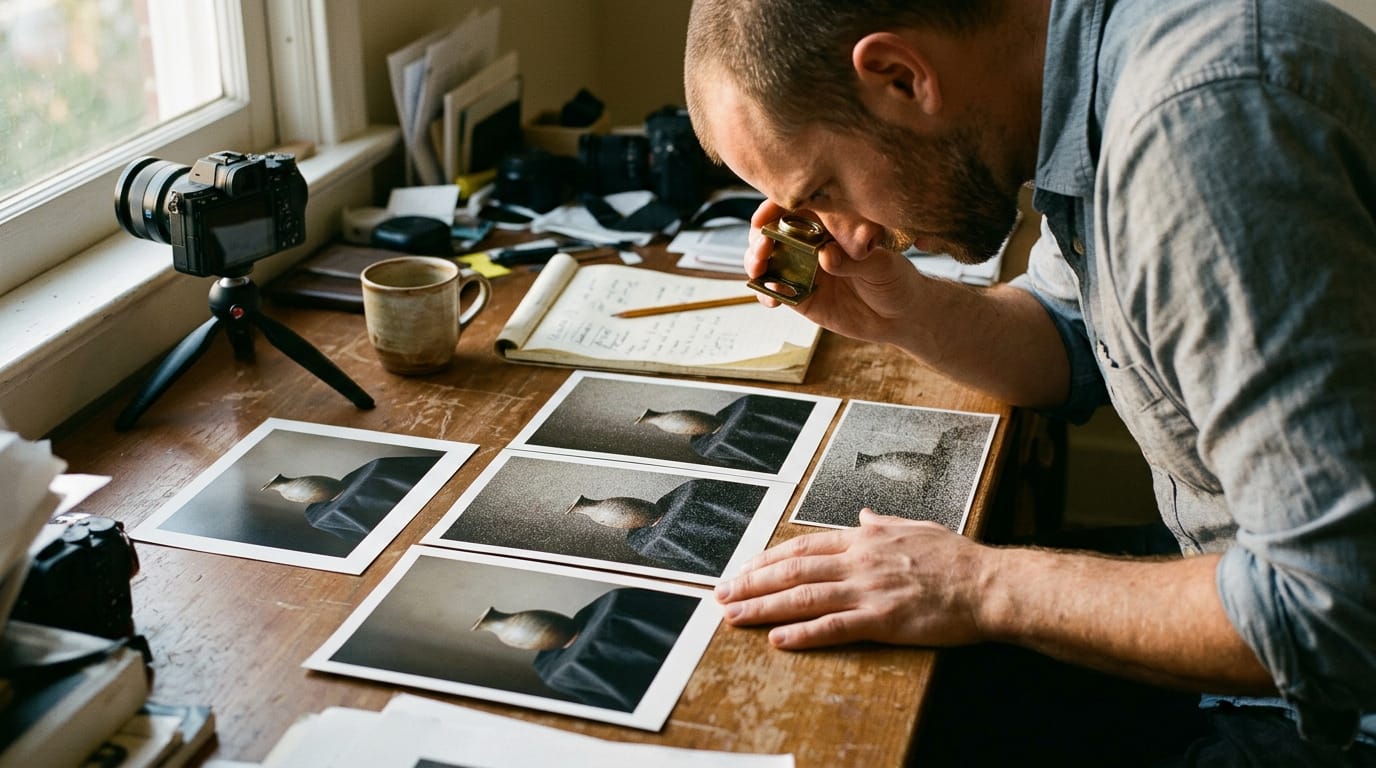
Trial and error is the best teacher here. Every camera handles noise a little differently, so shoot one scene at a few ISO settings and compare the test photos side by side.
Test how high you can push before grain starts to bother you, and check shadows at full size, since thumbnails hide a lot.
There’s no single right approach. A streamer who values crisp motion may accept more grain than a headshot shooter who never leaves the lowest setting, and both can be right.
Your eyes are the final judge.
How to Change ISO on Your Camera
Changing ISO is quick once you know where the control lives, but that depends on your camera and the mode you’re in. We’ll cover both.
Where to find the ISO control
- On-screen or quick menu: Many cameras let you change ISO from a quick menu on the screen.
- Dedicated ISO button: Some bodies have a labeled button for quick changes.
- ISO wheel on some cameras: A physical dial is the fastest option when you’re already rolling.
- Check the camera manual: Menu layouts vary by model, so your manual is the final word.
Take a streamer whose camera sits on a shelf above her monitor. She finds her ISO button once, then adjusts it mid-stream without digging through menus.
ISO in manual modes and auto ISO
- Manual, aperture priority, and shutter priority: ISO is yours to set in each of these.
- Not adjustable in auto modes: Fully automatic modes lock ISO, and the camera chooses it for you.
- Auto ISO as a learning tool: If your camera offers it in a manual mode, you set aperture and shutter while the camera picks ISO. Watch what it chooses to see how your light behaves.
- Re-balance shutter and aperture: If auto ISO climbs too high, let in more light with a slower shutter or wider aperture so ISO can drop back down.
- Phone and webcam auto-ISO noise: Phones and webcams raise ISO on their own in dim rooms, which shows up as grain.
Think of a course creator filming lessons on her laptop after dinner. Her webcam pushes ISO up, and her face turns grainy. One lamp beside her lets the camera keep ISO low. The setting didn’t change. The light did.
ISO began as a way to rate how sensitive film was to light, and it still does the same job on your camera today: telling it how much light it needs to record a usable image.
Noise, base ISO, and extended ranges all live in that story, and video follows the same basic rules.
The bigger lesson is that light does the heavy lifting. A window, lamp, or key light placed with intention means you rarely need to push ISO high. Get the light right first, and you’ll keep your footage clean without asking the sensor to work overtime.
Fix the light first, and ISO can stay right where it belongs: low and quiet.
References
- Photographic Noise Performance Measures Based on RAW Files Analysis of Consumer Cameras — mdpi.com (2019)
- Flash and ambient light exposure — doi.org (2017)
Questions
What is ISO in cinematography?
In cinematography, ISO is the camera setting that controls how strongly the sensor responds to light. Raising ISO brightens the image, but generally adds more visible noise or grain.
What is extended ISO?
Extended ISO refers to settings beyond a camera’s native ISO range. It can provide extra brightness or sensitivity when needed, but may produce more noise or otherwise reduce image quality.
How do I know the ISO of a camera?
Check your camera’s on-screen or quick menu, look for a dedicated ISO button or dial, or consult the camera manual. In fully automatic modes, ISO may not be adjustable because the camera chooses it for you.
What does ISO stand for?
ISO stands for International Organization for Standardisation, the organization associated with the film-speed standard. In photography, ISO refers to a camera’s light-sensitivity setting.
Is ISO 400 or 800 better?
Neither is universally better. ISO 400 is preferable when there is enough light for a clean image, while ISO 800 can help in dimmer conditions or when you need a faster shutter, with more risk of visible noise.
What happens if I shoot a 400 ISO film at 200?
The camera treats the film as slower than it is and gives it more exposure. The result is usually an overexposed image, and bright highlights may lose detail.
Is 3200 a high ISO?
Yes, ISO 3200 is generally considered high and is typically used in dim or dark scenes. How much noise it produces depends on the camera.