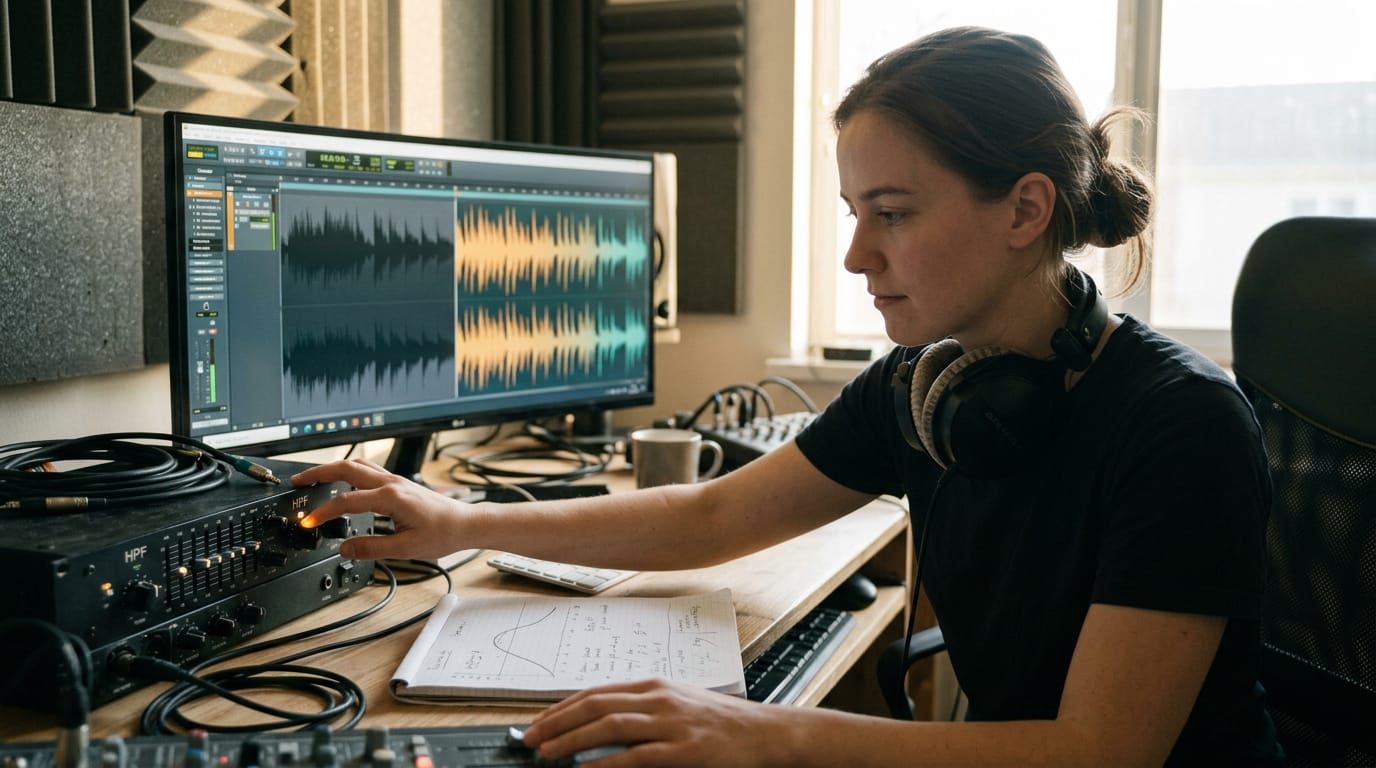
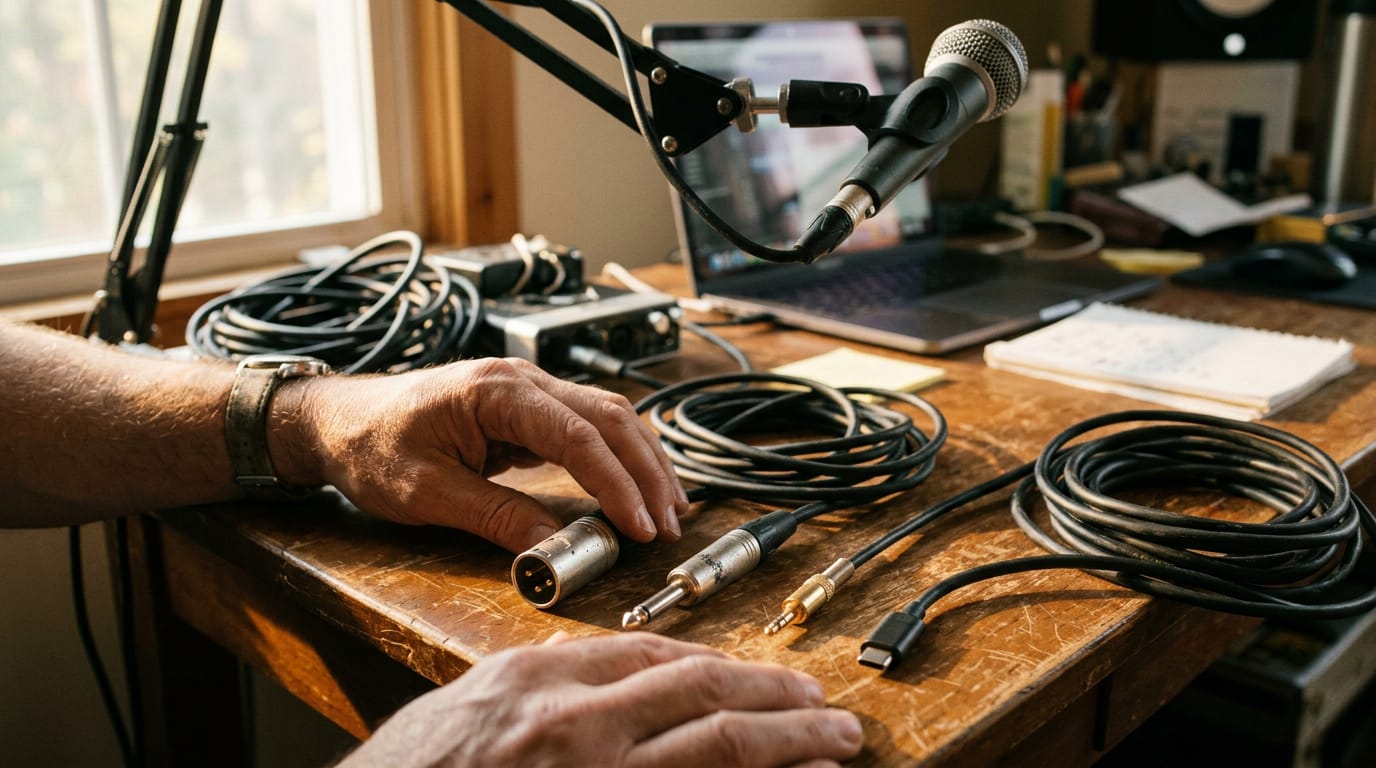
Reduce Background Noise in Audio: A Complete Guide
Reduce background noise in audio by matching AI or manual cleanup to the noise, then adjust strength settings and room, mic, and gain choices.


Chapters
In short
Reducing background noise in audio means softening or removing unwanted sounds so speech or other intended audio is easier to hear. Match the cleanup method to the noise, prevent problems with a quiet room, suitable microphone placement, and good gain, then start with light processing and listen for watery or robotic artifacts. In practice, noise removal works best as a finishing step: it can improve a recording, but it cannot replace a clean source or fix every problem.
Picture a podcast take that sounds perfect until playback reveals a refrigerator humming behind your voice. That’s background noise, one of the most common reasons good audio gets tossed.
Reducing it means removing or softening those sounds so your voice stays clear.
This guide covers the main noise types, the artificial intelligence (AI) and manual tools that remove them, and the settings that control cleanup strength.
We’ll also show you how to stop noise at the source with smart room, mic, and gain choices, because the easiest fix is the one you never have to make.
Background Noise Types to Reduce in Audio
Here’s how we’ll sort the common types, so you know which fix will work.
Steady noise like hum, hiss and buzz
Steady noise is about how long it lasts, not how loud it is. Here are the usual suspects:
- Hum. A low, constant tone.
- Hiss. A soft, airy sound.
- Buzz. A rougher drone.
- Static crackle. A sharp, broken sound that comes and goes.
Fans and air conditioning are common sources, and they’re best dealt with at the source. Electrical hum often sits at 50 or 60 hertz (Hz), the frequency of the power in your walls.
Noise that shifts, like traffic and chatter
Shifting noise comes and goes, so it’s harder to predict. Wind rattles the mic, traffic drifts in from outside, and crowd or café chatter fills the room with voices that aren’t yours.
Kids and neighbours belong here too, and so do keyboard and mouse clicks, which are short and sharp. Picture a podcaster whose neighbour’s TV drifts through the wall most evenings.
Moving her sessions to quiet hours skips the cleanup altogether. Timing is the cheapest fix.
Room echo and mic problems like pops
Reverb is the lingering bounce of your voice off bare walls, floors and windows. A coach in a bare-walled office hears that hollow sound on every take.
Reverb removal helps, but a rug and curtains soften the room before any cleanup. Mic problems come in a few forms:
- Plosives. Sharp bursts of air from “p” and “b” sounds.
- Mic rumble. A low, thumping sound.
- Mouth noises. Lip smacks, breaths and clicks from the person at the mic.
- Pops and clipping. A pop is a sudden spike, and clipping happens when the signal overloads the recorder, distorting the sound.
Background music you can keep or remove
Music is noise when it wasn’t meant to be there, like a song in the room or a playlist leaking into a stream. Decide whether the music is part of the show or part of the problem, then use the Keep Music option to match.
Picture a streamer whose desktop playlist bleeds into the voice channel. Stripping that track out keeps viewers on the streamer’s voice. Nobody tuned in for the playlist.
How to Remove Background Noise
Cleanup comes in two flavors: one-click online tools and hands-on editing you control spot by spot. Here’s when each one makes sense.
Clean up with one-click AI online
Picture a solo podcaster with a window air conditioner rumbling under her voice. Instead of booking a re-record, she runs the file through an online tool that uses artificial intelligence (AI), and the steps are simple:
- Upload file. Drop your recording into the tool.
- AI processes automatically. Nothing for you to adjust.
- Preview result. Listen back and compare it with the original.
- Download clean file. Save the cleaned version for your edit.
No install needed. It runs in your browser, so there’s nothing to download first.
Hand-edit spectral noise on a spectrogram
A spectrogram is a picture of your audio, with time left to right and frequency up and down. Say a streamer’s voice is clean, but keyboard clatter sits on top of it. You can fix only that spot without touching the rest.
Here’s the workflow:
- Select the clip in Pro Tools, the audio editing software.
- Open the RX Spectral Editor.
- Pick the paintbrush, lasso, or magic wand that fits the noise.
- Spot the noise on the spectrogram and select it.
Pick the right repair mode and tool
Match the tool to the shape of the noise, not just its volume. A fridge hum and a chair squeak need different fixes.
Here’s the lineup:
- Attenuate for constant noise, like that fridge hum.
- Replace for short sounds, like the squeak.
- De-click and De-hum for clicks and electrical hum.
- Gain mode lowers the level of a selected area rather than removing it.
- Render processed clips once you’re happy with the result.

Manual editing compared with AI
Manual tools start with a noise profile, a sample of the noise to remove. A high-pass filter cuts low rumble, and a noise gate silences the track between words.
The catch is that a noise profile struggles with changing noise, like a dog barking in bursts. AI separates your voice from the noise automatically, so you skip building a profile.
For manual work, record room tone first, the sound a room makes when nobody’s talking, using the same microphone and settings. That silence costs nothing.
Settings That Control Strength and Quality
Every cleanup tool gives you a few dials. Set them well and the noise fades; set them carelessly and your voice pays the price.
Dial in how strong the cleanup is
Most tools start with Noise Reduction Level, which sets how hard the software pulls out background sound. Compensation for voice volume adjusts for how loud you are against that noise, so quiet words don’t get swallowed.
Picture a podcaster recording in a converted closet with a humming fan. She sets the Process strength slider, listens, and nudges it up only until the fan fades. That’s enough cleanup, not maximum cleanup.
Noise Canceling Level sets how much background sound gets canceled, and Enhance Mix strength sets how much enhanced sound joins the mix. Start low.
Keep your voice sounding natural
The goal is natural, not just clean. Push cleanup too far and you’ll hear artifacts, the watery or robotic side effects that make a voice sound like it’s coming through a tin can. Back off if you hear them.
Use the before-and-after toggle to compare original vs cleaned: play the same sentence both ways. If the cleaned version sounds thinner or more distant, you’ve gone too far.
Preview before processing when you can. A few seconds can reveal a garbled voice before you run an hour-long episode.
The AI technology behind the cleanup
Newer tools rely on artificial intelligence (AI), and most of their power comes from a neural network: software that learns patterns from many examples rather than fixed rules. It was trained on many hours of recorded speech before it touched your file.
It separates voice from noise by sorting sounds that look like speech from everything else. The model does the sorting. You still do the listening.
Who Uses Noise Removal Most
Noise removal isn’t just for studio engineers. If you record outside a treated room, you’ll probably use it, though what you’re fighting varies a lot.
Creators who record podcasts and videos
- Podcasters. A host recording in a converted closet can quiet a laptop fan so listeners stay on the conversation.
- YouTubers and vloggers. A walk-and-talk vlogger can dull wind and traffic so the voice stays easy to follow.
- Streamers. Streamers often tackle keyboard clatter and a whirring computer fan so chat hears every word.
- Course creators. An air conditioner kicking on mid-lesson can be trimmed so students don’t have to strain.
Professionals and everyday voice recorders
- Journalists and interviews. A reporter taping a source in a busy cafe can push cup clatter back so quotes stay clear.
- Educators and lectures. A teacher recorded beside a projector fan can reduce the whir so the lesson comes through.
- Business meetings. Keyboard typing and heating system rumble can be cut from a call recording before the minutes go out.
- Casual voice notes. A memo recorded on a windy walk gets clearer once the gusts come down.
- Audio engineers. Engineers treat noise removal as one step in a larger cleanup, not a rescue.
Musicians, filmmakers and transcribers
- Musicians and demos. A songwriter sharing a bedroom demo wants the fridge hum gone so the melody comes first.
- Film editors. An editor with a take ruined by a passing truck can cut the rumble without a reshoot. Sometimes one pass is enough.
- Transcribers. A transcriber working from an hour of audio with a loud heater hears speech more easily after the hum drops.
Extra Features That Improve Your Sound
Once the noise is gone, a few extra tools can make your recording sound finished.
Make speech clearer and more polished
A clarity and tone boost helps words cut through. A studio-quality sound preset adds warmth and body to a voice captured in a bedroom.
Since polish is about clarity rather than loudness, volume normalization helps too, evening out loud and quiet passages so no line jumps out. Frequency balance, or equalization (EQ), shifts the balance between bass and treble to tame a boomy room.
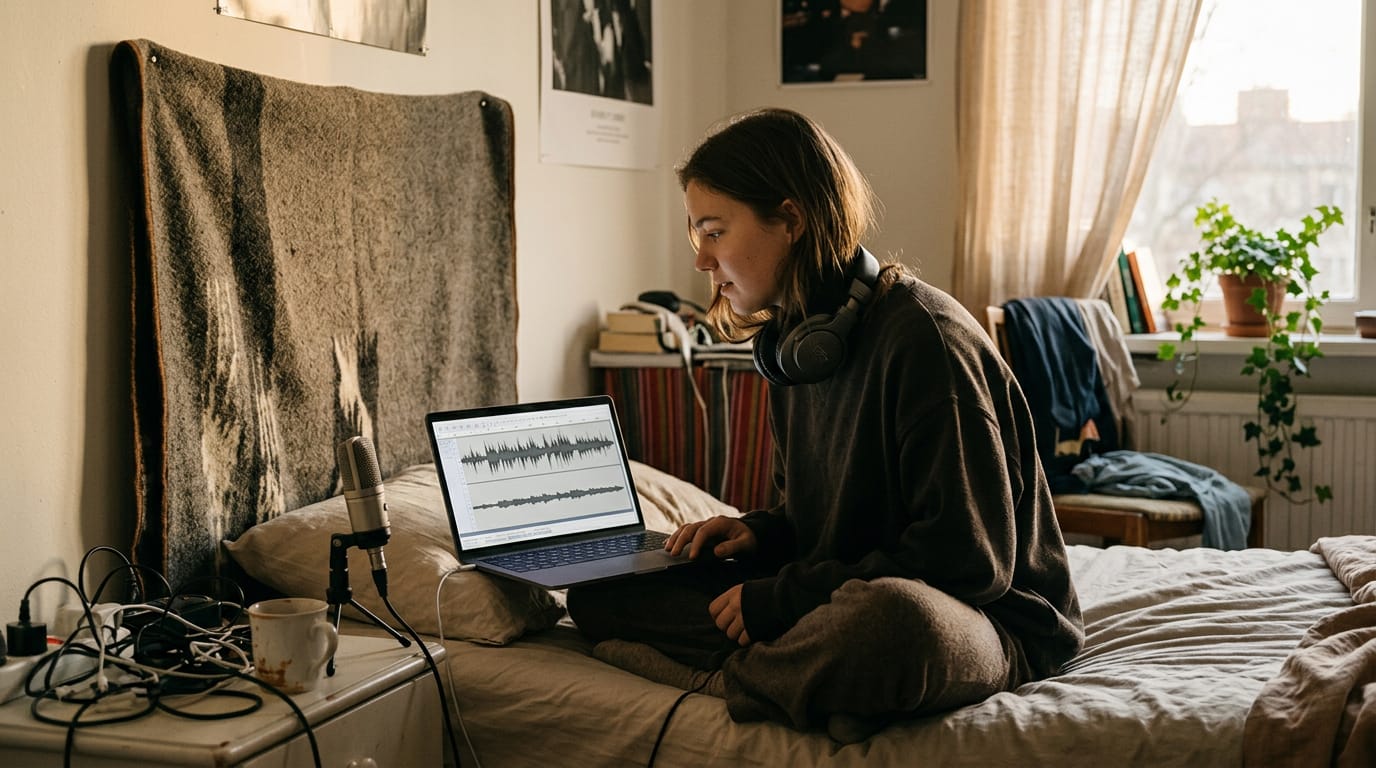
Taking echo and reverb out
Echo is a slap-back off hard surfaces, while reverb is the lingering tail a room adds after each word. Many cleanup tools include a de-echo setting for the slap-back, and some fold reverb removal into the main cleanup pass.
If yours lacks it, a separate echo remover tool does the job.
Picture a real estate agent narrating a listing in an empty, tiled kitchen. A de-echo pass pulls the voice back into focus, so viewers stay on the house, not the echo.
Treat these as repairs for a room that’s already live, not replacements for treating the room.
Extra editing tools for cleaner takes
Four tools handle the tedious parts of editing:
- Filler word removal finds the ums and uhs and cuts them.
- Silence and pause removal trims dead air between sentences.
- Transcription turns your speech into text so you can edit by reading.
- Vocal and stem separation splits a voice from music or background tracks into separate layers.
Consider a course creator with a lesson full of stumbles. Transcription shows where each one sits, and filler and pause removal smooth out the rest, so the lesson runs without a reshoot.
Editing gets faster when you can read your audio.
Formats, Devices and File Size Limits
Before you clean anything, check that the tool accepts your file, works from your device, and fits its size and length limits.
Which audio file types work
Most tools accept the common formats below. Lossy ones like MP3 and AAC trade some detail for smaller files, while WAV and FLAC keep all of it.
- MP3: small and widely accepted
- WAV: uncompressed, ideal for raw recordings
- M4A: common for phone recordings
- FLAC: lossless, so full detail in a compact file
- AAC, OGG and AIFF: also accepted by many tools
Tools differ, so check the upload page if your format isn’t listed. Consider a podcaster recording a guest on her phone. She sees M4A on the accepted list, uploads the file as recorded, and skips converting it.
Cleaning audio inside video files
Some tools clean the video directly, while others need the sound pulled out first:
- Direct MP4/MOV upload: send the common video file as-is, with no export step first
- Cleaned audio re-added: you drop the cleaned sound back into your editor
- Extract audio first: pull the track out, clean that file, then return it to the video
Think of a real estate agent narrating a listing walkthrough. She cleans her voiceover, swaps the new audio into her edit, and the footage stays exactly as shot. Only the sound changes.
Phones, browsers and size or length caps
- Browser-based, no install: upload and download from a web page, with nothing to set up
- Works on mobile: many browser tools open on a phone too
- File size caps: each tool limits the largest file it will accept
- Duration limits: some also cap how long a recording can run
- Mobile apps: some tools offer a dedicated app for your phone
Look up both limits before a long upload. Otherwise you’ll learn them the hard way.
Pricing, Free Trials and File Privacy
Before you upload a recording, it helps to know what you can test for free, what it costs, and what happens to your files afterward.
Try it free before you pay
You can start without signing up, and there’s a free preview before you pay anything. Free use comes with a limited number of minutes, and you can download one file per day at no cost.
Take a podcaster with one rough episode: she can run it through the preview and hear whether the room hum is gone. The free tier answers whether the cleanup works on your audio, not how much you’ll end up needing.
Paid plans, from monthly to enterprise
Choose the model that matches how often you clean up audio:
- Subscriptions: a recurring monthly plan for steady, ongoing use.
- Pay-as-you-go minutes: you buy only the minutes you process.
- Weekly and monthly packs: a bundle of minutes for a set window.
- Top-ups: extra minutes you add when you run low mid-cycle.
- Enterprise and API options: custom plans for larger teams, plus an application programming interface (API), which lets other software send audio straight to the service.
A streamer who only cleans up audio around a big launch may find a pack fits better than a subscription that sits idle the rest of the year.

How your files are protected and deleted
Here’s what happens to your recordings:
- Auto-deletion: files are deleted automatically, so you don’t have to remember to remove them.
- Encrypted in transit: your audio stays scrambled while it travels between your computer and the service.
- Never shared: we never share your files with anyone.
Your voice stays yours.
Limits and Tips for Better Results
Cleanup should be your backup, not your plan. Start with habits at the mic and know where the tool stops.
Tips for recording and checking results
Start at the source. Pick the quietest room you can, keep your mouth close to the mic, and choose a mic whose pickup pattern (the direction it listens from) suits the space.
A cardioid mic favors sound from the front and rejects sound from behind, so a podcaster with a fan humming behind her chair gets a cleaner voice. Position beats cleanup.
Make sure your voice is louder than the noise, not the other way around. Set your gain (the input level on your recorder) so your voice sits well above the room sound, rather than boosting a quiet take later.
Before you publish, listen on headphones and on a second device, since cleanup can sound smooth on one and rough on another. Check for leftover artifacts, the watery or robotic sounds that noise removal can leave behind, especially in quiet pauses.
A solo YouTuber filming at her kitchen counter clips a lavalier (a small clip-on mic) to her shirt instead of relying on the camera’s built-in mic, so her voice stays clear over the fridge hum.
For a subject farther from the lens, a shotgun mic (a narrow mic aimed at the subject) on camera works better.
What the tool can’t fix on its own
The tool cleans audio, not picture. A dark or blurry frame stays exactly as it was.
Wind’s a different beast from hiss, so pair cleanup with a wind remover for outdoor shoots.
Some fixes belong in post-production, the editing stage after you record. A cough or passing siren is often quicker to cut than to scrub out.
Step-by-step Guides for Your Editor
Most editors already have noise tools built in, so we’ll start with the one you’re most likely to use.
Walkthroughs for Premiere, Resolve and more
- Premiere Pro and DaVinci Resolve. Both have built-in audio tools, so you can clean the clip without leaving the editor and ease off if voices start to sound thin.
- CapCut, Audacity and Open Broadcaster Software (OBS). CapCut suits quick social edits, Audacity handles standalone audio files, and OBS filters live feeds.
- Zoom recordings. Pull the local audio into your editor and clean that track before syncing it with video.
- Adobe Audition echo removal. It helps when a bare room adds a slapback to your voice.
Think of a podcaster who recorded a remote guest over Zoom from a kitchen where the fridge hums through every take. Rather than booking a re-record, she cleans the local track and keeps the episode on schedule.
Related tools and how they compare
- Captions and dubbing. These tools work from the spoken words, so a clearer voice track gives them a better start.
- Vocal remover. It pulls voice away from music, which helps under a music bed, but it isn’t a substitute for noise reduction.
Editor tools clean up after the recording, but a real-time noise filter cleans your mic as the signal comes in, which is what streamers need.
The trade-off is that a live filter decides on the fly, so you can’t count on it to rescue a bad room the way an editor can.
No filter beats a quiet room.
Clean audio comes from a clear order of operations: prevent what you can, then clean up what’s left. Noise removal is powerful, but it’s a finishing step, not a rescue plan.
Choose the room, mic, and gain setup that keeps noise low from the start, and the cleanup won’t have to work nearly as hard.
Your voice deserves to be heard clearly, and a quiet recording space gives it the best chance. Start at the source, and let your ears decide how much cleanup is enough.