How to avoid glare on glasses on camera
Keep lights, windows and the monitor out of your glasses on video: where to raise and move the light, a two-minute test to find glare, and what lenses can do.

Chapters
In short
Glare is the light’s reflection bouncing off your lenses into the camera, so move the light until the bounce misses: raise the key until its center is 2 ft or more above your eyes and swing it out to about 60 degrees off the camera’s line. Then tilt your frames down a touch, turn the monitor down and keep the light big and soft, so any reflection that’s left is faint.
Glare in glasses is a reflection, and a reflection leaves your lenses at the same angle the light hits them. So the fix is to move the light until its reflection misses the camera: raise the key until its center is 2 ft or more above your eyes, swing it out to about 60 degrees off the camera’s line, tilt your frames down a touch and turn the monitor down. A bigger, softer light makes whatever reflection is left fainter, and an anti-reflective coating helps on top. Keep your glasses on: none of this needs you to film without them.
Why glasses reflect the light into the lens
Each lens in your glasses is a curved, polished surface, so as well as being a lens it works as a small mirror. Light that hits it bounces off at the same angle it arrived at, on the other side of the line square to the surface: the law of reflection. Whatever the camera would see in a mirror held where your glasses are, it sees in your glasses.
When you face the camera, your lenses face it too, so anything near the camera’s line and near your eye height reflects straight back into the lens. That is why the usual culprits are a key light at 45 degrees and eye level, a ring light around the lens, a monitor right in front of you and a window behind the camera. Because the lenses are curved, the reflection doesn’t switch off at one exact angle: it slides across the lens as the light moves and leaves it once the light is far enough up or out. Bigger lenses show more of the room, so they may need the light moved farther.
Find the reflection before you move anything
A phone flashlight finds the clear spot in two minutes, before you move a stand:
- Sit where you film, glasses on, with the camera running and its picture on a screen you can see: the monitor, the flip screen or the phone itself.
- Switch off or dim your lights, so the flashlight is the brightest thing in front of you.
- Hold a phone with its flashlight on where the key light is, pointed at your face. Look at the camera, not at the flashlight. At a desk you can reach; out in the room, ask someone to hold it.
- Watch the screen and move the flashlight slowly up, then out to the side, until its reflection slides off the lens. That is the edge of the clear zone.
- Do the same wherever a fill light, a lamp or a window sits in front of you.
Tip: the flashlight is a point and your light is not. Put the edge of the softbox nearest the camera where the flashlight cleared the lens, not its center.
Raise the key and move it to the side
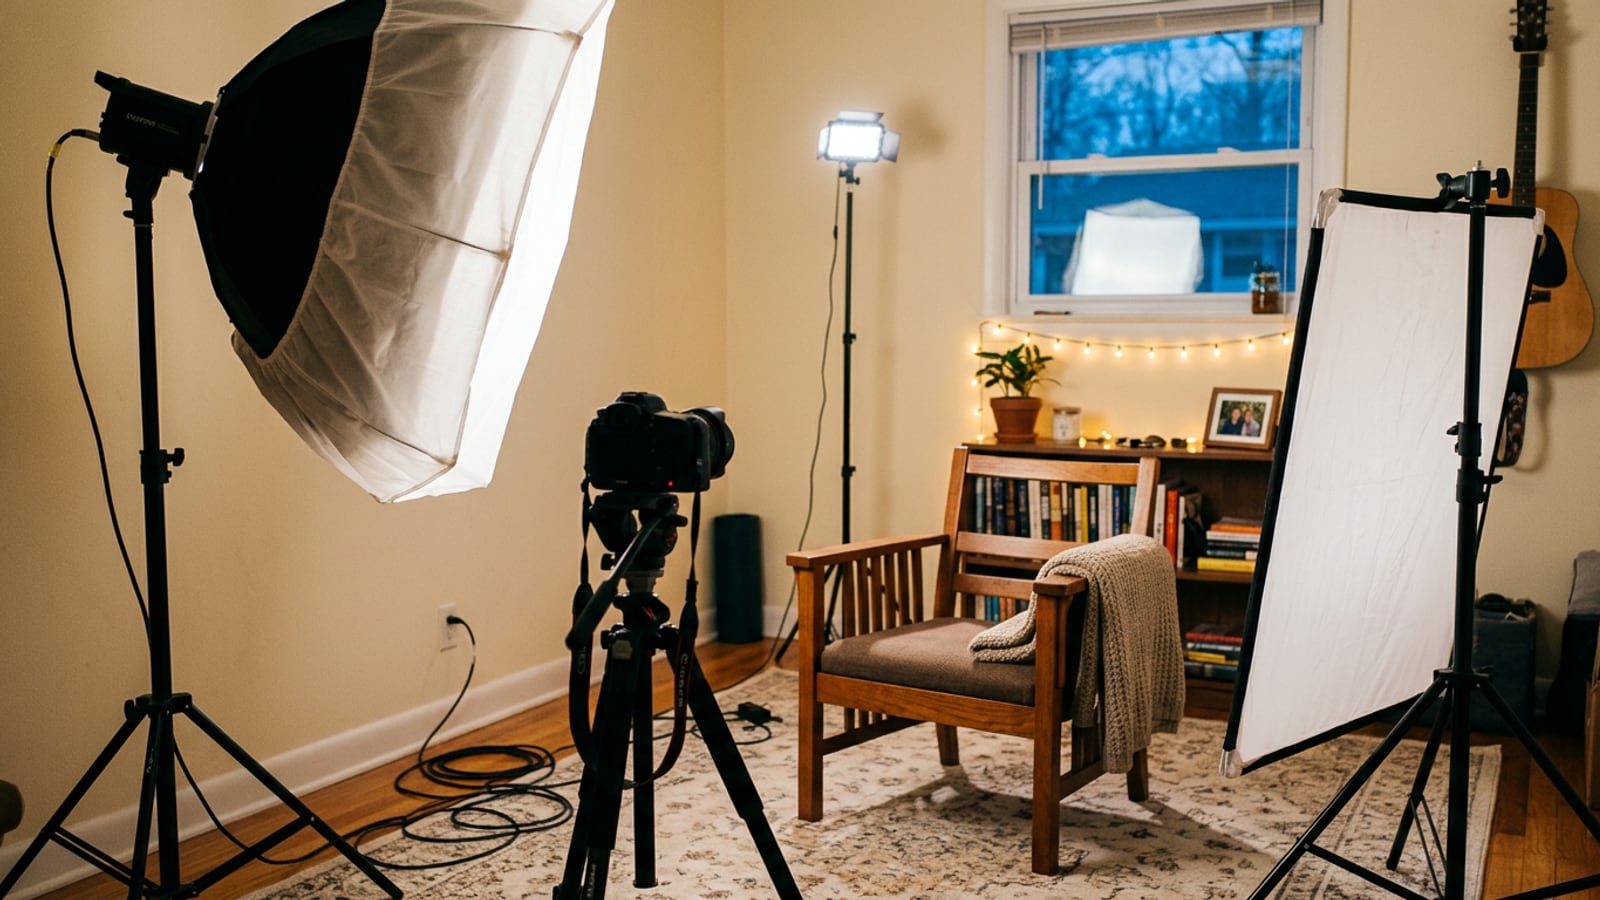
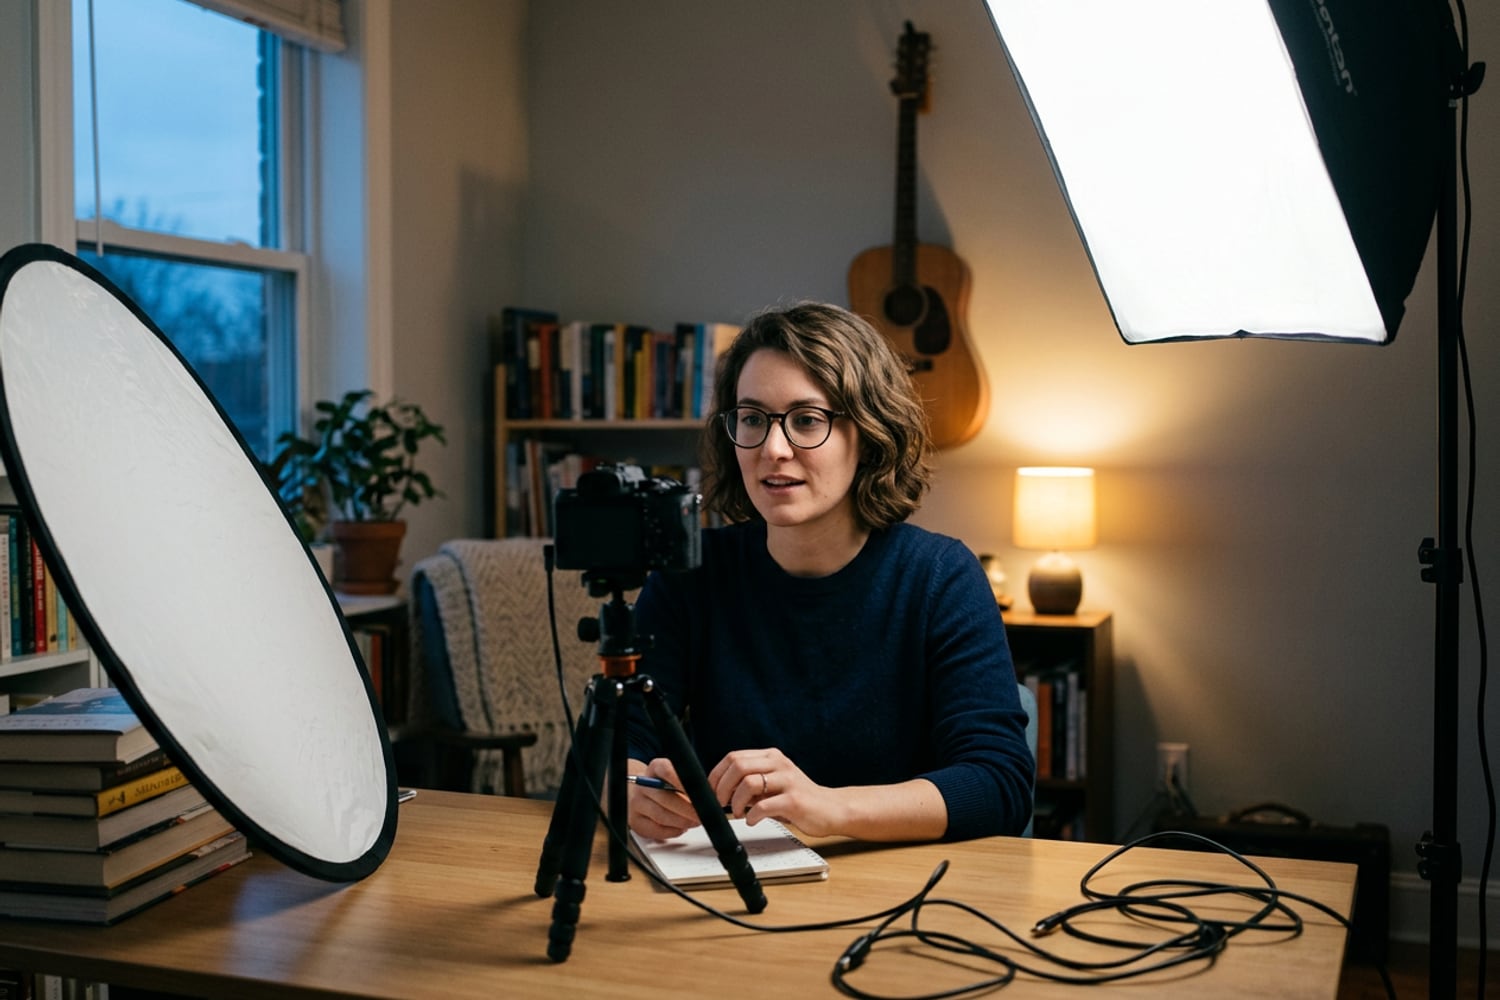
The Light Planner’s adjustment for glasses changes two things about the usual key position: higher, and farther to the side. Without glasses, the key sits about 45 degrees off the camera’s line with its center 1 to 2 ft above your eyes. With glasses:
- Start with the key 45 degrees off the lens, 2 to 3 ft from your face at a desk or 3 to 4 ft out in the room.
- Raise it until its center is about 2 ft above your eyes. Seated, your eyes are about 4 ft from the floor, so that puts the center of the light about 6 ft up. Tilt it down so it still points at your face.
- If the reflection is still there, swing the light out toward 60 degrees off the camera’s line.
- Bring the white bounce on the other side a little closer, because a key that far round leaves the far side of your face darker.
Raising the light comes first because it sends the reflection downward, below the lens, and light from above looks natural on a face. If your eye sockets go dark and the catchlight, the small bright reflection of the light in each eye, disappears, the light is too high: bring it down a little and move it farther out instead. A white board reflects much less light than the key, so its reflection, if it shows at all, is faint.
A desk clamp arm may not reach 2 ft above your eyes. Take the panel to the top of its pole and as far to the side as the desk allows, and if the reflection is still there, move the light to a floor stand. The Kit has both.
Make the light bigger and softer
How bright a reflection looks depends on how bright the surface of the light is, not on how much light it puts out. A bare LED or a small panel at full power shows up in your lenses as a hot spot; the same output spread across a large softbox makes a much dimmer patch. So diffusion helps twice: softer shadows on your face, and a fainter reflection in your glasses. A 35-inch softbox such as the amaran Octa Dome 90 on the Kit page does both.
A bigger light also makes a bigger reflection, so it has to go a little farther out before it clears the lens completely, which is why the flashlight test uses the softbox’s edge. Bouncing the key off a white wall or ceiling makes the biggest, dimmest source of all, at the cost of a lot of its output.
Tilt the frames, not your head
Resting the arms of your glasses a fraction of an inch higher on your ears tilts the lenses down a few degrees. When a mirror turns, its reflection turns twice as far, so a small tilt moves the reflection a long way, often clear of the lens. Tilting your head down would do the same to the reflection, but it puts your eyes under your brows and changes your face on camera. Front-on, the tilt is hard to see; from the side it shows, so check it in your framing.
It is a fix for a recording session, not for all day. If you want your frames to sit at a different angle for good, ask an optician to adjust them rather than bending them yourself.
The monitor, the ring light and the window
The monitor
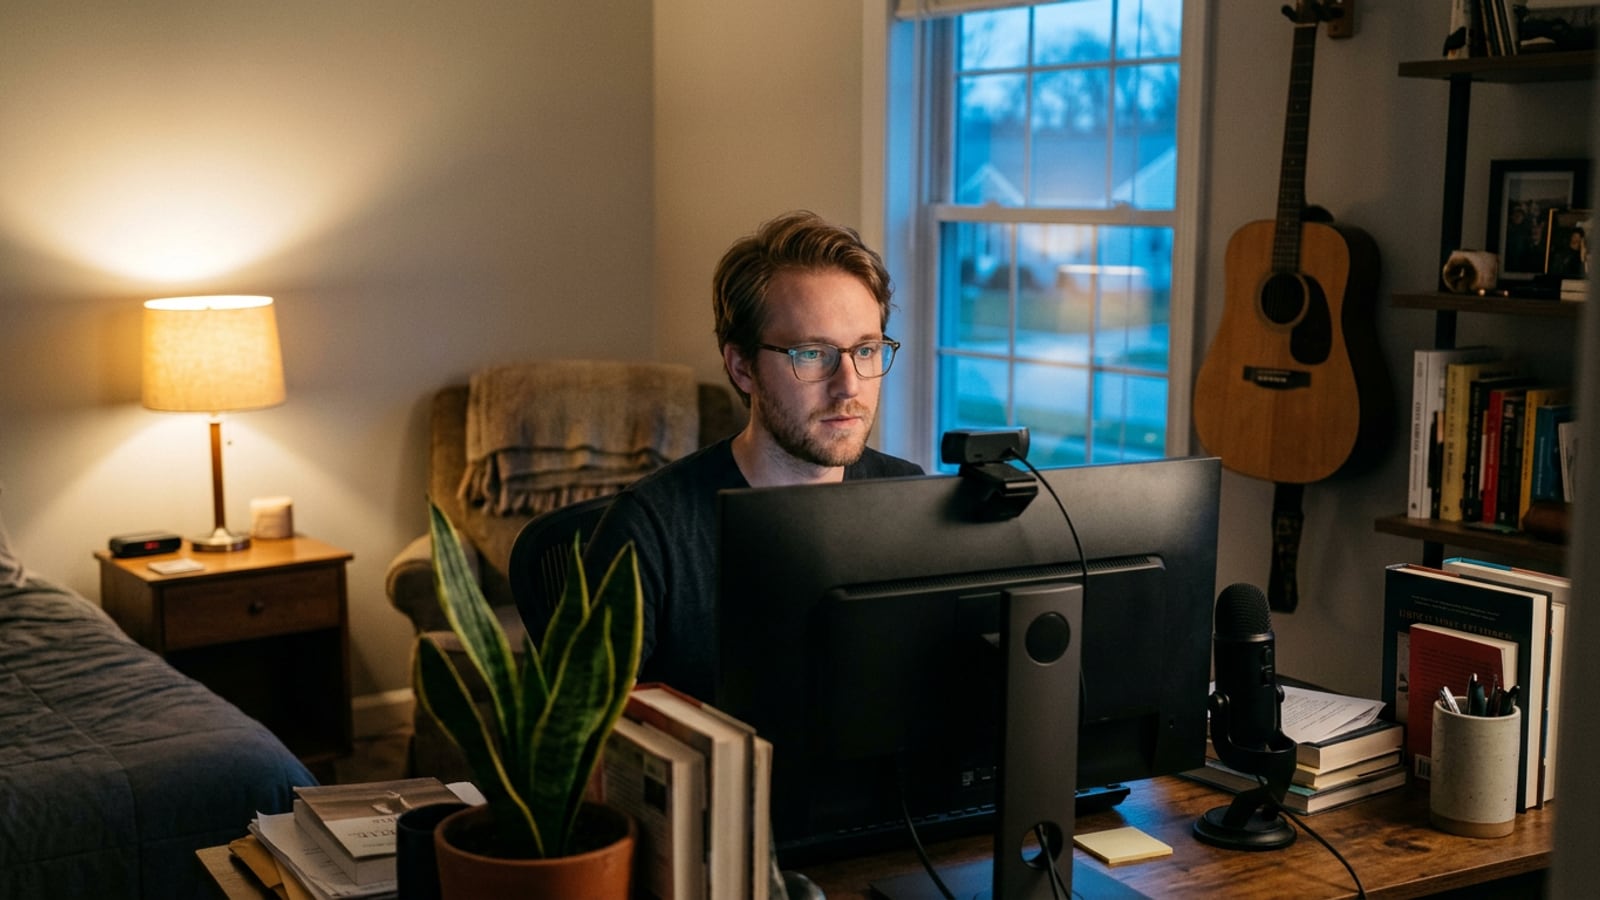
It sits right in front of you, so its glow lands in the middle of your lenses as a pale rectangle, sometimes with your script readable in it. Turn its brightness down while you record, and put a dark window or dark mode on it. Tilt it back a little or lower it so its reflection drops out of the lenses, and the frame tilt above helps here too. If you read from the screen, keep the window small and just under the camera, so your eyes stay near the lens and there is less bright area to reflect.
The ring light
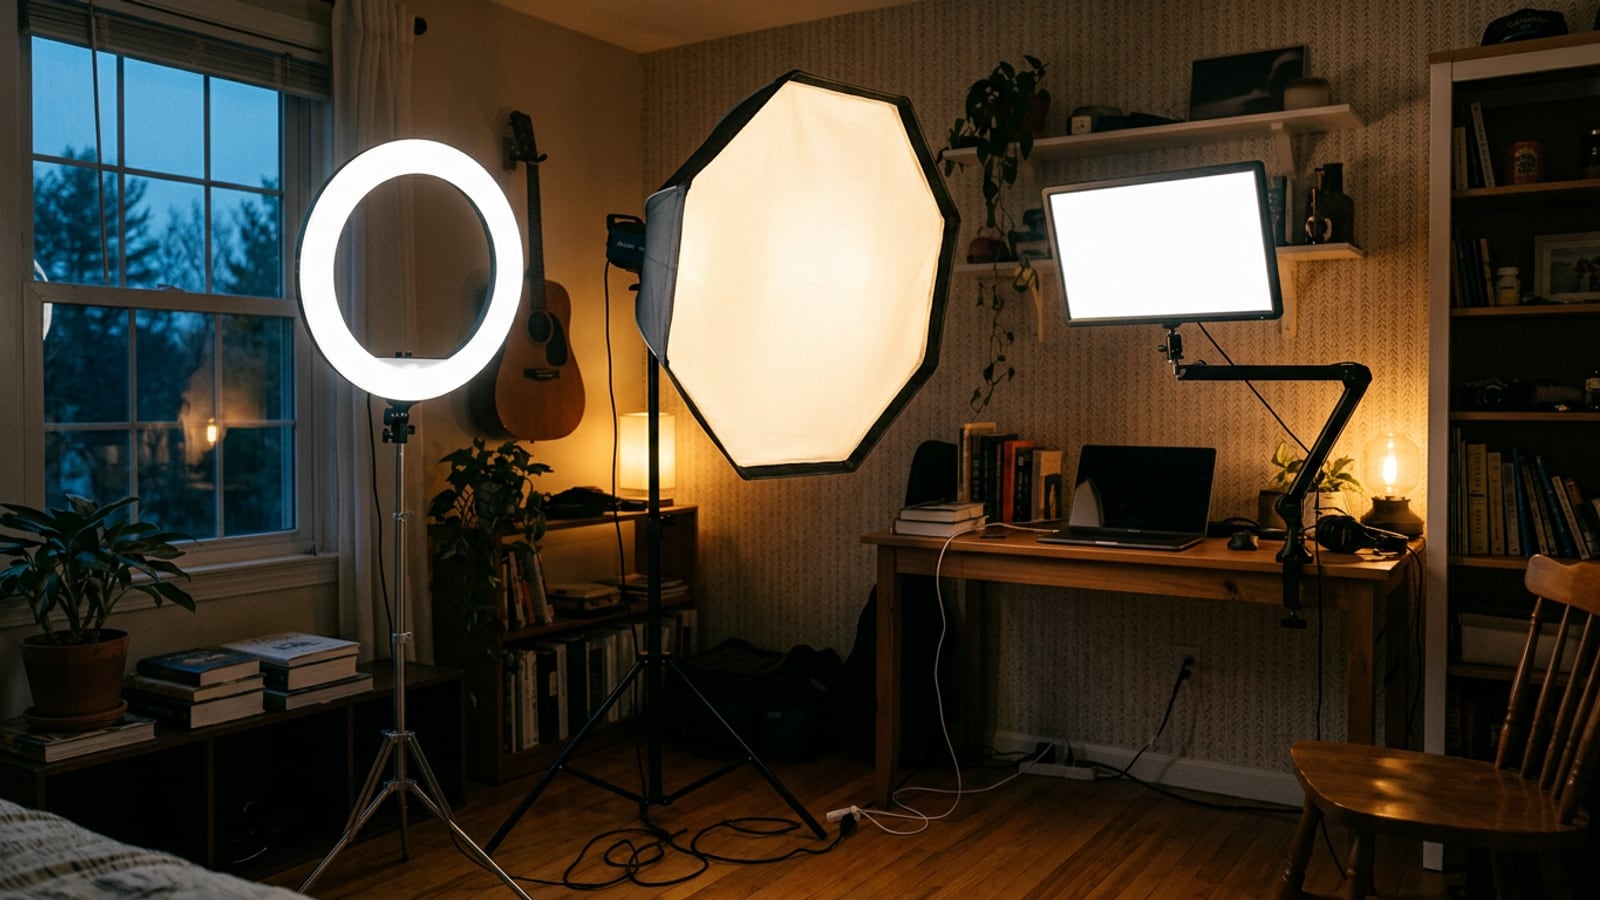
A ring light around the lens sits exactly where a reflection comes straight back to the camera, so it puts a ring in each lens and no frame tilt will fully clear it. Take the camera out of the ring and use the light as a key, raised and to the side, or turn it right down as a faint fill while another light does the work. Ring light vs softbox vs LED panel compares the three for glasses wearers.
The window
A window behind the camera reflects in your glasses as a bright rectangle. Sit a little off its center, so its reflection slides to the edge of the lens, or angle the desk so the window is 45 to 60 degrees off the camera’s line instead of straight ahead. A sheer curtain lowers its brightness and the reflection’s with it. A window beside you is far easier to keep out of your lenses than one in front of you.
Lenses that help: anti-reflective coating
An anti-reflective coating cuts the light that bounces off the surface of your lenses. The American Academy of Ophthalmology says it decreases reflections of bright lights off glasses and makes people under spotlights more photogenic, and it also notes that lower-cost coatings can make lenses harder to keep clean. It reduces the reflection rather than removing it, so a strong light in the wrong place still shows. If you’re buying lenses anyway, ask your optician about one; either way, the light placement above matters more.
When you can’t move the lights
Sometimes the window is where it is, the room is too small for a stand out to the side, or the clamp won’t go higher. In order:
- Tilt the frames. It costs nothing and works with any light.
- Turn yourself and the camera together. Rotate your chair and the camera a few degrees away from the fixed light, so it ends up farther off the camera’s line.
- Dim the light you can’t move, with a sheer, diffusion or its own dimmer, and let a light you can place do more of the work. A dimmer source makes a dimmer reflection.
- Add a polarizer, on a camera that takes filters. A circular polarizing filter on the lens can cut reflections off glass, but it works best on reflections that leave the glass at an angle, does little for a light straight in front, and costs one to three stops of light. Most webcams and phones have nowhere to fit one.
- Accept a faint sheen. The goal is eyes your viewers can see, not lenses with no reflection at all. A soft, dim patch at the edge of a lens is fine; a hot spot over your pupil is not.
Start from the one-light setup for a talking-head video, then make the moves above if your lenses catch the key; the Lighting section has the rest of our guides to placing lights.
Questions
Should I take my glasses off to film?
Not if you need them to see your notes, your screen or the camera’s monitor: keep them on and fix the light, which takes a few minutes. Glasses are part of how your viewers know you, and a light placed for glasses still flatters a face without them. If you don’t need them at the desk, filming without them is a choice about your look, not a lighting fix.
How do I stop my monitor reflecting in my glasses?
Turn its brightness down while you record, and put a dark window or dark mode on it, so there is less light to reflect. Tilt the screen back a little or lower it, and tilt your frames down a touch. If you read from it, keep the window you read from small and just under the camera.
Do anti-reflective lenses stop glare on camera?
They cut it rather than stop it. An anti-reflective coating reduces how much light bounces off your lenses, and the American Academy of Ophthalmology says it makes glasses wearers more photogenic under bright lights, but a strong light in the wrong place still shows. Ask an optician about it when you next buy lenses, and place the light well either way.
Can glare in glasses be removed in editing?
Rarely well. In a still, such as a thumbnail, a retoucher can paint a reflection out; in video it moves with every turn of your head, so removing it means tracking and repainting it through the shot, which is slow and seldom clean. Moving the light takes minutes, so fix it before you record.
Sources
- Specular reflection, Wikipedia
- What are the advantages of anti-reflective coatings on eyeglasses, if any?, American Academy of Ophthalmology,
- Polarizing filter (photography), Wikipedia