Three-point lighting at home: key, fill and back light
Where the key, fill and back light go in a 10-by-12-ft room, in feet and degrees, how bright each one should be, and which to leave out when space is short.
Chapters
In short
Put a soft key light 45 degrees to one side of the camera, 3 to 4 feet from you with its center 1 to 2 feet above your eyes, add fill on the other side at about half its brightness, and put a back light behind you on the side opposite the key, 6 to 7 feet off the floor. When the room or the budget is short, let a white reflector do the fill and leave the back light for later, but always start with the key.
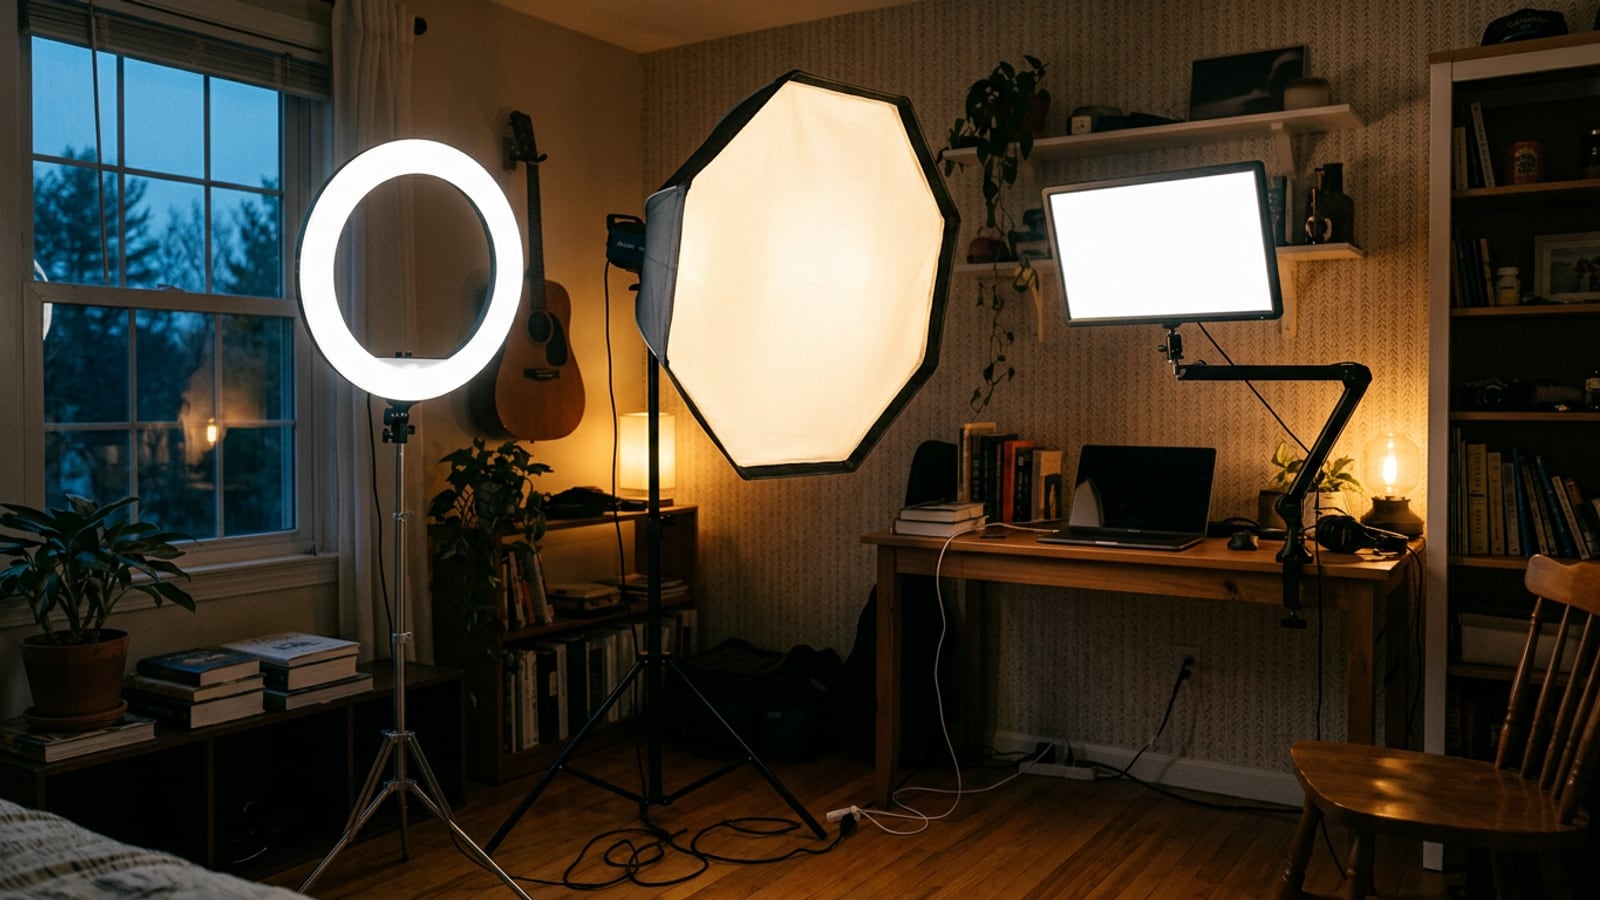
Three-point lighting is a key light that shapes your face, a fill light that softens the key’s shadow and a back light that draws an edge around your head and shoulders so you stand out from the background. In a room at home, put the key 45 degrees to one side of the camera, 3 to 4 feet from you with its center 1 to 2 feet above your eyes. Put the fill on the other side at face height and about half the key’s brightness, and the back light behind you on the side opposite the key, about 3 feet back and 6 to 7 feet off the floor. When the room or the budget is short, a white reflector stands in for the fill light and the back light can wait.
What each of the three lights does
Each light has one job, and you set it by that job rather than by a number on its dial. The names are the standard ones in film and video, where three-point lighting is how most interviews are lit:
| Light | Its job | Where it goes | How bright |
|---|---|---|---|
| Key | Shapes your face: lights the front, shades the far side | 45° to one side of the camera, 3–4 ft from you, 1–2 ft above eyes | The reference: expose for it |
| Fill | Opens up the key’s shadow without removing it | The other side of the camera, at face height | About half the key (one stop less) |
| Back | Separates you from the background with a rim of light | Behind you, opposite the key, about 3 ft back and 6–7 ft up | Just enough to draw an edge |
Set them up in the dark: ceiling light off, curtains closed, then one light at a time, key first, watching the camera’s screen. A light that adds nothing you can see is either too weak or doing another light’s job.
Start with the key
The key does most of the work, and everything else is set against it. With the camera on a tripod 4 to 6 feet from your chair and the lens at eye level:
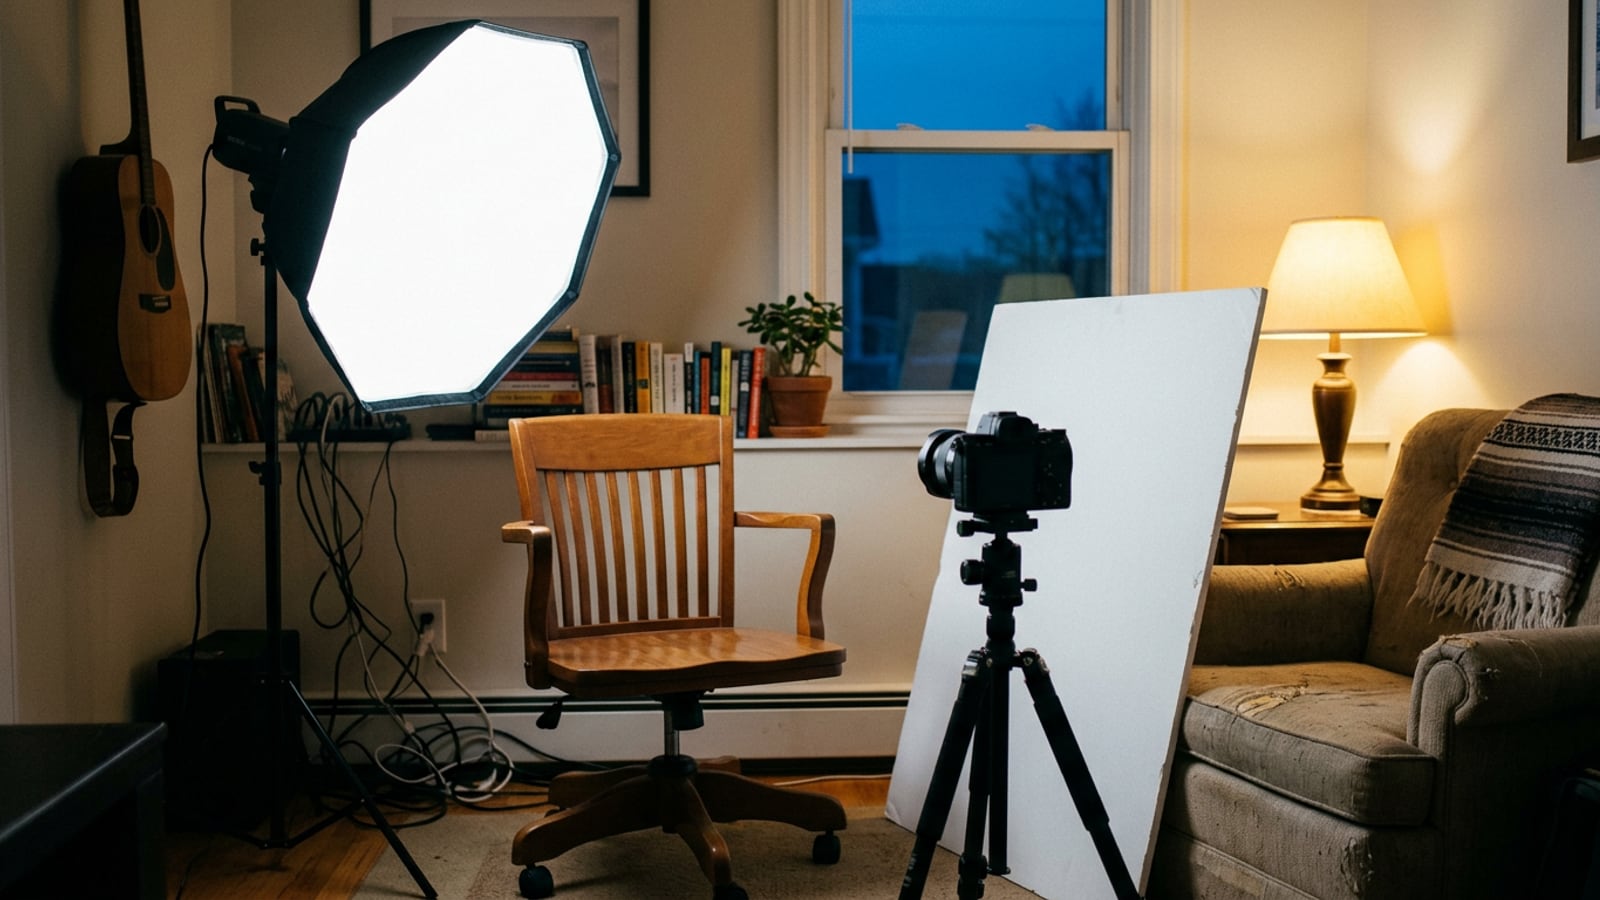
- Put the key on a stand 45 degrees to one side of the camera, 3 to 4 feet from you, with the front of the softbox just outside the frame.
- Raise it until its center is 1 to 2 feet above your eyes, which is 5 to 6 feet off the floor when you’re seated, and tilt it down at your face.
- Look for the catchlight, a small reflection of the softbox, in the upper part of each eye. If your eyes look dark, lower the light until it appears.
- Check that the far cheek falls a little into shadow. That shadow gives a face its shape on a flat screen; if it looks too deep, the fill will lift it.
Softness comes from the size of the light compared with your face, so a 24- to 35-inch softbox close to you gives gentler shadow edges than the same light farther away. A softbox on a tall stand is top-heavy, so hang a sandbag on one leg. If the key is the only light you own so far, the one-light setup for a talking-head video gets the most out of it, and by day a window beside you can be the key instead: see how to use window light for video.
Add fill, or let a bounce do it
Fill lifts the shadow the key leaves on the far side of your face. It should lift it, not erase it: if both sides end up equally bright, the face goes flat again.
- A white reflector or a sheet of white foam board on the other side of the camera, at face height, 2 to 3 feet from you, angled to catch the key and send it back into the shadow. It needs no power and can never outshine the key. Move it closer for more fill.
- A second light, when a reflector isn’t enough, as in a large room or one with dark walls. Keep it at face height, at the key’s color temperature and dimmed to about half the key’s brightness.
Pale walls in a small room already bounce some fill back onto you, so look at the shadow side with the key alone before you add anything.
Place the back light
The back light goes behind you on the side opposite the key, about 3 feet back and 6 to 7 feet off the floor. That side of your face is the darker one, so the edge of light shows best against it.
- Raise the light above head height and well to the side, outside the frame, and aim it down at your hair and the shoulder farther from the key.
- Check the screen for a thin edge on your hair and shoulder. If light spills onto your cheek or nose, move the light further behind you.
- If the picture looks hazy or a bright spot appears, the light is shining into the lens. Move it further to the side, or close its barn doors on the camera side if it has them.
Dark hair and dark clothes soak up back light and need more of it; fair or gray hair and bare heads show it quickly, so keep it low or the edge turns into a glow.
Set each light’s brightness against the key
Set the camera to the key first, then bring the other lights up to it:
- Key: with only the key on, set the exposure for your face at your camera’s lowest ISO and lock it. Use a shutter of 1/60 at 24 or 30 fps on US 60Hz power, which also keeps most mains-powered lights from flickering on camera, or 1/50 on 50Hz power. The settings every plan starts from cover the rest.
- Fill: about half the key’s brightness, one stop under. Turn its dimmer down, or move it back: by the inverse-square law, a light about 1.4 times farther away gives half as much, so with a matching light at the same setting, a key at 3 feet and a fill at about 4 feet 3 inches give you one stop. A big softbox close up doesn’t follow the law exactly, so finish by eye.
- Back light: turn it up until you see the edge on your hair and shoulder, then back it off a little.
- Background and practical lamps: a little darker than your face, so the eye goes to you first.
Every light on your face should share one color temperature: 5600K, or a warmer 4500K if you prefer, with the camera’s white balance set by hand to match. Household bulbs sit around 2700K on the color temperature scale, so keep them in the background, where their warmth reads as a lamp.
Tip: switch the fill off and on while you watch the screen. If you can’t see the difference, it’s too weak or too far away; if the shadow side disappears, it’s too strong.
Fitting three lights into a small room
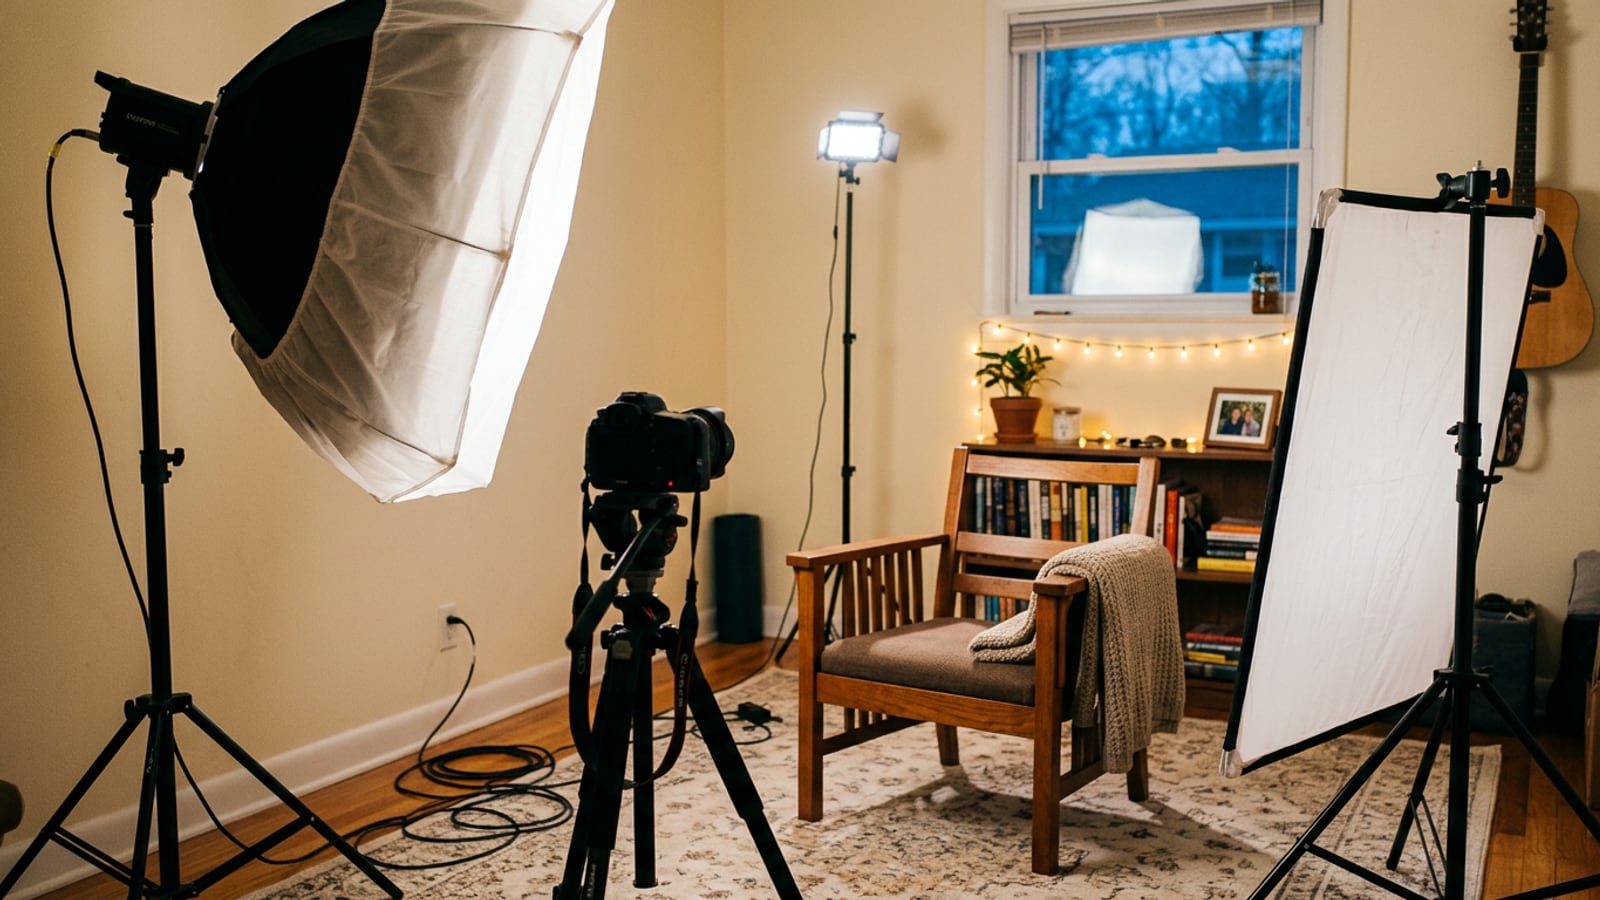
Here are all three in a real 10-by-12-ft room with an 8-ft ceiling:
- You: your back to one of the 10-ft walls, 4 feet out from it and centered, so the wall falls darker than your face and your shadow lands on the floor.
- The camera: on a tripod 5 feet in front of you, which leaves about 3 feet behind it to reach the controls.
- The key: 3 to 4 feet from you at 45 degrees, which puts its stand about 2½ feet forward of your chair and 2½ feet to the side, clear of the side wall.
- The fill: a reflector 2 to 3 feet from you on the other side, propped on a chair or clamped to a stand.
- The back light: behind you on the side away from the key, about a foot off the back wall and 6 to 7 feet up, which an 8-ft ceiling allows.
If the stand behind you shows in the shot or there’s no floor for it:
- Clamp a small LED panel high on a shelf, a bookcase or the top of a door frame, with a clamp rated for its weight, tightened fully. Keep any light that runs warm away from curtains and fabric.
- Move the back light to the side, just out of frame and turned back toward you. It draws an edge on one side only, which still separates you from the wall.
- Light the wall instead. A lamp or a small light washing the wall behind you separates you from it by brightness, with no stand behind your chair.
White walls in a room this size bounce light everywhere, which is free fill and may let you skip the fill altogether; if your face looks flat, hang something dark on the side away from the key. The Light Planner’s setup for a room with no window draws this layout with the kit at three budgets, and the small-room studio checklist covers the rest of the room: the sound, the background and the cables.
A fourth light: a practical in the background
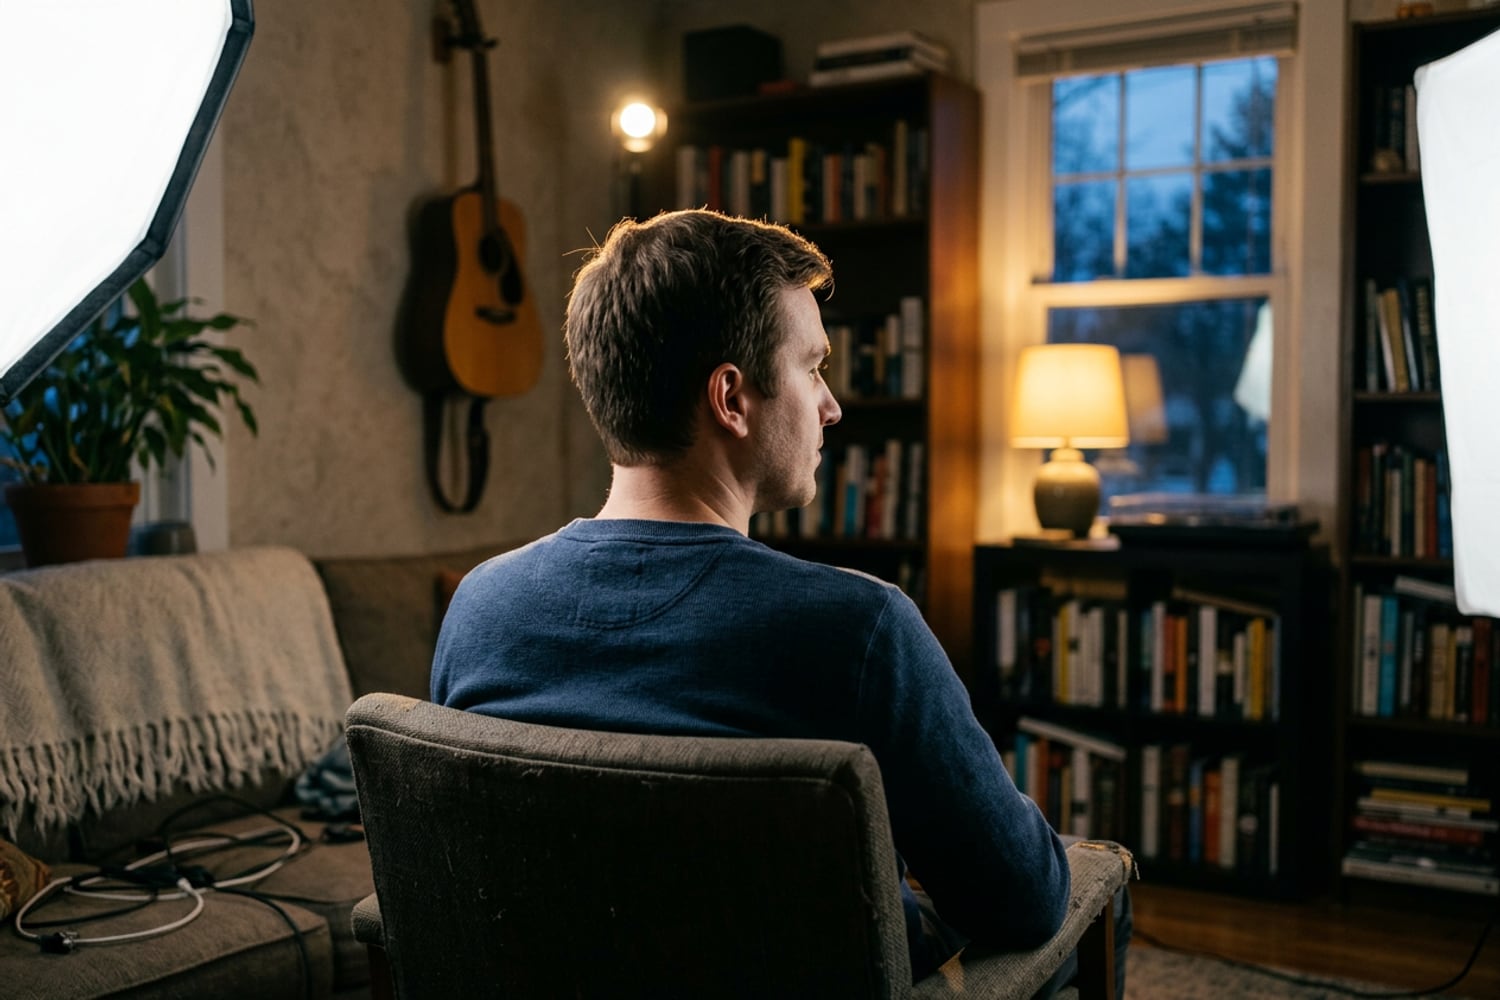
A practical is a lamp that appears in the shot: a table lamp, a string of bulbs, a floor lamp in the corner. It makes the background look like a room rather than a wall and adds depth behind you. Give it a warm bulb, about 2700K, and keep it dimmer than your face so it reads as a glow, not a second key. The other common fourth light is a background light, aimed at the wall or shelves behind you rather than at you, sometimes in color; keep it off your face, which stays lit in white.
What to buy first, second and third
Buy the key before a new camera. A better camera shows a badly lit face in more detail, while a soft key improves the picture from any camera. Then buy in this order (prices are the Light Planner’s for a room with no window):
| Order | What to buy | About | When it’s enough |
|---|---|---|---|
| First | A 60W-class COB light with a 24-inch softbox and stand, for the key | $200 | With a reflector, it’s a complete one-light setup |
| With it | A white foam board for fill | $10 | In a room with pale walls, it may be all the fill |
| Second | A small LED panel on a stand, for the back light | $70 | It lifts your hair and shoulders off the wall |
| Third | A second 60W-class COB with a 24-inch softbox and stand, for fill | $200 | Only when the board can’t lift the shadow enough |
| Any time | A warm 2700K bulb for a lamp you already have, as a practical | $10 | Whenever the background looks empty |
On a tight budget, a kit of two softboxes on stands with LED bulbs, about $70, gives you a key and a back light, and a white board does the fill. The Kit lists the lights, softboxes, stands and reflectors these setups use, with a cheaper option in every group, and there is more on lights and modifiers in Lighting.
Questions
What ratio of key to fill light looks natural?
Fill at about half the brightness of the key, one stop under, looks natural for most talking-head videos: the shadow side is clearly darker but still shows detail. Some people write that as 2:1 and others, counting the lit side as key plus fill, call the same setup 3:1, so go by the stop rather than the ratio. Drop the fill to a quarter of the key for a moodier look, or bring it closer to the key for flatter, even light.
Where exactly does the back light go?
Behind you on the side opposite the key, about 3 feet behind you and 6 to 7 feet off the floor, aimed down at the back of your head and the far shoulder, just out of frame. On the camera’s screen it should draw a thin edge on your hair and shoulder. If it spills onto your cheek, move it further behind you; if the picture goes hazy, it is shining into the lens and needs to move aside.
Can a window be the key light?
Yes. A window beside you is a large, soft key that costs nothing: turn your chair so it sits about 45 degrees in front of you, put a white reflector opposite as fill and a back light on the room side. Set every light you add to daylight, about 5600K, so it matches the window, and expect the window to change with the weather and the time of day.
Do I need three lights for YouTube videos?
No. One soft key and a white reflector already make a finished-looking talking-head video, and by day a window can be the key. The back light is the usual second buy, because it separates you from the background in a way distance from the wall only partly does. A third light is for when a reflector cannot give enough fill, or for lighting the background.
Sources
- Three-point lighting, Wikipedia
- Inverse-square law, Wikipedia
- Color temperature, Wikipedia