Advanced Audio Properties in OBS: Every Setting Explained
Advanced Audio Properties in OBS can help fix lip-sync delays, route sound to streams and VODs, and keep recording track assignments from changing.

Chapters
In short
OBS Advanced Audio Properties is the control panel for choosing where each audio source goes, when it plays, and whether you hear it while streaming or recording. Use track checkboxes to separate voices, game sound, live audio, and VOD mixes; adjust sync offset to match sound with video, and choose monitoring, balance, and mono settings deliberately. Test each source with a short recording, then recheck track assignments whenever OBS restarts so missing or misplaced audio does not spoil a stream or replay.
Ever watched a video where the voice lands a beat after the lips move? That gap is hard to ignore, and it’s often a timing problem you can fix inside OBS (Open Broadcaster Software).
Advanced Audio Properties is the control panel where you set how each sound source is routed, timed, and balanced. It’s less about guessing and more about knowing why your sound lands where it does.
We’ll cover every setting, then build practical setups for lip-sync, headphone monitoring, and clean multitrack recording. No audio engineering background required. Clean multitrack recording also depends on bit depth audio, so it helps to know what that number means.
Opening Advanced Audio Properties in OBS
Every audio source in OBS has advanced controls in one window. Here’s where to find them and how to confirm your changes stuck.
Finding the panel from each audio source
Each source in the Audio Mixer has its own settings. Click the gear icon on the one you want to adjust, then choose Advanced Audio Properties.
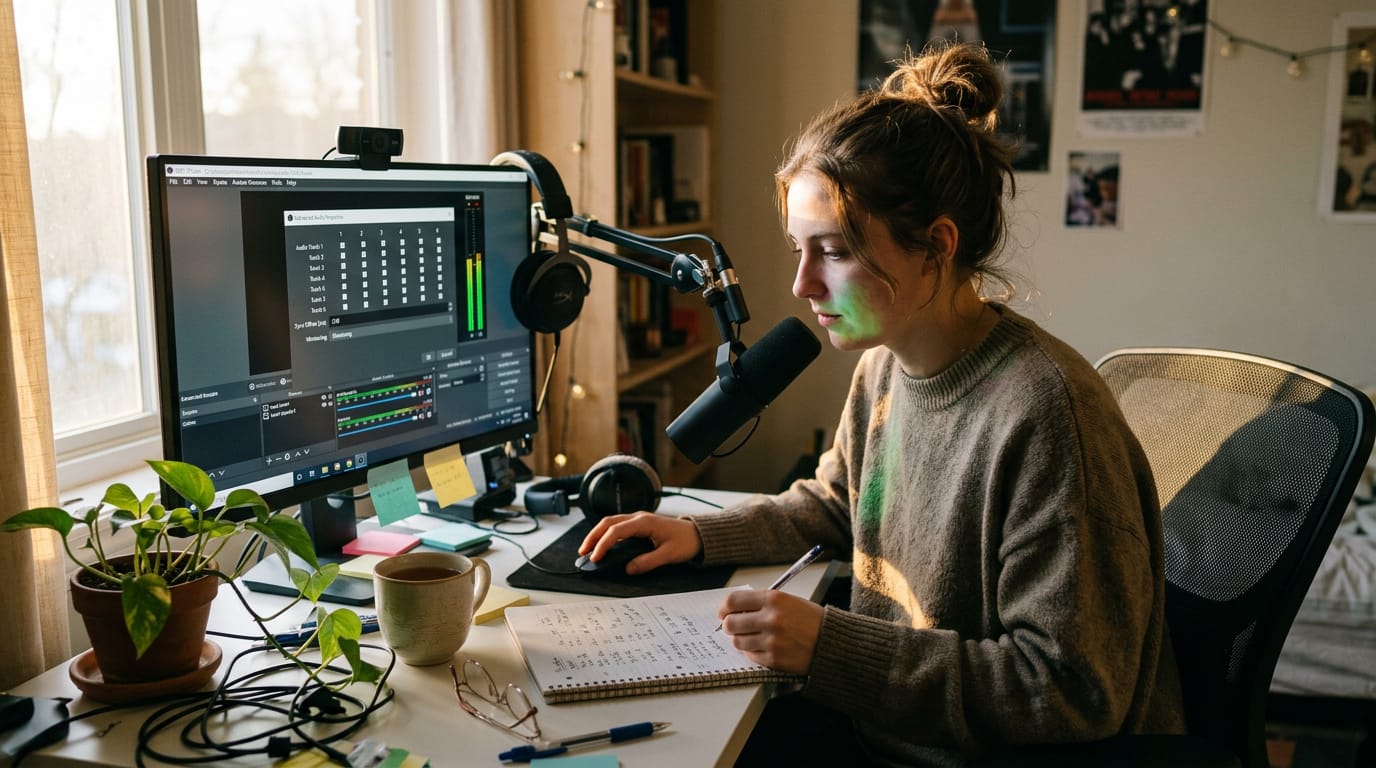
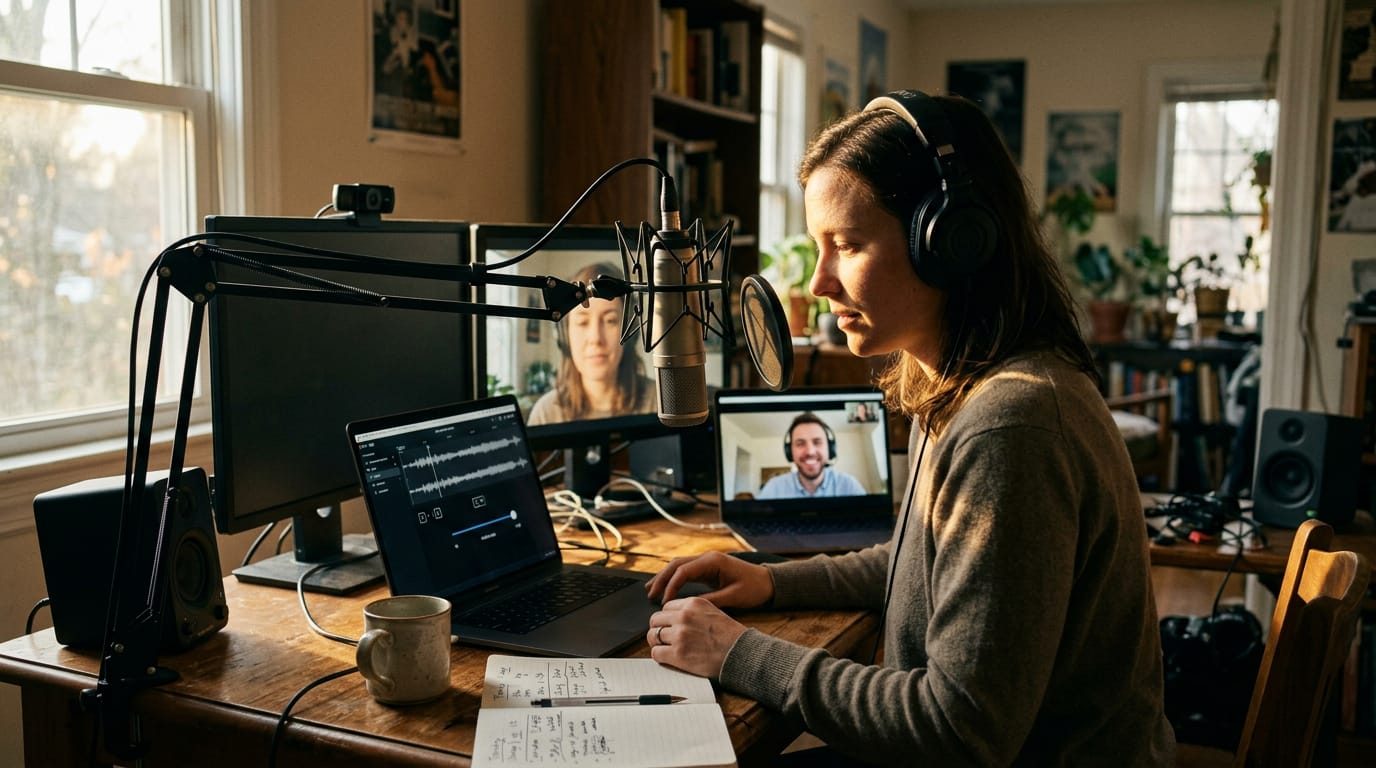
The Tracks checkboxes decide which recording tracks a source goes to. A podcaster who sends her mic to Track 1 and a remote guest to Track 2 ticks only those boxes, so each voice gets its own track for editing. Keeping each voice on its own track is the first step toward professional audio mixing.
Audio monitoring controls whether you hear a source yourself. There are three modes:
- Monitor Off keeps the source silent in your headphones.
- Monitor Only (mute output) plays it to you but keeps it out of the stream.
- Monitor and Output sends it to both.
Choose headphones over speakers, or your mic will pick up the speakers and send the sound back as an echo.
The sync offset field delays a source by a set number of milliseconds so it lines up with the picture. If your webcam runs a beat behind your voice, delay the mic to match, and nudge in small steps until your words and lips agree.
Volume lives on the mixer fader, but this window also has balance, which shifts a source left or right, and force mono, which plays one signal in both ears. Sound that only shifts left or right can feel flat, which is where immersive audio comes in.
Checking that your settings stuck
It’s easy to assume a change took, so confirm it before you hit record. Close the window, reopen it, and check that your track boxes, monitoring mode, and sync offset held. If anything reverted, set it again.
Then do a manual check of each source. A streamer sending game audio to Track 2 should play a short clip and confirm it lands on that track before going live. Ten seconds of testing beats a silent recording later.
Sending Audio to Live Stream and VOD
Your live stream and your saved replay, called a video on demand (VOD), don’t have to carry the same audio. OBS (Open Broadcaster Software) lets you send a different mix to each, so viewers hear what they need in real time and your replay stays clean.
Setting up live and VOD tracks
Start by choosing your live audio track in settings, then turn on the Twitch VOD track. Viewers watching now need one mix, and your replay needs another. Here’s how the tracks divide the work:
- Track 1 holds your live audio, the mix viewers hear as it happens.
- Track 6 holds your VOD audio, the mix saved to your archive.
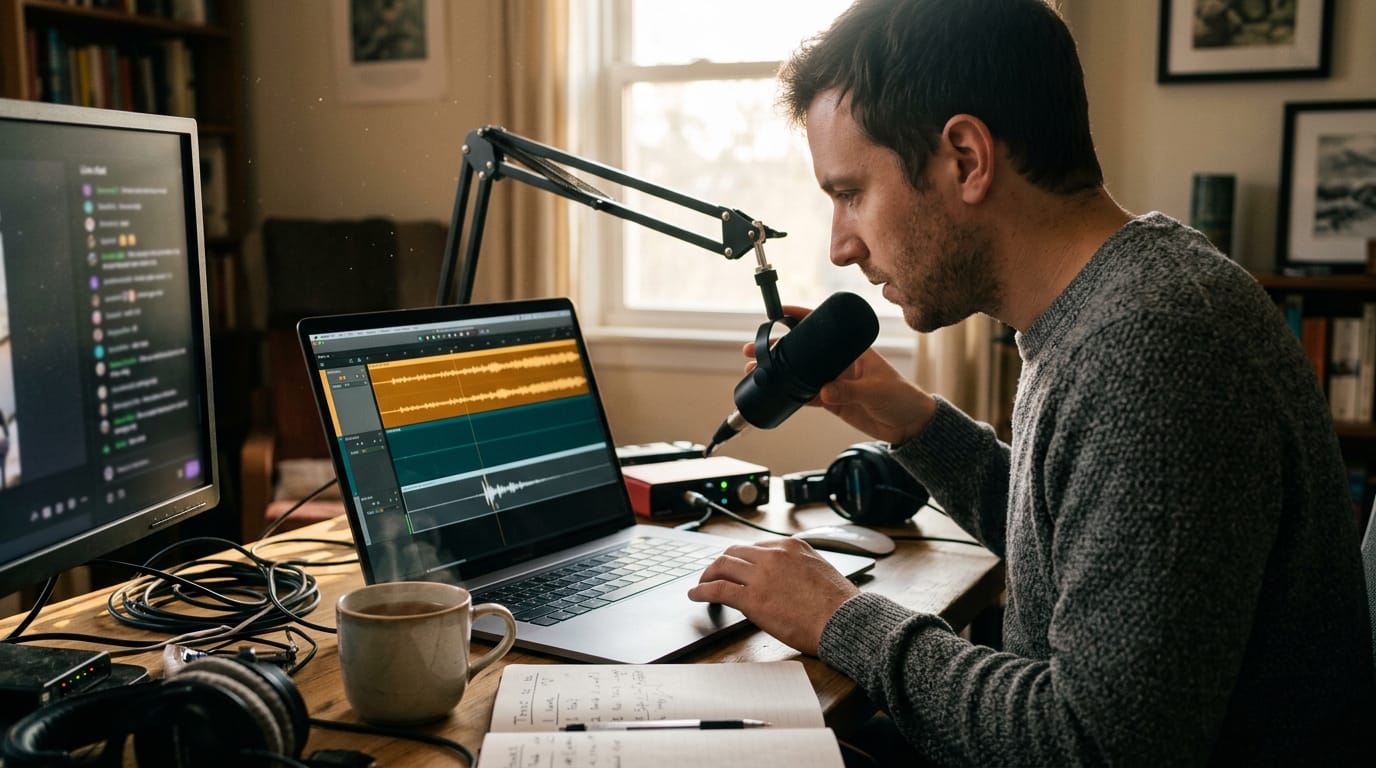
- Your mic on its own track lets you edit your voice later, like evening out a loud laugh or cutting a cough, without rebuilding the whole mix.
Keeping music out of your VOD
Background music needs its own rule. Keep music on Track 1 only, so viewers hear it live but it never reaches the saved archive. Untick Track 6 for your music source, and nothing else about your live show changes.
Picture a podcaster who streams interviews with a licensed music intro. Viewers hear the intro live, but the replay she shares later opens straight on the conversation, because that music never touched Track 6. One untick keeps the replay clean.
If you use Twitch SoundTrack, the same rule applies: its music stays on Track 1 and off Track 6.
Track Assignments That Change on Their Own
Sometimes the audio setup you saved isn’t the one waiting when OBS opens. Here’s what that looks like, plus a workaround that keeps you in charge.
What the problem looks like
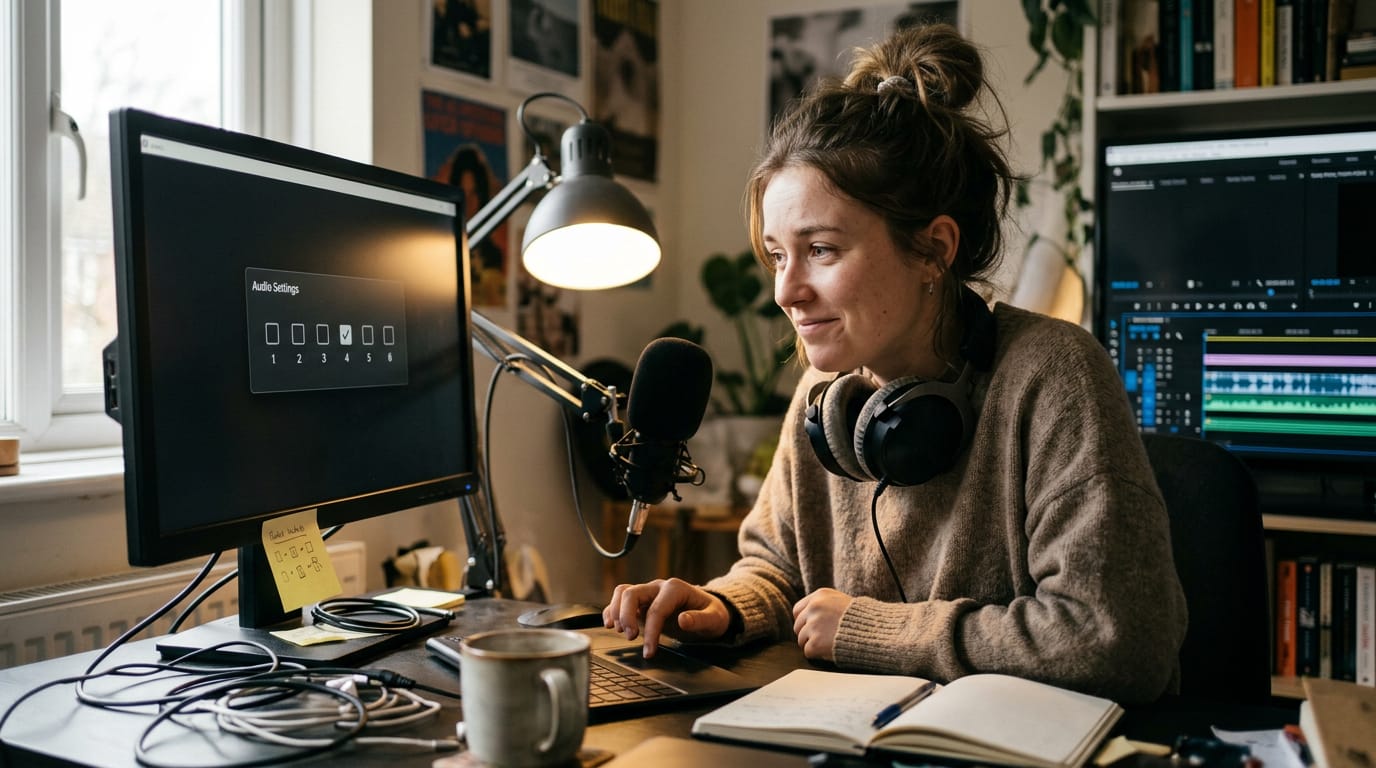
Each source has its own row of checkboxes, one per track, in Advanced Audio Properties. Those are your track assignments, and the trouble starts when they change without you touching them. The shifts often show up after a restart.
It usually shows up as:
- Random checkboxes. Tracks check and uncheck on their own.
- Missing live audio. Viewers hear nothing from a source you can see.
- Missing VOD audio. Your saved recording, or VOD (video on demand), lacks the game sound.
Picture a streamer who keeps game audio on track 2 so her editor can balance it later. After a restart, that track is unchecked, and her VOD comes out with her voice and no game sound. It’s less that the setup vanished and more that the checkboxes moved.
Likely causes and a workaround
We haven’t confirmed the cause, so treat this as a working theory. Connecting or disconnecting sources may be the trigger, like a USB mic that reconnects after OBS launches. The more audio sources you run, the more chances there are for a shuffle.
A solo host with one mic has far less to juggle.
Until the cause is pinned down, do a manual re-check every launch:
- Open Advanced Audio Properties before you go live.
- Compare each source’s boxes against a note of your intended tracks.
- Fix anything that moved.
Check first, then hit record.
Further Reading on Advanced Recording and Audio
Once your audio is sorted, a few encoder settings and guides are worth a closer look.
Encoder settings for NVENC and x264
An encoder is the part of OBS that compresses your video before it’s recorded or streamed. Your options depend on your hardware:
- NVENC (NVIDIA’s hardware encoder) hands the work to your graphics card.
- x264 (a software encoder) runs on your processor.
- AMD and Quicksync (Intel’s built-in video engine) are hardware options for their respective chips.
Rate control sets how OBS manages bitrate (the data sent each second), and the quality value sets how much detail survives. Keyframe interval sets how often a complete frame is stored.
Profile sets which compression features are allowed, and B-frames (frames that draw on both earlier and later frames) affect how efficiently the video packs down.
Consider a streamer with an NVIDIA card whose game stutters whenever x264 is running. Switching to NVENC moves the encoding onto the graphics card, so the game keeps more of the processor to itself. The big choice is hardware versus software.
If you started in Simple mode, its presets make a solid reference point. Matching your Advanced values to them gives you a steady baseline. Test one change at a time.
More audio guides worth reading
These guides go deeper on the audio side:
- Multiple audio track recording keeps each source on its own track, so a podcaster can edit her voice and her guest’s separately.
- Audio sources guide covers what each input is and how to add it.
- Application audio capture pulls sound from one program, like a game.
- Audio mixer guide shows how to balance it all.
Getting Advanced Audio Properties right comes down to five settings: tracks, sync offset, monitoring, volume, and balance. Once you know what each one controls, you stop guessing and start making deliberate choices.
Test each source with a short recording, change one setting at a time, and keep the setup you’ve proven works.
Get the settings right once, and the sound fades into the background, right where it belongs.