High Pass Audio Filter Explained: How It Works
A high pass audio filter cuts fridge hum and low thumps from voice recordings. See cutoff settings and apply one at your mic, recorder, or editor.


Chapters
In short
A high-pass audio filter, also called a low-cut filter, lets higher frequencies through while reducing sound below a chosen cutoff. Set the cutoff just high enough to remove unwanted rumble, hum, or thumps, and adjust the slope and setting by ear so useful bass does not disappear; filters can work in recording hardware or editing software. Used carefully, it makes voices and mixes clearer and helps keep deep bass away from speakers that are not built to handle it.
Ever played back a take and caught a fridge hum or a low thump under your voice? That rumble makes home recordings sound boxy, and it’s easier to fix than you’d think.
A high pass filter lets the higher sounds through and quietly trims everything below a point you choose.
In this post, we’ll cover what it does, the settings that shape how it behaves, where creators use it most, and how to switch it on at the mic, recorder, or editor.
What a High Pass Audio Filter Does
A high pass filter is one of the quickest fixes on your mic channel, and it’s simpler than it sounds.
Letting highs through and blocking lows
A high-pass filter (HPF) passes high-pitched sound and turns down anything below a set point. It’s also called a low-cut filter.
Simply put, it lets the highs through and blocks the lows. The technical version: it passes frequencies above a cutoff frequency, measured in hertz (Hz), or cycles per second, and attenuates (reduces) those below it.
The cutoff is the boundary line. That’s the whole trick.
Does a high-pass filter remove bass?
Yes, it removes deep bass sounds that sit below the cutoff. Think of it as a kitchen strainer: the heavy, low rumble gets caught while the lighter, higher sounds pour through.
Consider a streamer recording at a desk beside a tower PC, where every sentence carries a low hum underneath. Switching on the HPF at the mic or in the editor cuts that hum below the cutoff, so the voice comes forward.
Same desk, same PC, far less hum on the recording.
Comparing it with a low pass filter
A low-pass filter (LPF) is the mirror image:
- HPF: passes highs and cuts the low end.
- LPF: passes lows and cuts the high end.
The LPF removes high-frequency noise, and because the sharp top end is what gets reduced, the result is a warmer sound. Picture a course creator whose budget laptop mic picks up a harsh edge on every lesson.
An LPF in the editor tames that fizz so the lessons sound easier on the ear.
Rumble calls for the high-pass. Fizz calls for the low-pass.

The Specs That Define Its Behavior
A high-pass filter has only a few settings, but each one changes how your voice sounds, so we’ll walk through what each does.
Cutoff point and how sharply it drops
Every high-pass filter has a cutoff frequency, the point in hertz (Hz) where it starts holding back low sound. The slope sets how fast that happens, measured in decibels (dB) per octave.
The slopes you’ll see are 6, 12, and 24 dB/octave, and a higher number means a steeper drop.
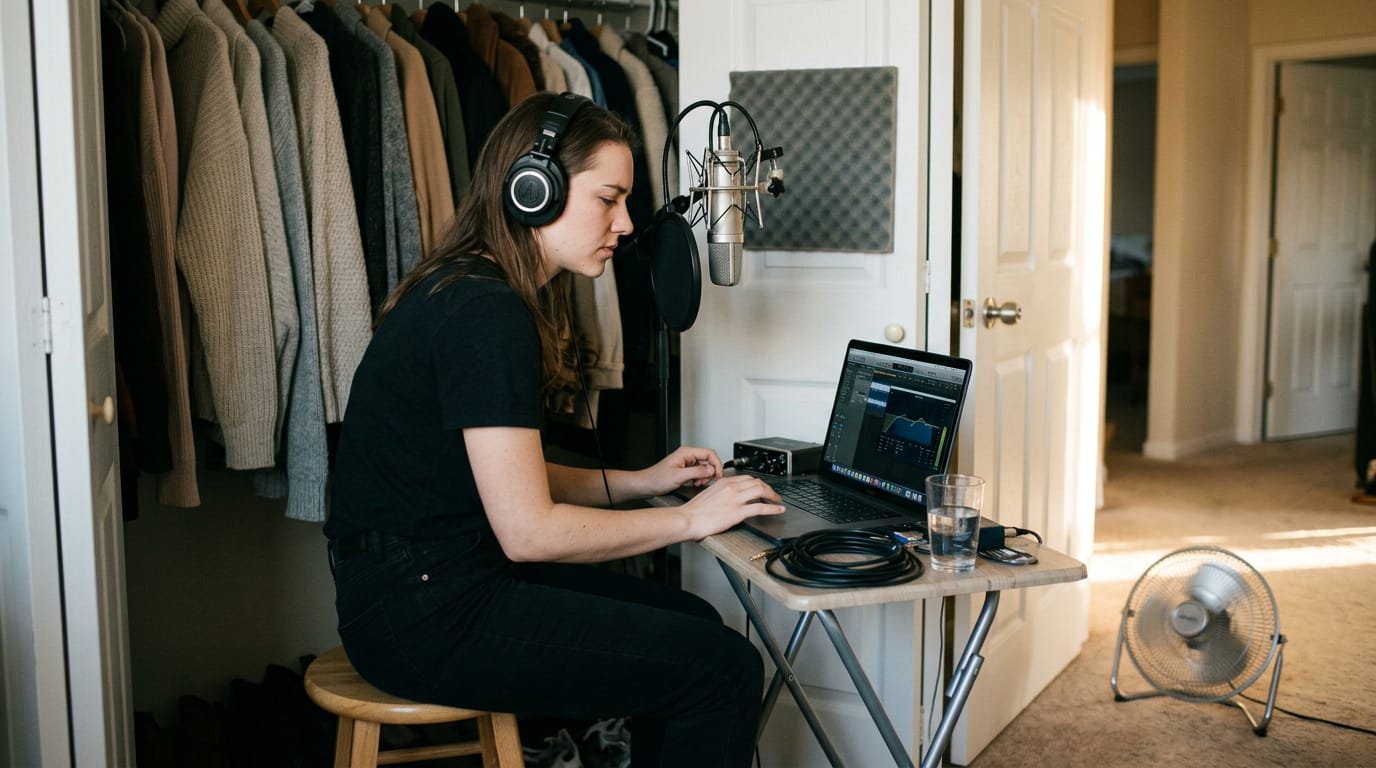
The cutoff tells you where the filter starts, and the slope tells you how it gets there. Consider a podcaster recording in a closet beside a noisy air conditioner.
At 6 dB/octave, the rumble fades like a ramp, so some of it leaks through and the low end of her voice thins out with it. At 24 dB/octave, the rumble drops like a wall, and her voice stays intact.
That sharpness of attenuation, meaning how hard the filter turns the rumble down, is what separates a clean edit from a muddy one.
Electronic, digital, and infrasonic versions
A high-pass filter can live in hardware as an electronic filter inside a mic, preamp, or recorder, or in software as a digital filter inside your editor. The difference is timing. Hardware acts while you record, so the rumble never reaches the file.
Software acts after, so you can tweak the setting on a finished take.
An infrasonic filter is a high-pass set to remove everything below 20 Hz, the bottom edge of human hearing. You won’t hear the difference, since your ears never picked that content up in the first place. Apply it once and forget it.
Where People Use It Most
A high-pass filter lets high frequencies pass and trims the low end below a set point. Most of its jobs come down to one question: is there low sound that doesn’t belong?
Clearing out rumble, hum, and thumps
Home recordings pick up low-end junk you won’t notice until playback. A high-pass removes most of it, including:
- Rumble and hum from nearby gear and wiring
- Desk thumps when an elbow bumps the table
- AC rumble (the low drone from your air conditioner)
- Traffic coming through the wall
Picture a podcaster recording in a converted closet who clears all of it in one pass and never has to re-record a word.

Making room in your music mix
Whether you’re mixing or mastering (the final polish before a track goes out), every instrument competes for the same low space. Roll off the bottom of guitars, keys, and vocals that don’t need bass, and the kick drum and bass get room to hit.
Mixing consoles and editing software usually include a high-pass control, so you can shape the frequency balance (how much bass, midrange, and treble you hear) one track at a time.
It’s less about taking away sound and more about making room for the parts that matter.
Keeping vocals and dialogue clear
Low rumble muddies spoken words, even when they’re loud enough to hear. Vocal mics, acoustic instruments, and dialogue all benefit. Say you’re a course creator recording lessons at a home office desk.
Flip the mic’s built-in low-cut switch (a high-pass built right into the microphone), and the chair creak and desk rumble fade while your voice stays full. One switch, no new gear.
Keeping speakers safe in live sound
Live sound is where the filter protects gear. Small speakers and tweeters (the small drivers that handle the highest sounds) aren’t built for deep bass, so forcing it through them risks overload.
A high-pass keeps that energy out, and it’s a common part of speaker crossovers (the circuits that split the signal between drivers).
So do subwoofers need a high-pass filter? Not for their own protection. A subwoofer is built for the low end, so the filter goes on the smaller speakers in the system instead, and each part gets the job it was built for.
Applying a High Pass Filter to Audio
A high-pass filter removes low rumble below a cutoff and lets your voice through. Here’s how to apply one.
Steps from upload to download
- Select and upload audio. Upload your clip to your editor.
- Set cutoff frequency. Pick a starting point for your source.
- Apply filter. Switch on the high-pass for the full clip.
- Preview and fine-tune. Listen back and adjust by ear.
- Download as MP3 or WAV. Use a compressed MP3 to share or an uncompressed WAV to keep editing.
In FL Studio, a digital audio workstation (the software you edit sound in), add an equalizer (EQ) to your track, switch on its low-cut band (the same job as a high-pass), and set the cutoff by ear.
What should I set my high-pass filter to?
Each mic and room needs its own starting point, so treat the cutoff as a place to begin. Picture a podcaster recording in a bedroom closet with a fan humming behind her.
She raises the cutoff until the hum drops away, then backs off before her voice thins. Her recordings sound closer and cleaner.
- Frequency cutoff: the point where cutting starts. Set it just high enough to clear the rumble.
- Volume slider: cutting bass can make a track quieter, so raise it to match the original.
- Peak level: keep the loudest moments below the top of the meter so they don’t clip (distort).
- Balance removal versus quality: every bit of bass you cut trades rumble for warmth.
Trimming bass to sharpen clarity
Trimming low end sharpens clarity when you apply it with care, clearing the muddy rumble from traffic or air conditioning that blurs your words. Done right, it makes a voice sound clearer, not smaller.
Push too far and you’ll hear a thin, hollow voice. Dial it back.
What This Online Tool Offers
A high-pass filter lets higher sounds through and trims the low rumble below a point you choose, called the cutoff, and this tool gives you that control right in your browser.
The features below cover how it feels to use and what it means for your privacy and cost.
What makes the tool easy to use
- Precise frequency control. Set the exact point where low sounds start getting cut, not a rough guess by ear.
- Browser-based, no install. Open it in a tab and start working, with nothing to download before your next session.
- Beginner-friendly interface. The controls are simple enough that you won’t need a manual to get going.
- Real-time preview. Hear each change as you make it, so you can stop once the rumble is gone and the voice still sounds natural.
For example, a podcaster recording in a spare closet hears a low rumble from the air conditioner under every take. She opens the tool, raises the cutoff while the preview plays, and stops where the rumble vanishes but her voice keeps its warmth.
That’s less about guessing a setting and more about hearing it work. Then she hits record.
Free, private, and handled in your browser
- Free to use. There’s no cost to try it on your own recordings before you settle on a setting.
- No personal data stored. Your details aren’t kept on file, so you can test real takes without that worry.
- Processed in browser. Your audio is handled right in the browser window you already have open.
A high pass filter won’t rescue a bad room or a mic placed in the wrong spot, but it clears away the rumble that makes a decent recording sound muddy.
Once you know what it does and where it lives in your gear, it becomes a quick habit instead of a guessing game. Switch it on, play back a test take, and adjust until your voice sounds clean and clear.
Your room may be small, but your sound doesn’t have to be.
Questions
What is a sound filter?
A sound filter is a tool that changes the level of certain frequencies in audio. For example, a high-pass filter lets frequencies above a chosen cutoff through and reduces lower frequencies.
How to apply filters in FL Studio?
In FL Studio, add an equalizer to the track, enable its low-cut band, and adjust the cutoff while listening. Raise it until unwanted rumble fades, then back off if the sound becomes thin.
What should I set my high-pass filter to?
Set the cutoff just high enough to remove unwanted low-frequency rumble, then listen and adjust. The right setting depends on the microphone and room; raising it too far can make a voice sound thin.
Do subwoofers need a high-pass filter?
A subwoofer generally does not need a high-pass filter for its own protection because it is designed to handle low frequencies. High-pass filtering is usually applied to smaller speakers that cannot safely reproduce deep bass.
Does a high-pass filter remove bass?
Yes. A high-pass filter reduces frequencies below its cutoff, including deep bass that falls beneath that point. A cutoff set too high can also remove useful warmth and make a voice or instrument sound thin.
What causes comb filtering?
Comb filtering happens when two versions of the same sound arrive together with a small time delay, often because of reflections or multiple microphones. Their frequencies interfere, creating alternating peaks and cancellations that give the sound a comb-like response.