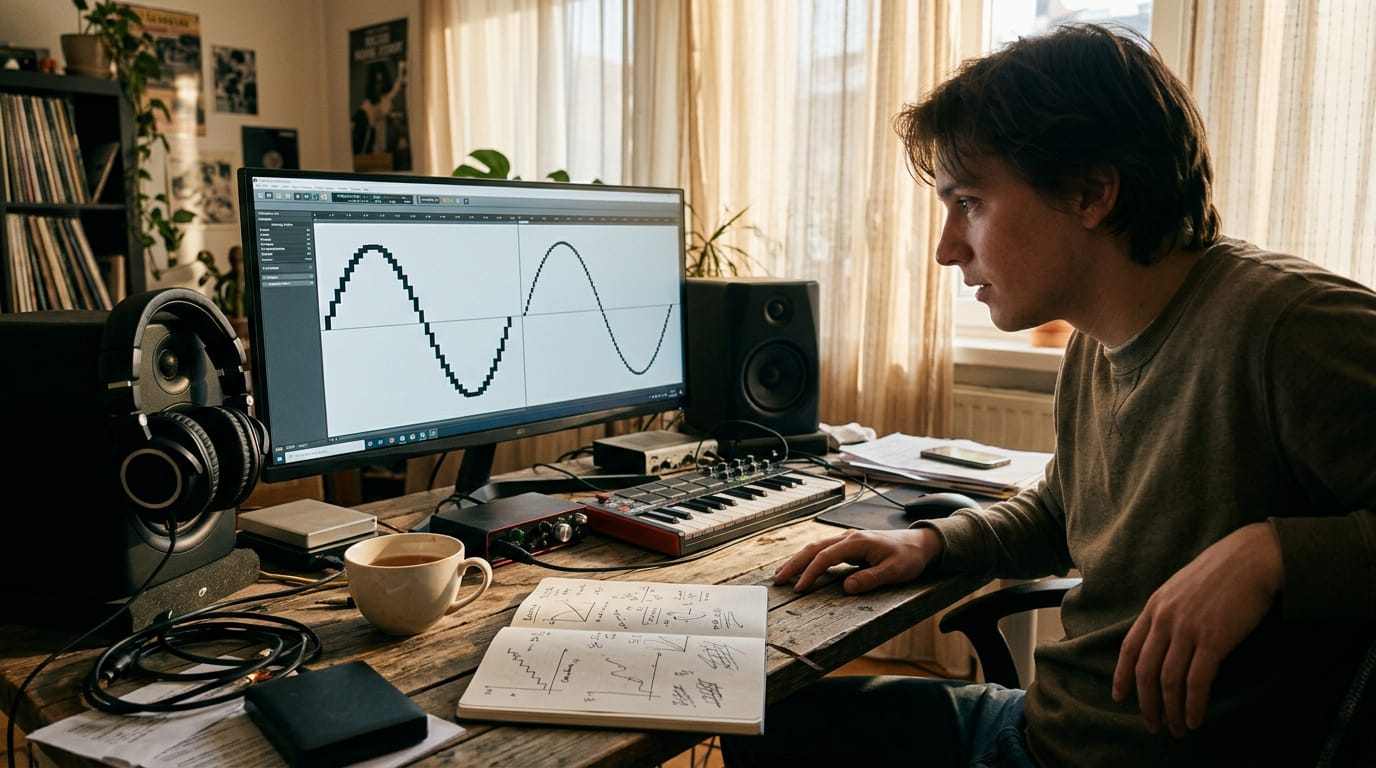
Professional Audio Mixing Explained: A Complete Guide
Professional audio mixing balances levels, EQ, compression, and space to keep vocals clear, even in untreated rooms. Follow setup through final mix checks.

Chapters
In short
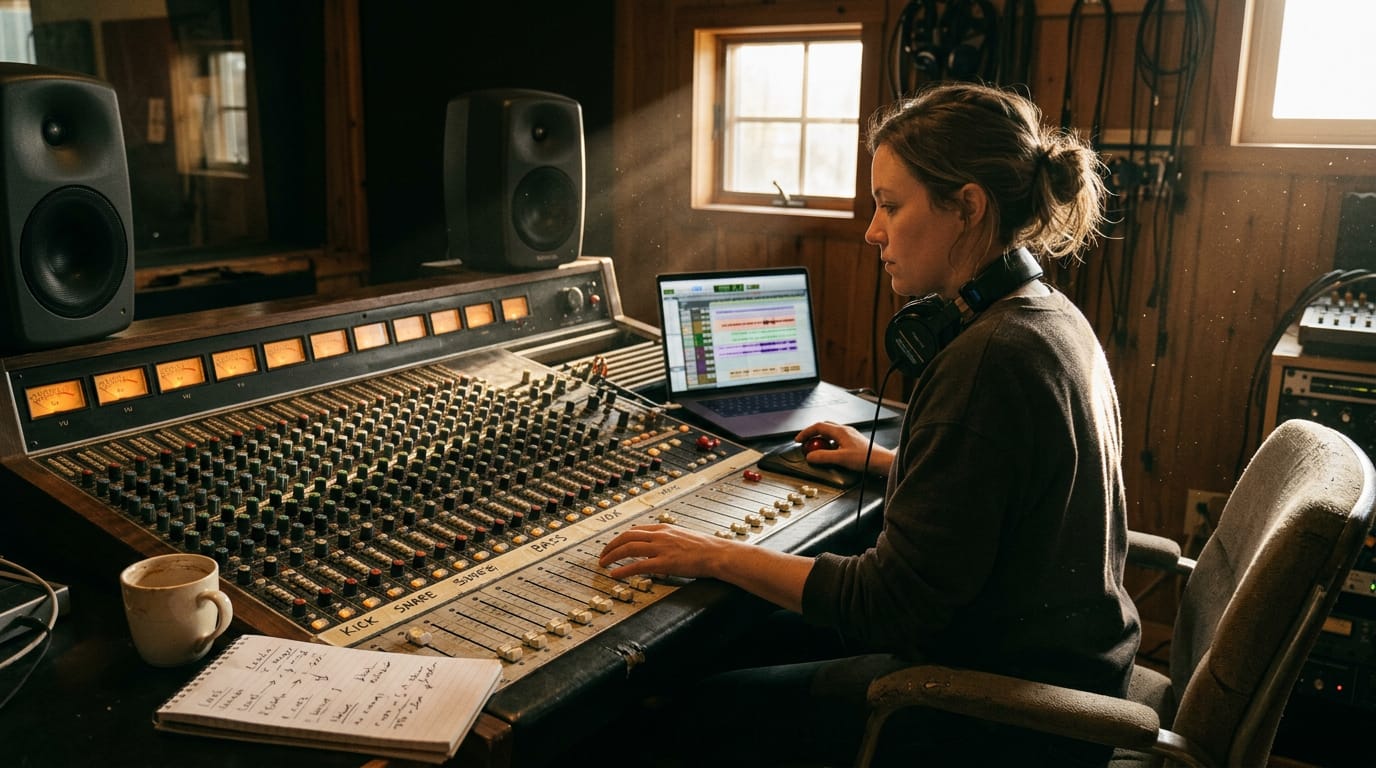
Professional audio mixing is the process of balancing, shaping, and positioning voices, instruments, and other sounds so they are clear and work together. Start with clean levels and an organized session, then use EQ, gentle compression, panning, and effects to create separation without making everything louder; check the result on different speakers and headphones. A thoughtful mix helps listeners focus on the voice, music, or story, even when recording in an untreated room.
Think about a dinner table where everyone talks at once. You catch fragments, but nobody really gets heard. Professional audio mixing solves that problem for recordings.
Mixing is the process of balancing levels, shaping tone, and placing each sound so every voice and instrument comes through clearly.
We’ll cover the whole process: session prep, equalization (EQ, which boosts or cuts frequencies to shape tone), compression (which evens out loud and quiet moments), space, and delivery.
Then we’ll show you how to apply it to voice and video in an untreated room, one without the sound-absorbing panels that tame echo. Some untreated rooms need more than panels, and that bigger job is turning a garage into a studio.
Setting Levels for Professional Audio Mixing
Levels come first, since every decision after them depends on balance.
Setting faders for a natural blend
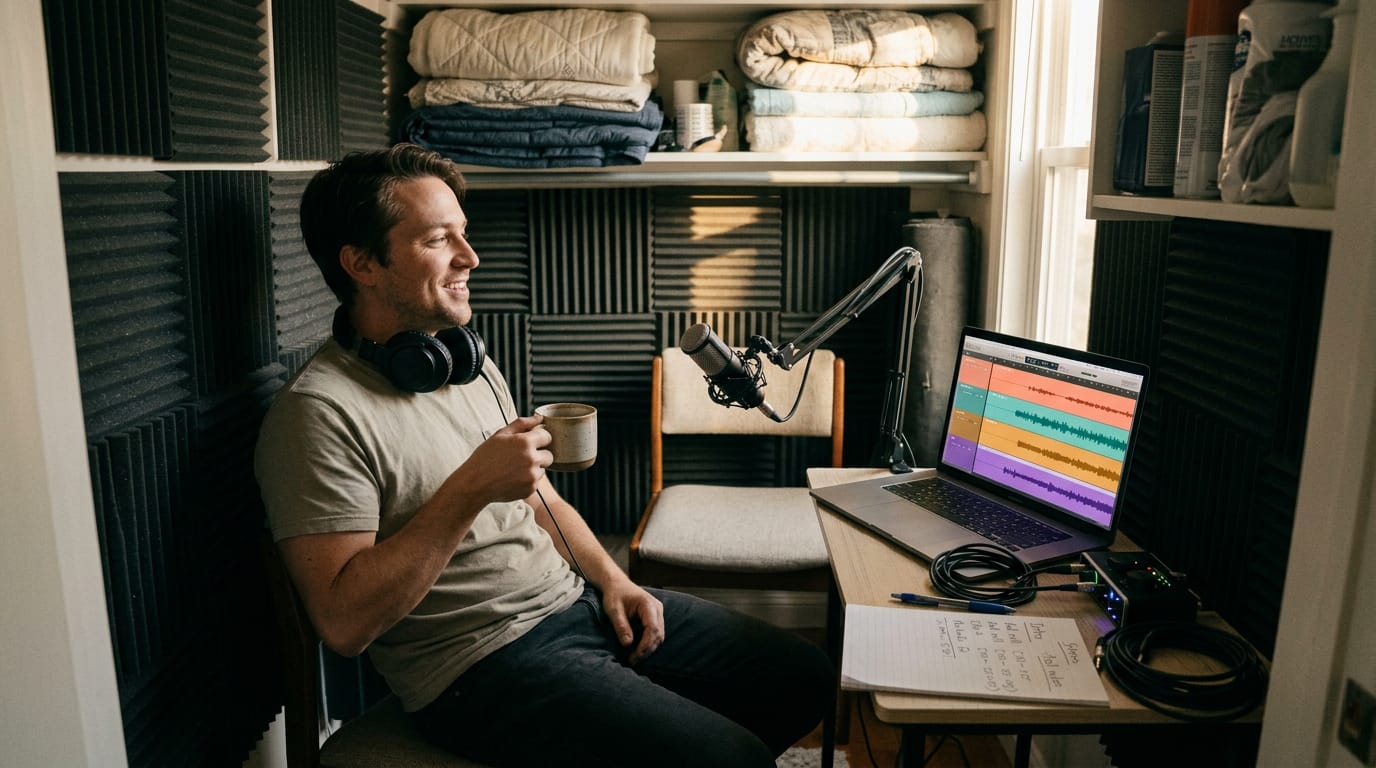
Faders set how loud each track sits in the mix. Picture a podcaster recording in a converted closet with a voice track, a guest track, and an intro song.
She raises the guest’s fader until they sound like they’re across the table, not shouting from the next room, so her listeners never reach for the volume knob.
Balance is the backbone of the mix, so check it at both low and high volume:
- Low volume: Does the voice still carry over the music?
- High volume: Does anything jump out or turn harsh?
Use headphones and monitors (studio speakers) together. Headphones reveal small detail, while speakers show how your room shapes the sound. Mixing on only one of them means you’re mixing for one setup.
Making every element sit together
Every element shares the same stereo space (the left-to-right width a listener hears) and overlapping frequency ranges, so voices, music, and room tone compete for the same room.
Two tools do most of the heavy lifting: equalization (EQ) boosts or cuts specific frequency ranges, and compression evens out the gap between your quietest and loudest moments.
Consider a streamer whose game audio booms over her voice. She uses EQ to trim the game track’s middle frequencies, then adds light compression to her mic so quiet asides don’t vanish.
Her viewers hear every word without her turning the game down to nothing.
Separation is the goal: each sound should be easy to pick out without being pushed forward. Aim for clarity through separation rather than volume. Clean beats loud.
Setting up a Session That Flows Smoothly
Before you touch a fader, get your gain staging right, which means setting each recording’s level so it peaks comfortably and leaves headroom (the safety margin before audio distorts). The bit depth you record at sets how much level range the recording can hold before audio distorts.
Label, group and tidy every track
Name every track clearly, like Host Mic.
- Label and color-code tracks. Give drums, vocals, and music their own colors so the session reads at a glance.
- Group similar instruments. Keep drum mics together and guitars together so related tracks sit side by side.
- Save session templates. Save a layout that works, and you’ll start the next project with labels and routing in place.
- Keep your digital audio workstation (DAW) layout tidy. Hide unused tracks so the session stays readable.
- Pre-mix editing and noise cleanup. Trim dead air, cut clicks, and tame the hum from a fridge or air conditioner.
Consider a podcaster recording in a converted closet. Their template already has mic, music, and effect tracks labeled and colored, so the edit starts minutes after recording.
Grouping buses for a cohesive mix
A bus collects several tracks so you can treat them as one.
- Drum and vocal buses. Send drum mics to one bus and vocals to another, so one fader moves the whole kit or every voice.
- Process groups together. A single effect on the drum bus shapes the kit as a whole, not mic by mic.
- Saves CPU. One plugin on a bus replaces many on separate tracks, easing the load on your computer’s central processing unit (CPU).
- Light master bus processing. The master bus is the final stereo output. Keep it gentle. It’s a finishing touch, not a rescue.
Consider a streamer with a headset and webcam mic. Routing both mics to one bus lets them shift their own voice mid-stream without touching game audio.
Use EQ and Compression to Shape Sound
Once your recording is clean, equalization (EQ) and compression do the shaping. EQ sets how much of each pitch range you hear, and compression evens out loud and quiet moments.
Cutting and boosting frequencies with EQ
Start with corrective EQ to fix problems, then add creative EQ for character. Corrective work is about subtracting before you add. Use a high-pass filter to cut low rumble and trim muddiness between 200 and 500 hertz (Hz).
A small boost from 3 to 5 kilohertz (kHz) helps vocals cut through. Carve space across the range so each element gets its own slot. A podcaster in a bare-walled bedroom cuts the rumble and boxiness, and her voice suddenly sits clearly.
Taming peaks and valleys with compression
Compression turns down the loudest moments and lifts the quietest. Attack and release settings control how fast it reacts and lets go. Use gentle glue compression on the mix bus, the track everything passes through, to make parts gel.
Too much squashes the life out of a voice. Keep it subtle: compression should be felt more than heard. For placement, shape transients, the sharp first hits of a sound, to set how forward a voice feels.
Adding energy and movement to a mix
Compression works like seasoning: a pinch helps, too much ruins it. Automation is a set of recorded level changes over time. A YouTuber might dip her music bed under each tutorial step, then lift it between sections.
Protect your micro-dynamics, the tiny shifts like a breath or soft laugh that make a voice sound human. Don’t compress them away. Drums drive energy, so a steady beat in your music bed keeps viewers moving.
Making Vocals and Lead Parts Stand Out
Your lead needs to sit clearly on top, so we’ll start with clean vocals, then steer the listener’s ear toward it.
Mixing vocals and voiceover for video
Start with equalization (EQ), which boosts or cuts specific pitch ranges. Use it to trim rumble and boxiness so a bare bedroom doesn’t make your voice sound hollow. A de-esser tames harsh “s” and “sh” sounds that a close mic can exaggerate.
Compression evens out volume so quiet words don’t vanish and loud ones don’t jump out. Layer doubles (a second take of the same line) and harmonies just under the lead so the main voice stays in front.
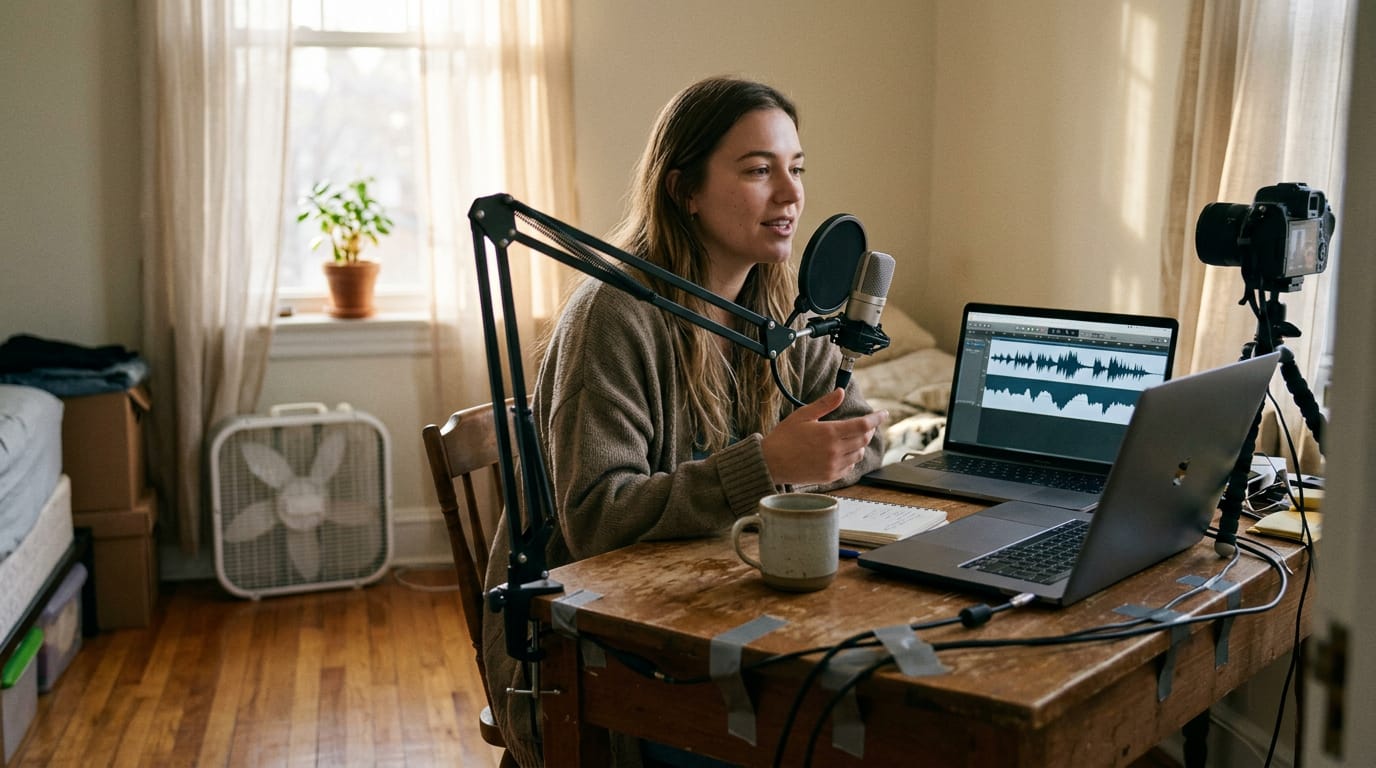
Voiceover is where it all comes together. Picture a YouTuber filming a talking-head video in a spare bedroom with a fan humming behind her.
EQ trims the fan’s rumble, a de-esser keeps the close-mic “s” sounds in check, and gentle compression holds her level steady from line to line.
Then comes ducking, which automatically lowers background music whenever she speaks and brings it back during pauses. Her viewers catch every word, and the soundtrack never fights her.
Guiding where the listener’s ear goes
Listeners can track about three sounds at once, so everything else has to step back. According to a Frontiers study on lead vocals, highlighting the lead vocal and drums can help guide the listener’s attention through a mix.
Lead vocals rarely travel alone, usually sharing the mix with:
- drums
- bass
- keyboards
- guitars
Use level, EQ, and space (reverb) to push the lead forward and nudge supporting parts back. The goal is placement rather than volume. Give the lead room to breathe.
Building Space, Depth and Texture
Once levels are set, these tools decide where each sound sits and how warm it feels.
Panning sounds across the stereo field
Panning moves a sound left or right across the stereo field, the width between your speakers or headphones. Keep the kick, bass, and lead vocal centered to anchor the mix. Left and right are only part of the picture, and immersive audio extends that space further.
Supporting parts like guitars and shakers can spread wide, but everything pushed hard to one side leaves the middle hollow. Balance keeps things natural: if a shaker sits left, give the right side a similar-weight part.
Think of a YouTuber narrating from a bedroom closet over background music. Keeping her voice centered and the music slightly wide lets viewers follow every word.
Using reverb and delay to place sounds
Reverb and delay place sounds by imitating room reflections, which signal distance. Three common reverb types:
- Room: a short, natural space.
- Hall: a long, airy tail.
- Plate: a smooth, dense shimmer.
Clean up each return, the channel carrying only the effect, with equalization (EQ), the tone control that boosts or cuts frequencies. Rolling off the low end keeps reverb from muddying the mix.
A slapback is one quick echo for retro thickness, while timed delays line repeats up with the song’s tempo so they land on the beat. Use these subtly for depth, since too much reverb turns words into fog.
Adding warmth with subtle saturation
Saturation adds gentle harmonics, the extra overtones above a note that give it body. It softens the thin, sterile edge of clean digital recordings.
It works a lot like EQ and compression, which evens out volume, but it adds color rather than correction. Subtle wins.
Evaluating Your Mix and Your Own Taste
Once the levels are set, the real test is whether your mix holds up beyond your room.
Comparing your mix to reference tracks
Pick a reference track: a finished song in your genre with a similar lineup of instruments. Compare the two on a few points:
- Levels: Is your vocal sitting as far forward?
- Tone and EQ (equalization, the balance of bass, mids, and highs): Does the low end feel as full?
- Width: How far do the instruments spread from left to right?
- Loudness: Is your overall volume close?
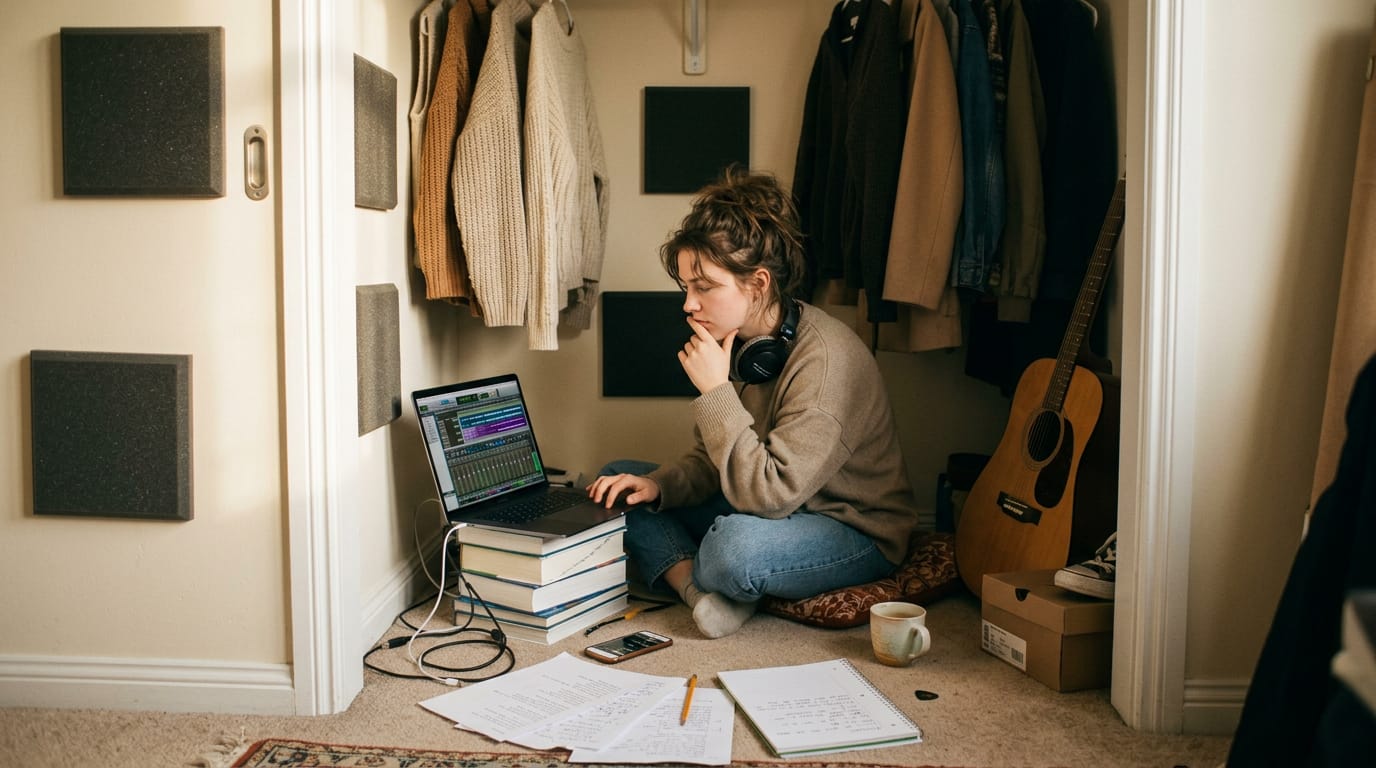
Consider a songwriter recording in a bedroom closet. Next to a released track in her genre, she hears her vocal buried under the guitar, so she brings it forward and the song finally sounds right.
Benchmark, don’t copy. You’re after direction rather than a carbon copy of someone else’s song.
Making sure it sounds right everywhere
Start with your monitors, the speakers you mix on. Every room colors what you hear, so a bare bedroom can make bass sound bigger than it is.
A good mix works on any speakers, from a laptop to a car stereo, so keep bass, mids, and highs balanced across the range.
Check on headphones, then on your phone. A podcast host might hear her intro music sparkle on studio headphones, then find her voice swallowed on her phone. Catch it before your listeners do.
Blending artist vision with your taste
Mixing is an art form, less about following rules and more about serving the song. Your ear sharpens with years of practice, and style matters: a gritty, lo-fi vocal suits a bedroom indie track, not a polished pop single.
When you mix for someone else, the artist’s vision leads. Ask what they want listeners to feel, then use your taste to deliver it. The song is the point.
Next Steps and Getting Outside Help
Once your mix sounds right to you, the next question is who else should hear it before it goes out. Here’s how we’d decide between doing it yourself and bringing in help.
Hiring help or releasing your music
Mixing and mastering, the final polish that keeps a track sounding consistent everywhere it plays, are two different jobs, and you can hand off either one. Here’s how the pieces fit together:
- Outsource to mixing engineers. Bring in a pro when your mix is close but you’ve stopped hearing what’s missing. For example, a podcaster who has replayed the same episode many times in a closet studio may no longer notice her voice getting thin. A mixing engineer hears it fresh and fixes it in one pass.
- Mixing and mastering services. Many engineers offer both. Mastering is less about changing your mix and more about balancing it for phone speakers, car stereos, and earbuds.
- Leave headroom for mastering. Headroom is the gap between your loudest peaks and the top of the meter. Keep that gap open so the mastering engineer has room to work, because a mix pushed to the limit is much harder to improve.
- Loudness targets and delivery formats. Loudness targets and accepted file types vary by destination, so check your distributor’s requirements before you export.
- Music distribution after mix. Distribution is the step that puts your finished master on streaming services. Once the file is final, a distributor uploads it for you. Then it’s out in the world.
A good mix doesn’t call attention to itself. It lets the voice and the story come through, so your audience can focus on what you’re saying instead of how it sounds. Start with clean levels, shape tone with a light touch, and use space sparingly.
Your room doesn’t need to be perfect, either. A few smart choices in placement, mic technique, and listening will take you a long way toward a mix that sounds intentional.
The best mix is the one your listener never notices.
References
- Frontiers | Listening in the Mix: Lead Vocals Robustly Attract Auditory Attention in Popular Music — frontiersin.org (2021)