Audio Bit Depth Explained, From 16-Bit to 32-Bit
Audio bit depth sets how finely loudness is measured. Compare 16-, 24-, and 32-bit settings, and see when room noise often outweighs extra bits.

Chapters
In short
Audio bit depth is the number of bits used to record each sound sample, determining how finely a digital recording measures loudness. More bits provide finer level steps and greater room for quiet detail and loud peaks, while sample rate controls how often sound is measured; 24-bit is a practical choice for most recording and mixing, with dither used when exporting at a lower depth. In practice, clean room acoustics and sensible recording levels matter more than chasing ever-higher bit depths.
Picture a ruler that only has whole-inch marks. Anything between two marks gets rounded to the nearest one. Audio works the same way: bit depth sets how many marks your recorder has to measure how loud each moment of sound is.
The short answer is that more bits give you finer steps, so quiet details survive instead of getting rounded away.
In this post, we’ll cover what 16, 24, and 32-bit actually change, how bit depth differs from sample rate, why room noise often matters more, and which setting to use in your camera, recorder, or DAW (digital audio workstation).
How Audio Bit Depth Captures Sound Digitally
A digital recording is a long list of numbers, and bit depth sets how finely each one describes the sound. Here’s how we’ll break it down.
What each audio bit actually measures
Digital audio stores sound as samples, snapshots taken at a single instant. Bit depth is the number of bits used to store each one, and each sample captures signal amplitude, or how far the wave swings at that moment.
It’s a lot like pixel resolution in a photo: more pixels mean finer detail, and more bits mean finer steps in loudness. Extra bits don’t make the recording louder. They make each measurement more precise.
How analog sound becomes digital data
Sound starts as a continuous wave. An analog-to-digital converter (ADC) measures that wave at regular intervals and stores each measurement as a number, a method called pulse code modulation (PCM).
An anti-aliasing filter first strips out frequencies too high to capture cleanly, so they don’t turn into false tones.
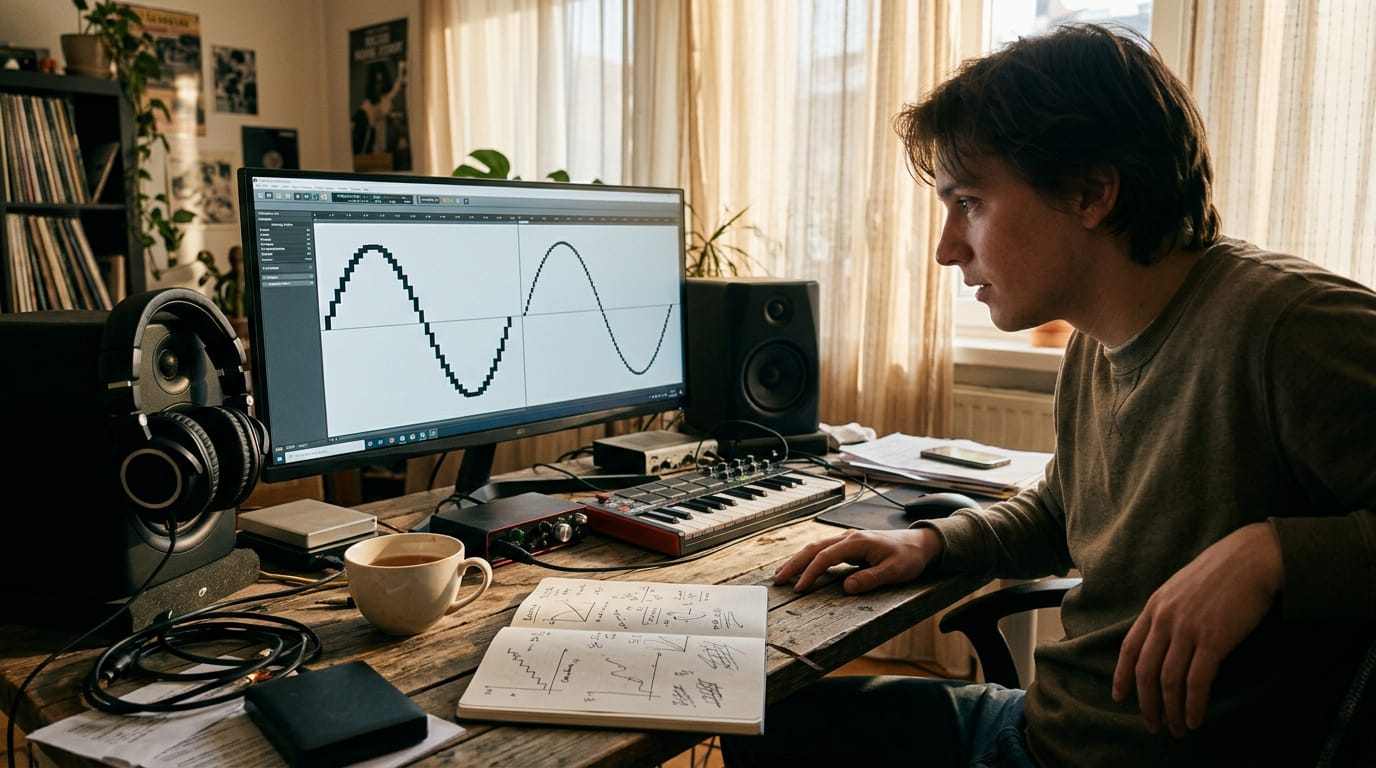
On playback, a digital-to-analog converter (DAC) rebuilds a smooth wave from those numbers. A common myth is that digital audio comes out as a staircase.
That stair-step shape is only a drawing of the stored numbers, so the steps never reach your speakers. Converters typically capture 24-bit, which is where your recording starts.
How rounding sound levels causes distortion
Each extra bit doubles the values a sample can hold: 2 to the power of the bit depth. At 16-bit, that’s 65,536 values. When a level falls between two of them, the converter rounds it to the nearest one.
Picture a podcaster whispering a quiet aside in a converted closet. If the bit depth is too low, her whisper gets chopped into coarse steps, and the sound turns harsh.
At 16-bit, the steps are far finer, so the rounding stays small and her whisper keeps its texture.
How lossy and lossless audio files differ
The file format decides how much of the captured detail survives. Lossy formats shrink files by discarding some of the original information, so they don’t offer the variable bit depth a recording does.
Lossless files preserve the original signal, so the detail you captured stays put. Lossless keeps the signal. Lossy keeps less of it.
How Bit Depth Shapes Your Sound Quality
Bit depth shapes how clean your recording sounds, starting with how much range it can hold.
The gap between quietest and loudest sounds
Bit depth sets the dynamic range of a recording, the span between the noise floor (the quietest sound captured) and the clipping point (where loud peaks distort). Each bit adds about 6 decibels (dB), so the totals climb fast:
- 16-bit: about 96 dB, per the Audio Anagram study.
- 24-bit: about 144 dB, per Stanford’s introduction to digital audio.
- 32-bit integer: about 192 dB, per an Analog Devices article.
- 32-bit float: a near-limitless range.
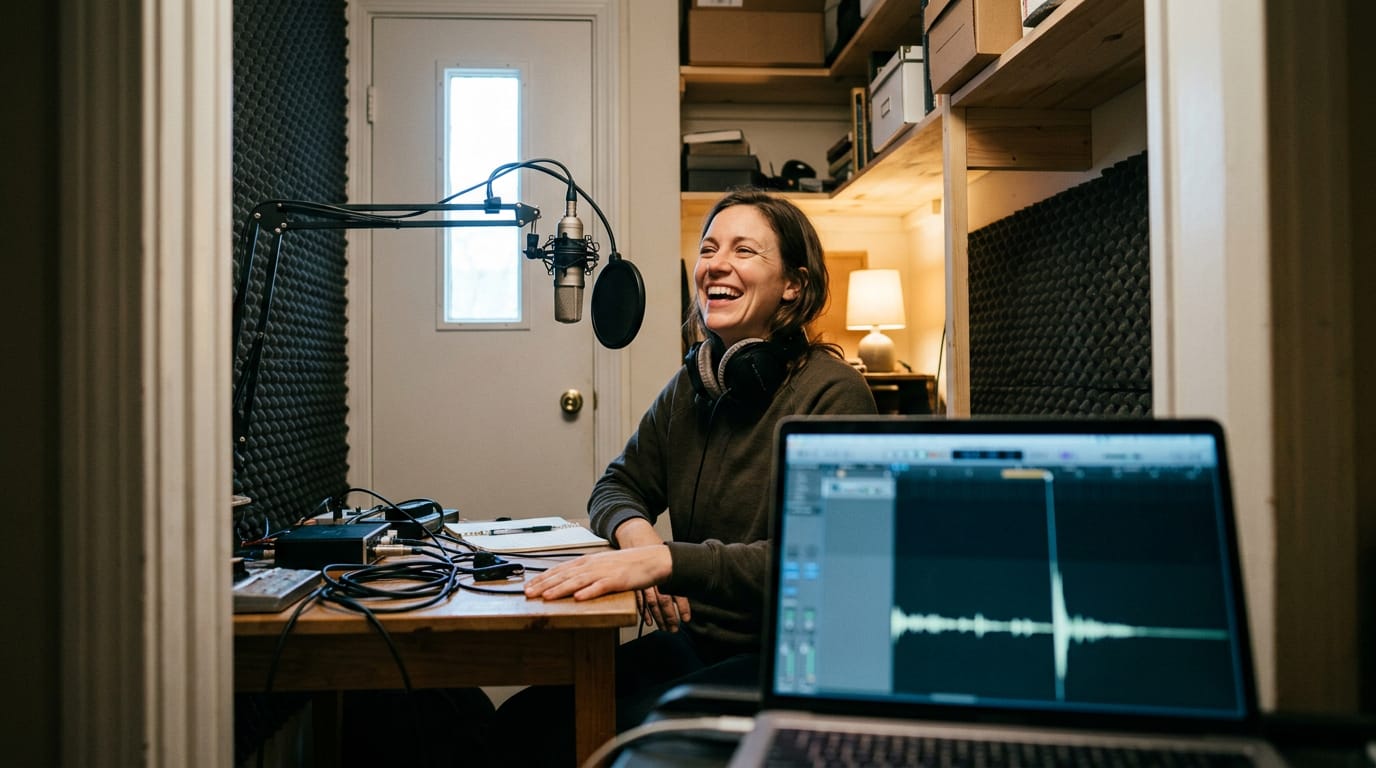
More bits don’t make a recording louder. They add space between the floor and the peak. Picture a podcaster in a converted closet whose sudden laugh spikes above her usual volume. At 24-bit, the file still has room for it. Headroom saves the take.
How higher bit depth lowers background noise
Higher bit depth lowers the noise floor, so the recorder’s own hiss gets quieter.
- Clearer, crisper reproduction: breaths and soft word endings stop blurring into the background.
- Quieter background noise: less hiss competes with your voice.
- More natural reverb tails: the echo after a sound fades out more smoothly.
Your mic’s self-noise and your room set a floor that bit depth can’t push lower. Consider a streamer whose budget mic hisses and whose PC fan drones. Switching to 24-bit won’t silence either one. The bigger win is the room, not the bit setting. A streamer dealing with that noise can also check the advanced audio properties in OBS.
Balancing higher bit depth against file size
Higher bit depth means bigger files, since each extra bit adds data to every sample. A meta-analysis of high-resolution audio studies points to little audible gain beyond 24-bit, though whether listeners can tell 24 from 16 bits is still an open question.
That makes 24-bit the practical sweet spot.
How Sample Rate and Bit Depth Differ
Two numbers sit behind every digital recording, and knowing what each controls makes your camera and recorder settings far easier to read.
Where timing and accuracy truly diverge
Sample rate is how often sound gets measured, and bit depth is how accurately each measurement is recorded. Both define digital resolution, but they work on different axes: sample rate slices time, while bit depth slices loudness.
Don’t confuse bit depth with bitrate, which is the amount of data used each second.
As for a good bitrate, it depends on the codec (the method used to compress the file) and where the audio is going, and our sources don’t name a single target. Check your platform’s guidance.
Sample rates you’ll see most often
Sample rates are usually written in kHz (kilohertz, or thousands of samples per second), so 44.1 kHz means 44,100 samples each second. You’ll mostly see these:
- 44.1 kHz: the rate used for CDs (compact discs).
- 48 kHz: the standard for video.
- 96 and 192 kHz: high-resolution rates aimed at extra detail.
- 24-bit at 48 kHz: the typical pairing, and the one most video projects use.
Consider a YouTuber recording in a spare bedroom. Setting her recorder to 24-bit at 48 kHz to match her video project means her editor never has to convert anything, so her voice stays clean and untouched.
Whether ultrasonic detail at high rates helps
Higher rates capture ultrasonic harmonics, the faint overtones above the range we can hear. Here’s the catch: the audible benefit may be subtle.
A meta-analysis of high resolution audio perceptual evaluation found a small but statistically significant ability to tell standard audio (44.1 or 48 kHz, 16-bit) from high-resolution audio.
Pushing to quadruple rates (four times a standard rate) can introduce errors of their own. Higher isn’t automatically better.
Converting sample rates without smearing the sound
Even division, like 96 kHz down to 48 kHz, keeps the math simple. Uneven decimation, reducing by a ratio that doesn’t divide evenly (48 kHz to 44.1 kHz, say), is where smearing creeps in.
Sharp sounds can blur, and faint ringing artifacts (echo-like tails) may appear around them.
When you need a new rate, you can re-record from the analog source or convert in-the-box (inside your digital audio workstation, or DAW). Re-recording skips conversion entirely, so it’s the cleaner route when you can manage it.
Choosing Between 16, 24, 32 or 64-bit
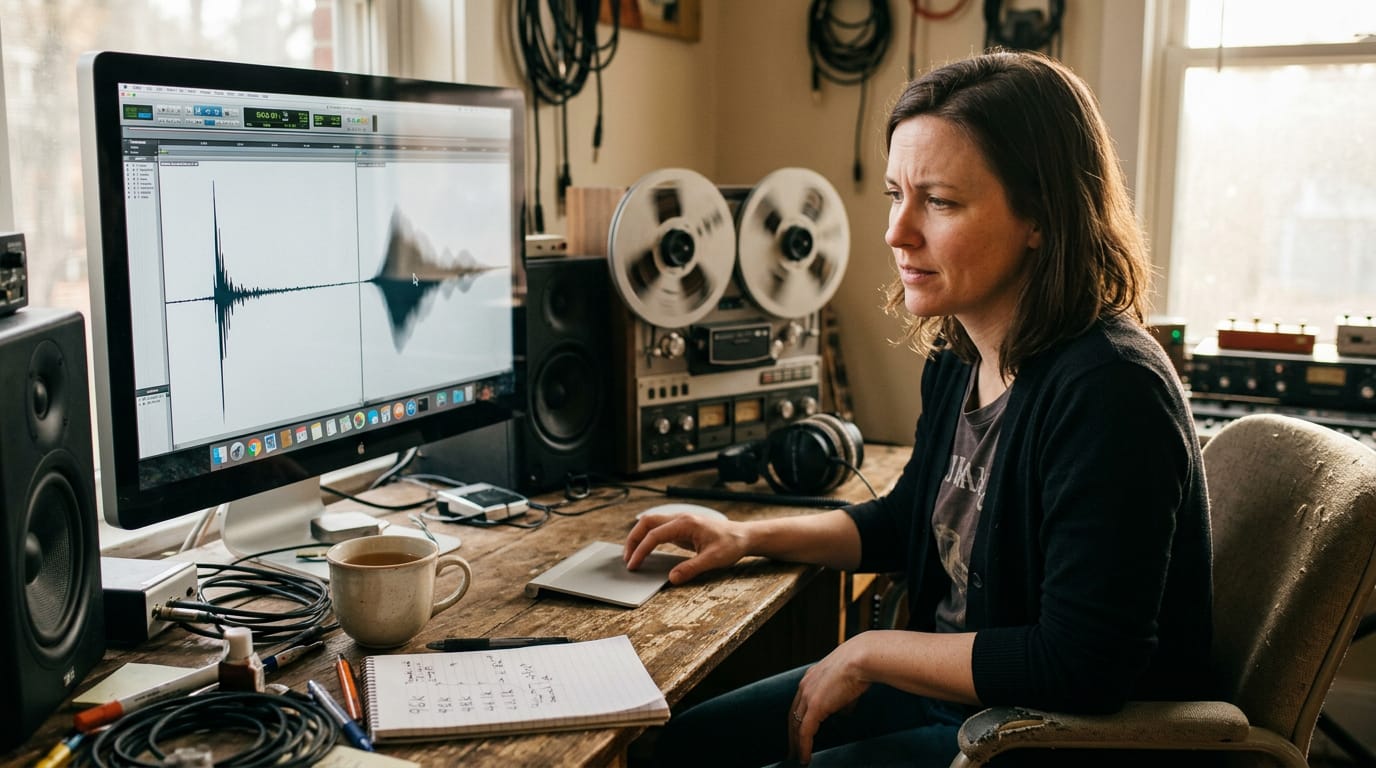
Bit depth sets how finely your audio measures volume. It’s less about how loud a file gets and more about how finely it captures the quiet parts. Most creators only choose between 16, 24, and 32-bit, so here’s where each one fits.
Why 16-bit is still the CD standard
16-bit is the standard for the compact disc (CD). It offers about 96 decibels (dB) of dynamic range, the gap between the quietest and loudest sounds it can capture.
That’s plenty for a finished file, but reducing a higher-depth recording to 16-bit requires dither: a very low-level noise added during conversion so rounding errors don’t become audible.
Why most producers settle on 24-bit
24-bit is the standard for recording and mixing, and it suits streaming and consumer audio too. Its dynamic range exceeds practical needs, so you won’t run out of room while you work. We recommend it in most cases.
If your mic is set higher than you need, lower it in the recording menu: find the bit depth option (some menus loosely call it bit rate) and select 24-bit.
Only go down to 16-bit at export, for a platform that calls for it, never on the device while you record.
Whether 32-bit integer or float fits better
Your digital audio workstation (DAW), the software you edit and mix in, already processes audio in 32-bit float. Float removes the clipping worry, the harsh distortion that happens when a peak exceeds what the format can hold.
It’s less about which number sounds better and more about how predictable your levels are, which is why float suits field recording. Consider a vlogger clipping a lavalier (clip-on) mic to their shirt on a busy street.
A sudden laugh or passing truck can spike the level, and a float recorder keeps that peak intact, so the take survives. Float-capable hardware is still less common, so check your model first.
Why 64-bit files are rarely used
64-bit is rarely used, mostly because the files are huge. Its extra headroom can help during heavy processing, but it captures the same information as 32-bit, just in a bigger container. For most projects, that extra space buys you very little.
Match your bit depth to the destination
The destination should drive your choice, so work backward from it:
- Check the intended output. Know where the audio ends up before you pick a depth.
- Spotify delivers 16-bit by default. Plan for that final reduction if Spotify is your destination.
- Export at 24-bit with dither. Dither keeps the reduction to 16-bit clean whenever a platform needs it.
- Keep the same depth or higher in production. Don’t drop bit depth while you record, edit, or mix.
Adding Dither When Reducing Bit Depth
Going from 24-bit to 16-bit means rounding off the finest levels, and rounding leaves a trace. Dither decides what that trace sounds like.
How dither turns distortion into hiss
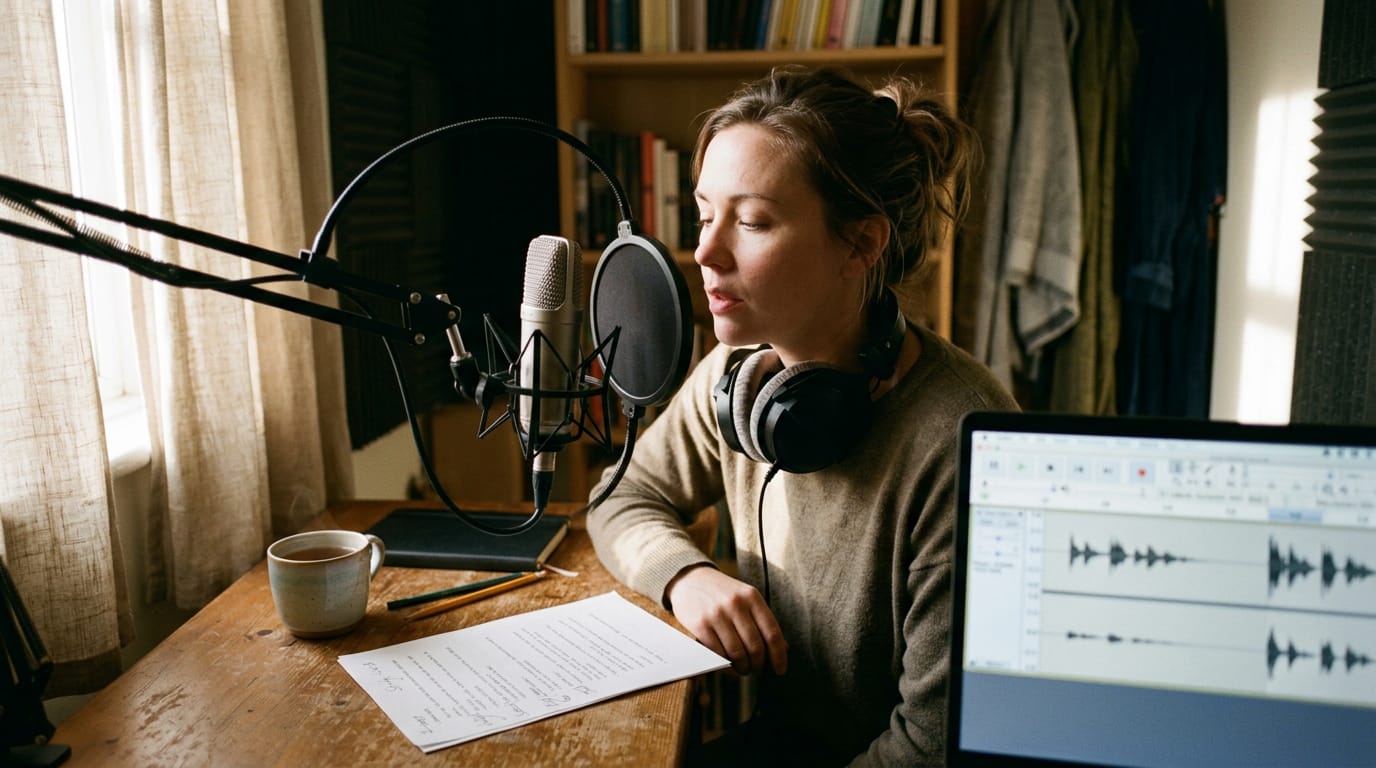
Rounding to fewer steps creates quantization distortion: an error that follows the sound, so it turns into grit or crackle. Dither adds a tiny bit of carefully chosen noise before rounding, and that noise turns the error into faint, steady hiss.
Dither doesn’t make the error vanish. It trades it for hiss. Hiss beats distortion.
The reduction stays smooth, too, so the file keeps the character of the original take instead of getting harsher as the lower steps take over.
You’ll only notice the hiss in quiet moments, like the tail of a fading line or the pause between sentences. Under louder material, it’s buried. Say a voiceover artist drops a clean read to 16-bit.
The narration sounds unchanged, and the room tone in the gaps stays smooth instead of crackling. If the room is already noisy, the hiss disappears under it.
When to apply dither
Dither belongs anywhere you cut bit depth, but these cases matter most:
- Converting 24-bit to 16-bit. This is the classic case, and exactly the reduction dither was built for.
- Compressed streaming conversions. A streamer exporting a recorded set for a compressed stream keeps the quiet gaps between songs from turning gritty.
- Keep it on when in doubt. If you’re unsure, leave it on. A little hiss is easy to ignore, but a crackly tail is hard to unhear.
Setting Levels and Leaving Headroom
Levels get set before you hit record, and they decide how much room you have to fix things later. Here’s where to aim them.
Where to aim recording and mixing levels
Picture a podcaster recording in a converted closet who keeps her gain low because her headphones sound fuller that way. She boosts the quiet take in editing, and the room hiss climbs right along with her voice.
Keep these five checks in mind:
- Aim for an average around -18 dB. dB means decibels, the unit most meters use. That keeps your meter in a healthy middle range, with room for louder moments.
- Avoid using only the last few bits. Bit depth is the number of steps your audio is measured in. A quiet take squeezes into just a handful of them, which costs you detail.
- Set monitoring to a comfortable level. Loud headphones can trick you into recording too quietly, so trust the meter over how the playback sounds.
- Keep headroom above the noise floor. Your voice should sit well above the constant hiss and hum from your room and gear, with space left above your loudest peaks.
- Set gain for your loudest moment. A laugh, a shout, or a sudden cough can spike well above your average, so set gain by the loudest moment, not the average.
Run a short test take with a few loud laughs, then check the meter before you commit. Headroom is your safety net.
Matching Your Playback Gear Together
Bit depth is one link between recording and playback, and we should get the rest right too. Your amp, headphones or speakers, and cables all shape what you hear, so they need to match.
Other hi-fi factors besides bit depth
Start with impedance, the electrical resistance a speaker or headphone presents to an amp. Picture a podcaster who buys high-impedance headphones, then finds her small desk amp can barely drive them.
That’s a mismatch, so check the amp’s rating before you buy.
Next is the DAC (digital-to-analog converter), which turns digital audio into a signal your amp can use. Its output level has to suit the amp’s input gain, which is how much the amp boosts a signal.
Too quiet, and you’ll crank the volume and bring up hiss. Too hot, and the sound distorts with the knob barely turned up.
An unbalanced cable uses one signal wire plus a shield, so it picks up more interference over long runs. A balanced cable sends the signal down two wires, one inverted, so interference cancels out at the far end.
Think of a streamer with a PC across the room from her mixer. A balanced run stays quieter over that distance, as long as both ends support it.
Last, consider power. Electrical hum can ride in on outlets shared with heavy appliances. A power conditioner, a device that filters the power going to your gear, can trim that, but it can’t quiet a noisy room.
Take a podcaster editing in a spare bedroom whose speakers buzz when the space heater kicks on. A separate outlet is a sensible first fix.
The goal is matching the pieces, not maxing out any one of them. Match first, upgrade later.
Bit depth is really about room to breathe. It gives quiet detail space to survive and leaves headroom above your loudest moments so a sudden laugh doesn’t distort.
Pair that with a quiet room and a steady level, and your recordings will sound clean without any fancy gear.
Start with the setting your camera, recorder, or DAW supports, and treat your room as the bigger lever before you chase the next upgrade. Give your sound room to breathe, and your listeners will hear every word you mean.
References
- Audio Anagram: An Information Hiding Technique Using Cover Data Rearrangement — doi.org (2026)
- Introduction to Digital Audio — ccrma.stanford.edu
- A Meta-Analysis of High Resolution Audio Perceptual Evaluation — doi.org (2016)
- Relationship of Data Word Size to Dynamic Range and Signal Quality in Digital Audio Processing Applications — analog.com (2018)
Questions
What is meant by audio bit depth?
Audio bit depth is the number of bits used to store each digital audio sample. It determines how precisely each sample records loudness, affecting the available dynamic range and how much quiet detail can be preserved.
What is a good bitrate for audio?
There is no single best audio bitrate; it depends on the codec and where the audio will be used. Follow the destination platform’s recommendations, and don’t confuse bitrate with bit depth or sample rate.
What is spatial immersive audio?
Spatial immersive audio uses techniques such as multiple speakers, channels, or object-based placement to make sound seem to come from different directions and distances around the listener. Examples include surround sound and 3D audio formats.
What is an unidirectional microphone?
A unidirectional microphone is most sensitive to sound arriving from one direction and rejects more sound from other directions. Cardioid microphones are a common type, often used to focus on a speaker while reducing room noise behind the mic.
What are audio sampling rates?
Audio sampling rates specify how many times per second an analog sound wave is measured, usually in thousands of samples per second (kHz). Common rates include 44.1 kHz for CDs and 48 kHz for video; sample rate controls timing resolution, while bit depth controls the precision of each loudness measurement.
How to lower microphone bit rate?
To lower a microphone’s bit depth, open the recording device or software settings and select a lower bit-depth option, such as 24-bit instead of 32-bit. It is generally better to record at 24-bit or higher and reduce to 16-bit only when exporting for a destination that requires it, using dither during the reduction.
Should I use 24-bit or 32-bit audio?
For most recording and mixing, use 24-bit: it provides ample dynamic range and is a practical balance of quality and file size. Use 32-bit float when supported and you want extra protection against clipping, such as for unpredictable field recordings.
Which is better, 24-bit or 32-bit audio?
Neither is universally better. 24-bit is the practical choice for most recording and mixing, while 32-bit float is useful when levels may vary unexpectedly because it offers more flexibility against clipping during recording and editing.
Sources
- Audio Anagram: An Information Hiding Technique Using Cover Data Rearrangement, doi.org,
- Introduction to Digital Audio, ccrma.stanford.edu
- Relationship of Data Word Size to Dynamic Range and Signal Quality in Digital Audio Processing Applications | Analog Devices, analog.com,
- A Meta-Analysis of High Resolution Audio Perceptual Evaluation, doi.org,