Crop Video Explained: When to Trim Your Frame and How
Crop video to bring a drifting subject back into frame, then follow Premiere Pro steps and match aspect ratios for each platform before you post.

Chapters
In short
Cropping a video means trimming its edges to control what stays visible, rather than resizing the entire frame. Choose a crop that fits the platform’s aspect ratio, keep faces and text in the safe area, and preview the result; framing wide and centered beforehand makes it easier to create multiple versions. A tight crop can reduce image detail, so start with high-resolution footage and leave room around your subject.
Picture your best take: the lighting is great, the delivery is spot on, and then you notice your head drifting toward the bottom edge of the frame. Cropping is the fix. It means trimming the edges of a video so the picture shows just what you want.
In this post, we’ll cover when cropping makes sense, how to do it step by step in desktop editors like Premiere Pro, and how to match your aspect ratio (the shape of your frame) to each platform.
We’ll also share framing tips for your home setup so the crop works from the start.
When and Why to Crop Video
Cropping is a quick way to tidy a shot, but it works best when you know what it can and can’t do.
What you gain by cropping
Cropping is less about shrinking the picture and more about choosing what stays in it. Scaling (or resizing) changes the size of the whole frame and keeps everything in it. Enlarge a tight crop and it can look softer, so frame with room to spare.
- Remove unwanted areas. Trim a stray light stand or a hand that drifted into view.
- Focus on key content. Tighten on the presenter, product, or slide.
- Improve composition. Shift the subject off-center or cut empty space above their head.
- Reduce distractions. Crop out clutter behind you so attention stays on the message.
Think of a podcaster filming in a converted closet with a coat rack over one shoulder. She shoots a little wide, crops in during the edit to lose the rack, and the clip is ready for social media without a reshoot.
Leave extra room, but not so much that your subject looks lost. Frame wide. Crop later.
Who gets the most from cropping
Cropping pays off differently depending on what you make:
- Social media clips. A vertical or square crop takes a big bite out of a wide frame, so plan for it.
- Educational videos. Tighter framing keeps the whiteboard, slide, or hands in focus.
- Business and marketing content. A tighter crop can spotlight a product or team member from footage you already have.
- Personal footage. A crop can pull the moment forward from a phone clip full of floor and ceiling.
- Wedding and event videographers. When the camera couldn’t get closer, a crop can turn a wide shot into a close-up for the highlight reel.
How to Crop a Video Step by Step?
Ever finished a great take only to find your head cut off at the edge? Cropping fixes that without a re-shoot, and here we’ll walk through the whole process from upload to download.
Open the tool and upload your clip
Open the crop tool and upload your clip from your device, or drag and drop the file straight into the workspace. Supported formats are MP4, MOV, and AVI, which are all common video file types.
Choosing your crop size and ratio
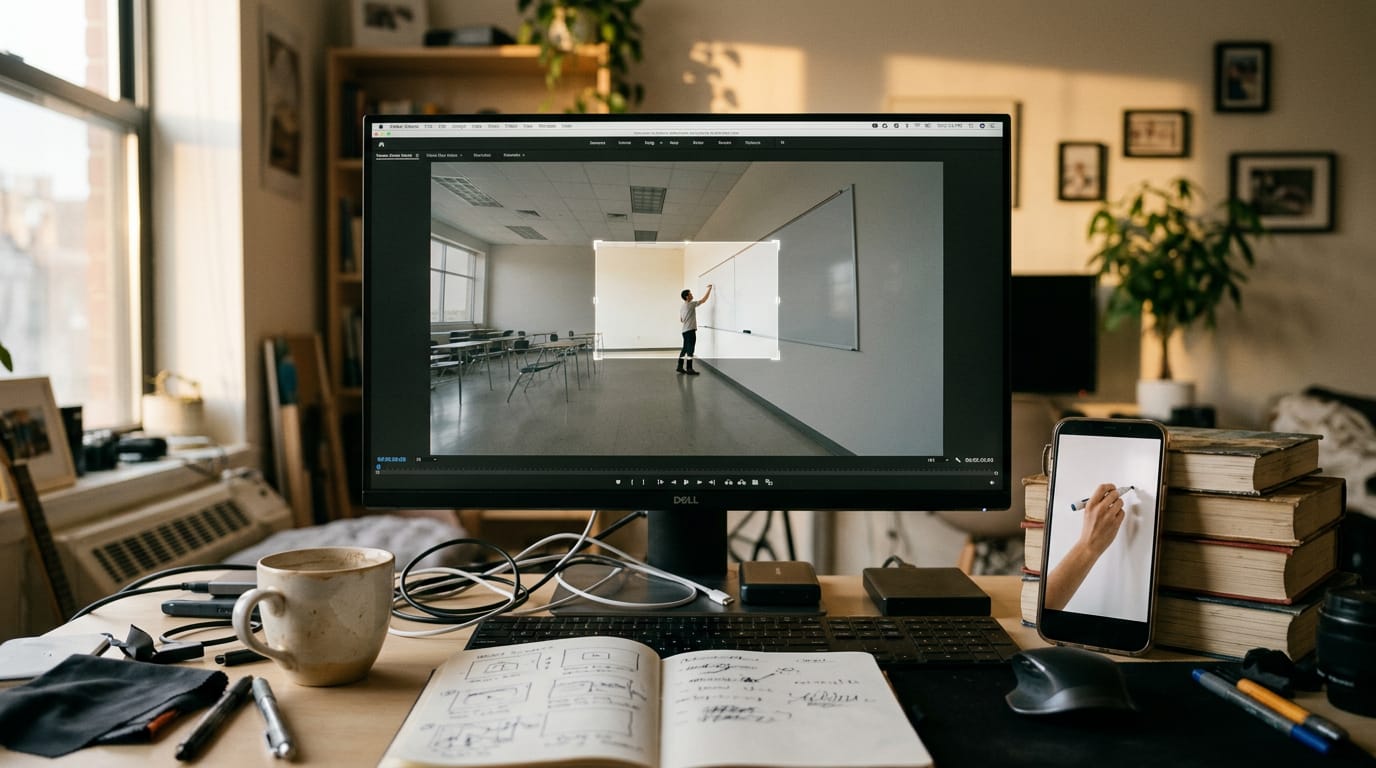
Your aspect ratio is the shape of the frame, like wide or square. Preset aspect ratios give you a shape in one click, while custom dimensions or a manually dragged crop area let you frame exactly what you need. Apply the crop once the box looks right.
Decide what stays in frame before you decide how big it is. A podcaster with a wide interview shot in her spare bedroom picks a square preset for a social clip, then drags the box so her face stays centered.
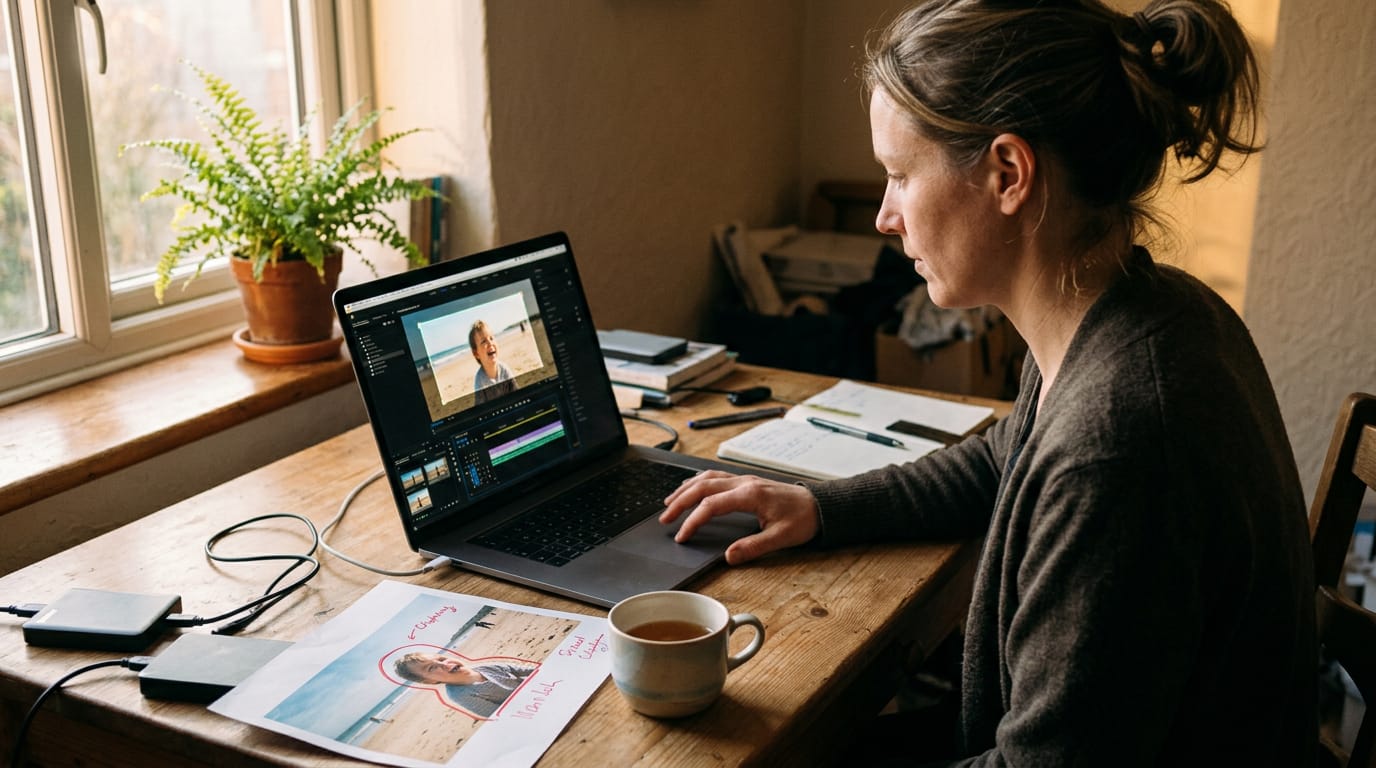
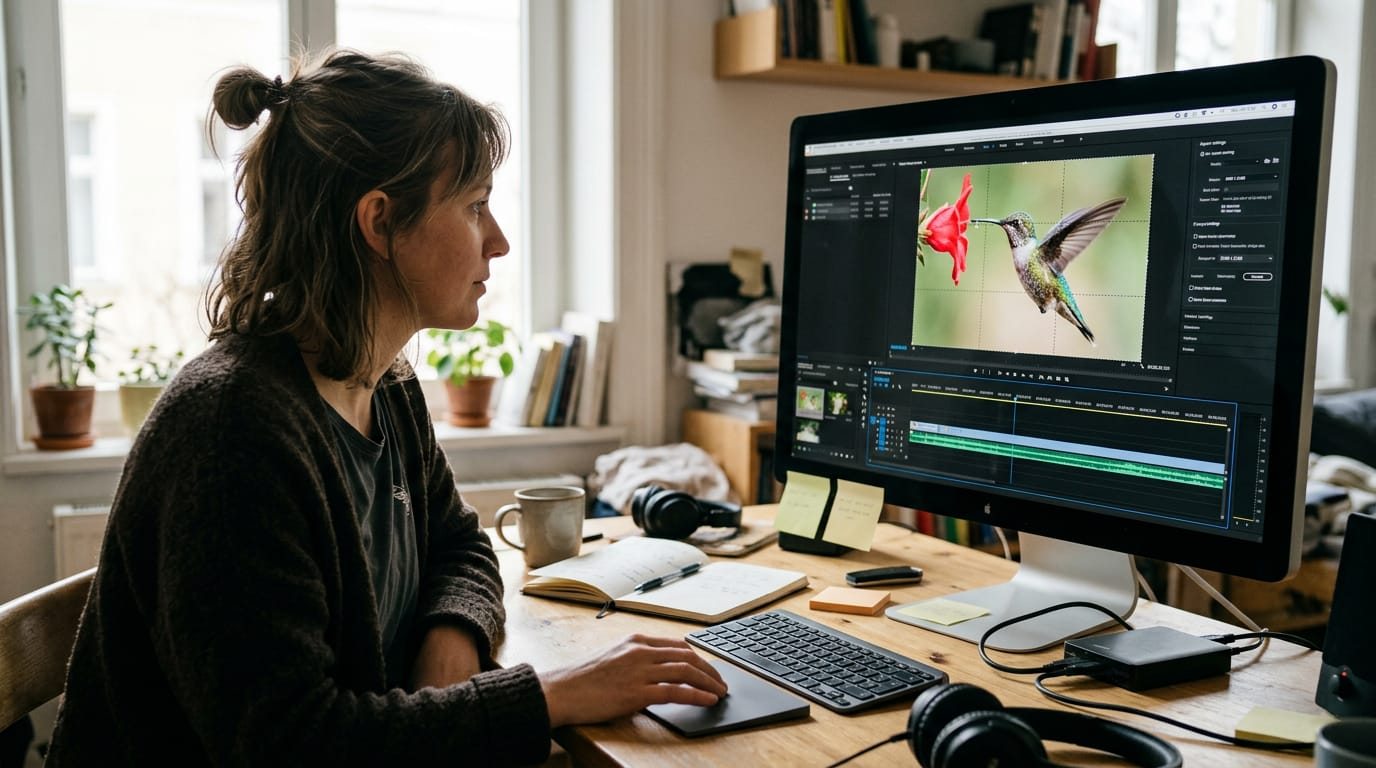
To crop an image in Adobe Premiere Pro, drop it on the timeline, apply the Crop effect from the Effects panel, then adjust the left, right, top, and bottom values in Effect Controls.
Fine-tuning where the frame sits
Use the position arrows to nudge the crop left, right, up, or down until the face sits right. If your subject moves, keyframes change the crop at chosen points so the frame follows along.
Keyframe adjustment and timeline editing both work from the timeline, and real-time editing shows each change as you make it.
So what is Ctrl+K in Premiere? It’s the shortcut for the razor, which slices a clip at the playhead so each piece can carry its own crop.
Review your crop, then export it
Check the final output specs before you choose crop and download. Not happy? Edit again returns you to the crop controls, and the instant preview lets you check the result before you commit.
A streamer spotted his mic creeping into a vertical clip during the preview, hit edit again, and downloaded a clean version on the second try. Preview first, then download.
Matching Aspect Ratios to Each Platform
Each platform expects its own aspect ratio, the width-to-height shape of your frame, so plan for it while you’re shooting.
The shapes video usually comes in
You’ll usually see these:
- 16:9 landscape: the standard widescreen frame.
- 9:16 vertical: the tall shape that fills a phone screen.
- 1:1 square: an even frame that works well in feeds.
- 4:5 portrait: a slightly taller feed shape.
- 4:3: a boxier shape you set up on purpose.
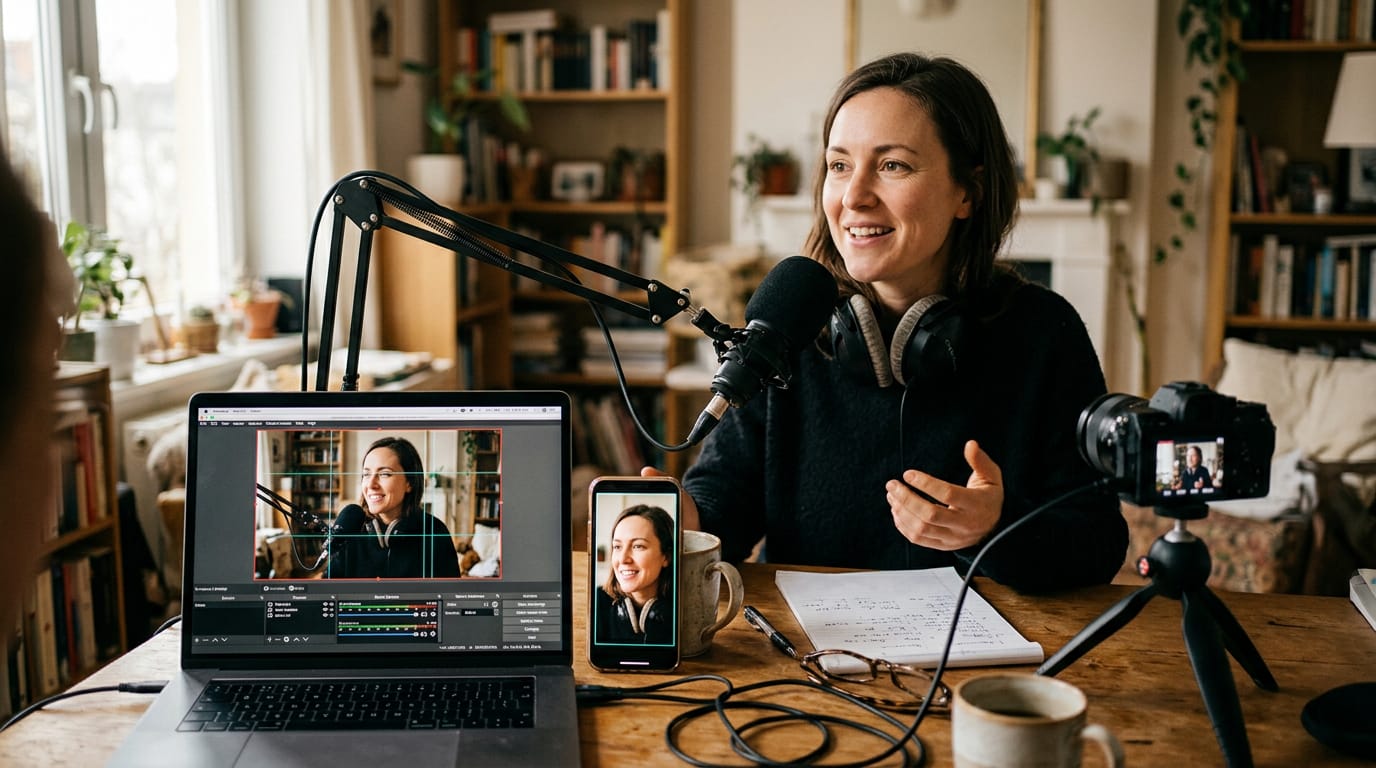
Think of a podcaster filming a 16:9 episode at her desk. With her face centered, she can crop a 1:1 clip without losing her chin. Frame for tomorrow’s crop, not just today’s shot.
To get 4:3 in Premiere Pro, set a 4:3 frame size in the sequence settings when you create the project, or apply the Crop effect and adjust it in the Effect Controls panel to trim a 16:9 sequence down to 4:3.
Fitting your video to each social app
The research paper Facilitating the Production of Well-tailored Video Summaries for Sharing on Social Media notes that platforms restrict aspect ratio differently.
Its example: Facebook feed videos appear in 16:9, while Instagram and Facebook Stories are usually shown in 9:16.
Check each app’s platform size requirements before you upload. TikTok, Instagram, YouTube, Facebook, Snapchat, and Twitter each publish their own.
Keep faces and text inside the safe zone, the central area clear of captions and app buttons. A streamer who sits off to one side of a wide shot can slide right out of a vertical crop. Sit centered and the crop holds.
Making ads look right everywhere
Ads run in placements, the exact spots where they show. Instagram Stories ads fill a vertical screen, so a 16:9 cut needs reframing. Google and Facebook ads span several placements too, so one export rarely fits them all.
Export vertical and square versions from the same footage, keeping your subject centered in both. Frame once, crop many times.
What the Tool Does for You
Before you crop a single frame, here’s what the tool gives you from the start.
Free to use, with no watermark
The tool is free to use, and exports come without a watermark, the logo or text some free tools stamp over your video. You don’t need to register to get started, so you can open it and crop a clip straight away.
There’s a free plan, but it comes with no refunds, so know that before you decide whether to pay for anything extra.
Works in your browser and stays private
It’s a browser-based tool, so there’s no software download to install. Its local processing keeps your files on your own machine. According to VideoBuff’s technical guide, the tool processes files locally without uploading them.
Because the file stays on your device rather than being sent somewhere else, your footage stays private and secure, which matters when you’re cropping unreleased or personal recordings.
Think of a life coach who films client sessions on a laptop in a spare room.
She needs a vertical crop for a short clip, so she opens the tool in her browser, trims the frame, and has the clip ready to post in one sitting. Nothing to install. Nothing to upload.
Keeping quality and handling large files
Here’s what to know about quality and file size:
- High-resolution cropping. You can crop high-resolution footage directly.
- 4K export. Finished crops can be exported in 4K, a very high-resolution format.
- Large file support. Big clips don’t have to be shrunk before you start.
- No format conversion. Your file doesn’t need converting to another format first.
- Resolution loss when cropping. A crop keeps fewer of the original pixels, so a tight crop can look softer than the full frame.
Quality comes from starting with high-resolution footage, not from rescuing a soft crop later. Shoot at the highest resolution your camera offers, and the crop has more detail to work with.
Storage, accounts and sharing with teams
A free account adds perks on top of the basic tool, though you don’t need one to start. Your work can live in an asset library, a place to keep clips organized and easy to find.
Cloud storage keeps saved projects available beyond the machine you’re on, and team collaboration lets an editor, client, or co-host work on the same project with you.
Simple enough for complete beginners
You don’t need prior editing experience. The goal is pro-like results without the pro learning curve. Before you commit, check the user reviews and ratings to see what other people thought of the experience.
Related Tools and What to Do Next
Once the crop is right, a few other edits can finish the video. Here’s what we’d reach for next.
Other edits like trimming and subtitles
Think of a real estate agent who shot a listing walkthrough on a phone held sideways. Rotating the clip fixes it, trimming the dead air keeps it tight, and resizing it for the platform finishes the job. Here are the edits you’ll use most often:
- Merge, trim, and resize. Join clips, cut the dead air, and set the final size for the platform.
- Flip and rotate. Fix footage shot sideways or upside down without re-shooting it.
- Speed change and loop. Slow a key moment for emphasis, or repeat a short clip as a background.
- Subtitle generation. Turn spoken words into on-screen text for viewers watching with the sound off.
The crop decides what sits in the frame. These edits decide how it plays.
Make your cropped video look more polished
A few finishing touches make a clip feel intentional, but two or three is plenty. Every extra graphic competes with the person on screen.
Intro and outro makers add a branded opening and closing card, so viewers know whose video they’re watching. Picture a streamer who posts the same format every week. One reusable intro keeps each episode consistent.
Motion graphics templates are pre-built animated text and layouts you fill in with your own details. A course creator can reuse one lower-third (the title bar in the bottom corner of the frame) and swap the lesson name each week.
Animated visuals are moving graphics, like a logo reveal or an arrow pointing at a product. Use them to support the subject, not steal the focus.
A good crop starts long before you open the editor. When you frame your shot with the final shape in mind, cropping becomes a light touch instead of a rescue job.
Keep the steps and platform shapes handy, and check your frame before every recording. A few seconds of framing saves a lot of trimming later.
Frame it on purpose, and the crop takes care of itself.
References
Questions
What is Ctrl+K in Premiere?
Ctrl+K in Adobe Premiere Pro is the Razor tool shortcut. It splits the clip at the playhead so each section can be edited separately.
How to crop an image in Adobe Premiere Pro?
Import the image and place it on the timeline. In the Effects panel, apply the Crop effect, then adjust the left, right, top, and bottom crop values in Effect Controls.
How to get 4:3 aspect ratio in Premiere Pro?
Create or open a sequence, then set its frame size to a 4:3 ratio in Sequence Settings, such as 1440 × 1080. Alternatively, apply the Crop effect to a 16:9 sequence and adjust its values until the frame is 4:3.