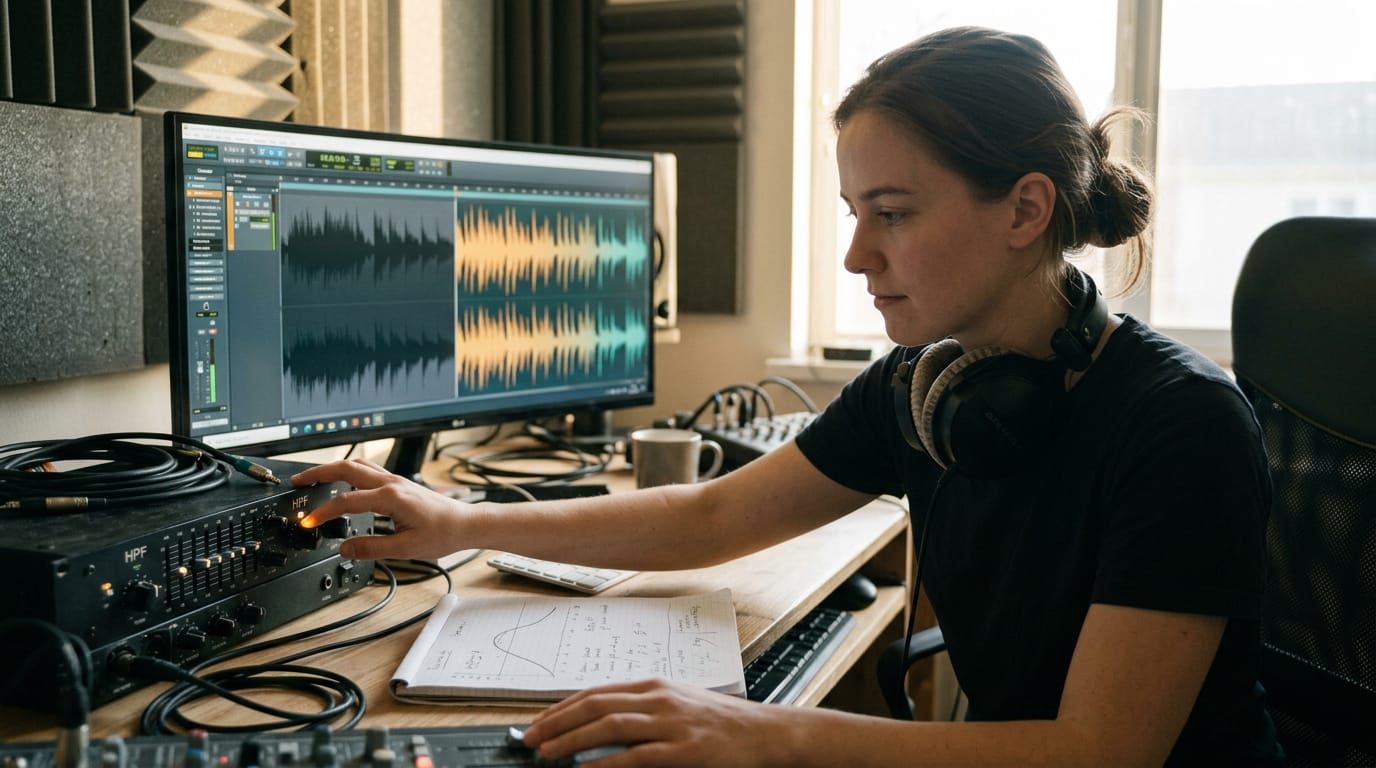
Condenser Mic Placement Explained for Voice and Guitar
Condenser mic placement changes voice, guitar, and group recordings; set distance, angle, height, room, and gain, then hide the mic without losing clarity.

Chapters
In short
Condenser mic placement is choosing the microphone’s distance, angle, height, and position in the room to capture a voice or instrument clearly. Move it in small steps and record test takes: closer placement emphasizes direct sound, while greater distance captures more room reflections; angle and height also shape tone and ambience. Good placement reduces unwanted room sound and editing, so set the mic for the sound first, then adjust gain and keep it out of the frame.
Think about sitting at the back of a loud café versus leaning in across a small table to hear a friend. The same conversation sounds completely different depending on where you sit. Microphone placement works the same way.
A condenser microphone, the sensitive type often used for voice and acoustic guitar, catches fine detail, so small moves make a big difference.
In this post, we’ll cover distance, angle, height, room, and gain for voice, guitar, and groups, then show you how to tuck the mic out of frame without sacrificing sound.
The Basics of Condenser Mic Placement
Before you buy a new mic, check where the one you have is sitting. Placement is the upgrade that costs nothing.
Placement beats fixing problems later
Corrective tools like equalization (EQ, which boosts or cuts pitch ranges) can only polish what the mic captured, so placement beats them every time.
Placement is the most important recording factor you control, and it affects tone before any editing starts. A condenser mic picks up fine detail, so position matters. A cheap mic, well placed, wins.
Record test tracks and listen back
Don’t guess. Record a short test track with the voice or instrument you’ll actually use, then listen back on speakers. Headphones can mislead you, since they sit so close to your ears that they hide room problems.
There are few hard-and-fast rules, so treat each take as a small experiment: move the mic, record a few seconds, and compare. Getting a feel for it takes weeks, not one afternoon, so expect plenty of tests before the choices feel natural.
How your room shapes the recording
Your room is part of the sound. Small untreated rooms with bare walls and hard floors bounce sound back into the mic, which can make a voice boxy. Every space differs, so one setup can sound great in a bedroom and rough in a basement.
In a treated room, with rugs, curtains, or padded panels that soak up reflections, you can place the mic farther away. Close placement limits the room effect, so the mic hears mostly you.
Whatever the room, point the mic’s front at your mouth and away from the nearest hard surface.
A real estate agent recording voiceovers in a bare-walled office might pull the mic in close and turn it away from the wall behind her, so the room gets less of a say.
How Distance and Proximity Shape Your Sound
Distance shapes your sound as much as the mic does, so get it right before you touch the gain.
Finding the distance that sounds best
There’s no absolute inches rule, so skip any guide promising one magic number. Think of the sweet spot as a pocket of space in three dimensions:
- side to side,
- up and down, and
- in and out.
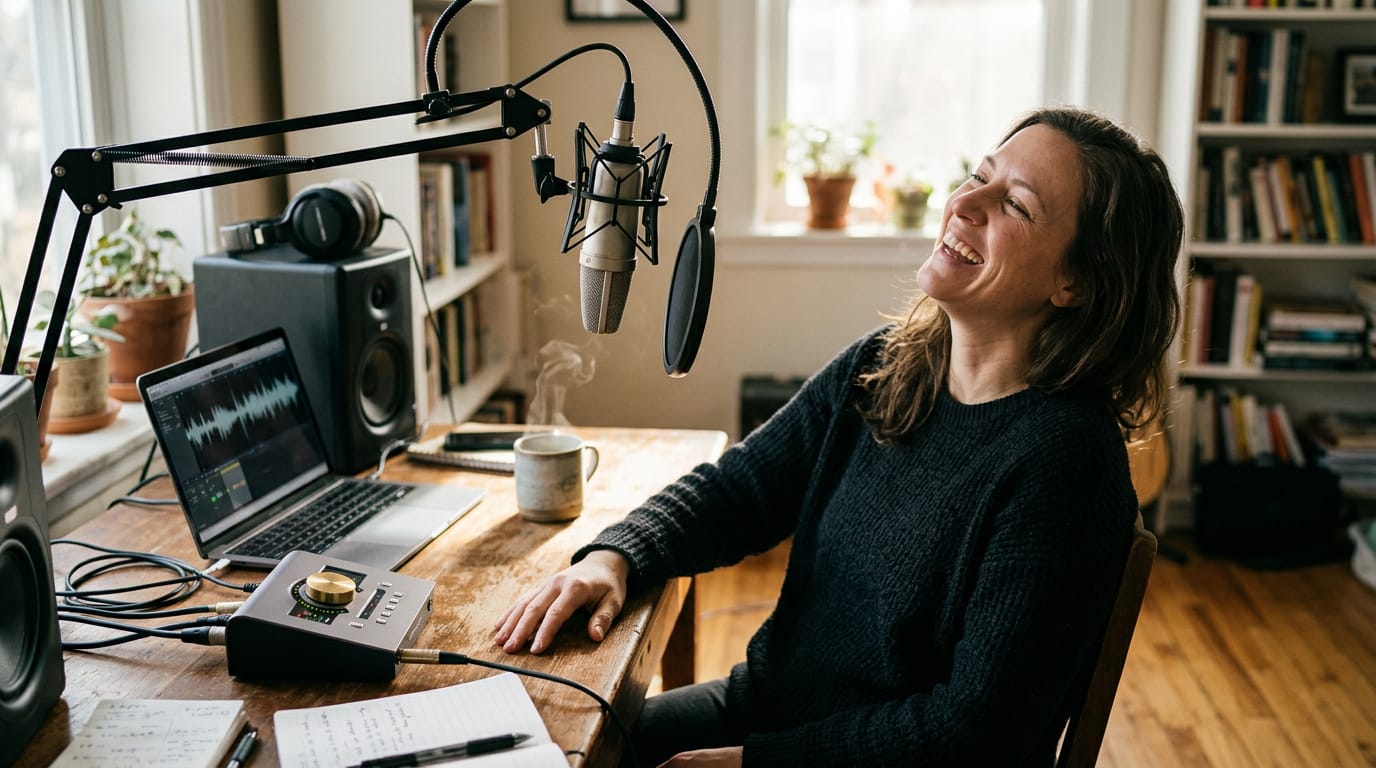
Performer movement shifts that pocket. A podcaster who leans back to laugh, then leans in to make a point, changes her distance every time, so her sound changes too.
Stray too far and it turns thin, with more room than voice. Distance is a dial, not a rule.
What happens when you get too close
Get too close and the proximity effect, a bass boost that happens when a mic sits near its source, kicks in around 16 inches and can leave the low end muddy. Closeness also picks up breaths, lip smacks, and other mouth noises.
Picture a streamer who sits right up against the mic during a loud gaming session, so every breath lands in the recording. Drift off-center and you’ll hit a hot spot, where the level suddenly jumps, and the voice can take on a tubby, boxed-in tone.
Balancing direct sound and room reverb
Closer means more direct sound, the voice arriving straight from the source. Farther adds reverberation, the reflections bouncing off your walls and furniture. Neither is bad on its own; it’s about how much of each you let in.
Consider a course creator recording in a bedroom with bare walls. Pulled in close, the lessons sound clean and dry. Pulled back, the room starts answering every word. An ideal room can handle three feet, adding a little life without washing out the voice.
Picking a Condenser and What It Needs
Choosing a condenser, a sensitive mic that needs power to run, comes down to where it listens and whether your setup can power it. Get both right and the rest gets easier.
Why cardioid works best at home
A cardioid pattern picks up mostly from the front and rejects sound from behind, which suits a bedroom or closet studio. Think of a podcaster recording in a converted closet.
Her cardioid mic points at her face, so the clothes behind her and the hum of her laptop fan barely register. It also reduces room noise, so less of the room ends up in her take and she isn’t re-recording to chase a clean voice. That’s the whole point.
Powering your mic and wiring it up
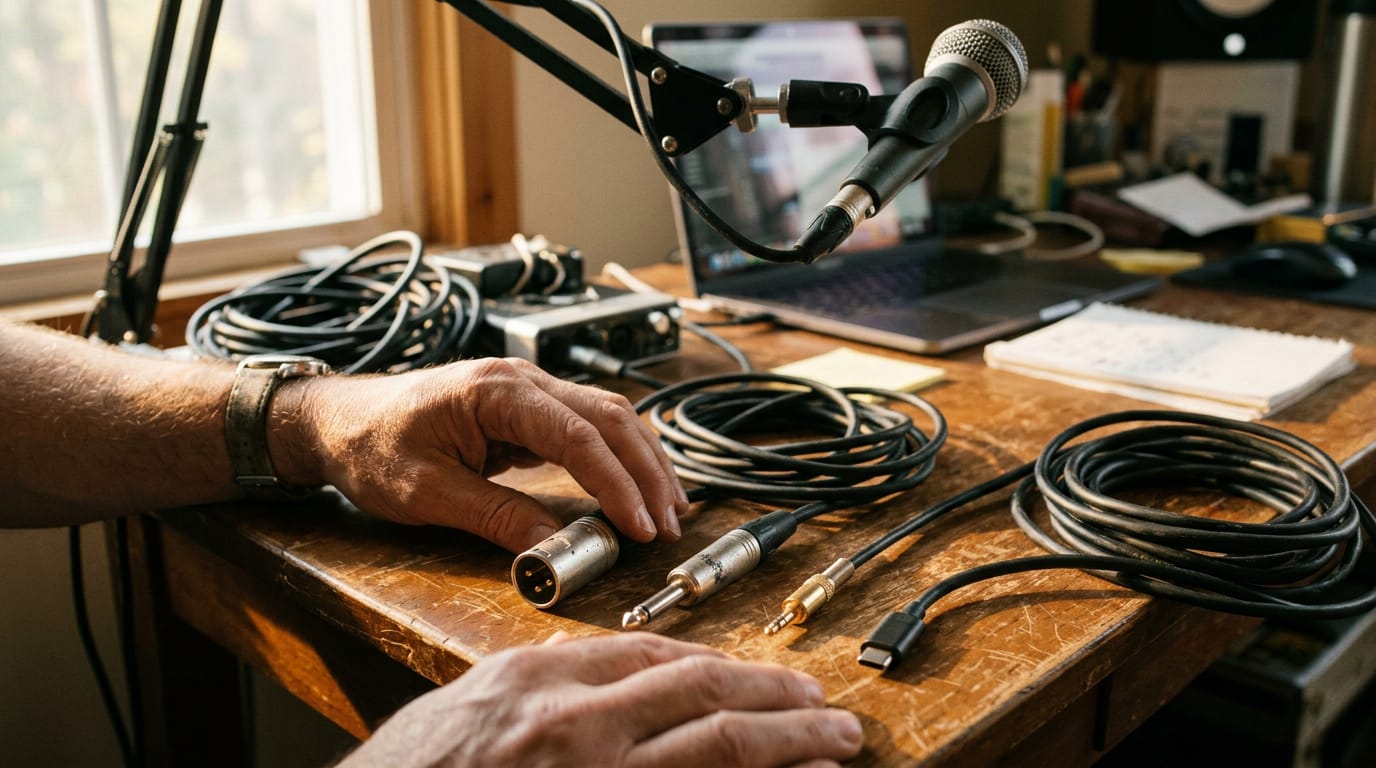
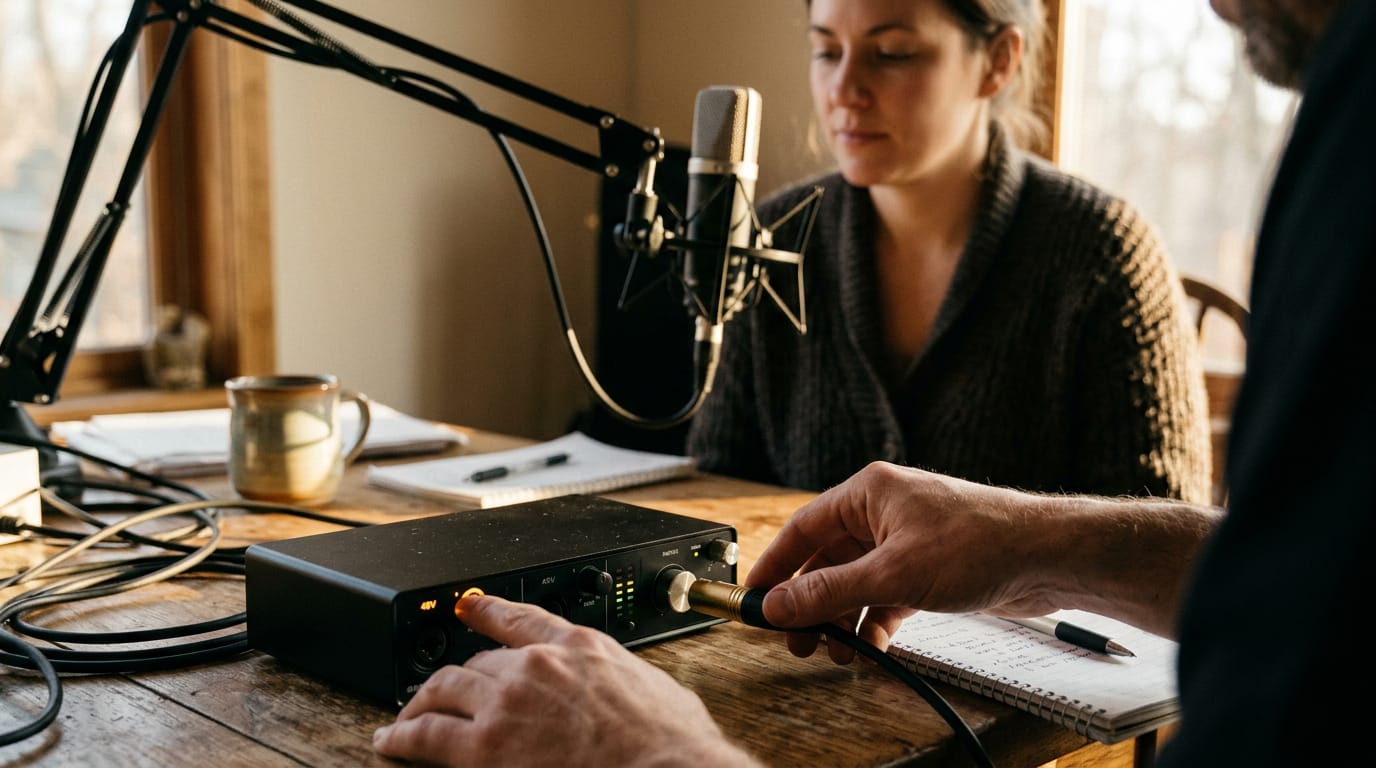
Most condensers connect with XLR cables, the standard connector for studio mics. They also need 48V phantom power, which travels down that same cable to run the mic’s electronics.
Your preamp (the part that boosts the mic’s signal) or audio interface supplies it, so look for a phantom power switch and turn it on before you plug in. Voltage range varies by model, so check your mic’s spec sheet first.
Set your gain, the input level on your interface, after the mic is in position. Moving the mic changes how loud your voice arrives, so a level you set earlier may need redoing.
How condensers compare with dynamic mics
Here’s how the three types compare:
- Condensers are more sensitive than the other types.
- Dynamic mics are rugged and cheaper, but they need more gain to reach a usable level.
- Ribbon mics have the lowest sensitivity of the three.
Condensers are built to catch sound, while dynamics are built to survive a rough room. Your room decides which one wins.
Mic models that fit your budget
The Audio-Technica AT2020 and AT2021 both cost under $100. According to SoundGuys’ AT2020 review, at only $99 its sound quality is “pretty good.”
The Shure SM81 and Neumann KM 184 are the step up, and that’s where low self-noise (the hiss a mic makes on its own) comes in. Low self-noise costs more. If you mostly record voiceover, look for a large-diaphragm condenser.
Where to Place a Mic for Voiceover
Good voiceover starts with where the mic sits.
Setting the right height and angle
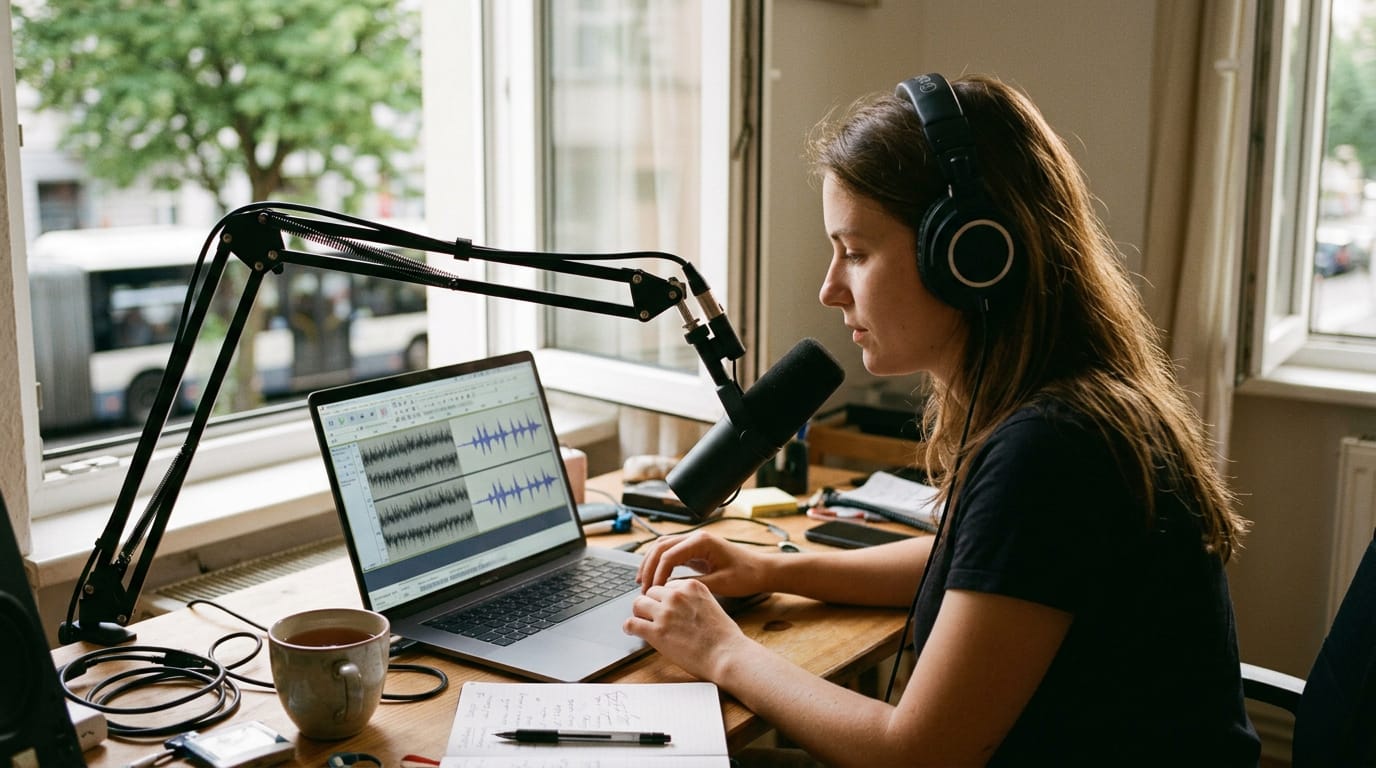
Position the capsule (the round sensing part of the mic) at nose bridge height, then aim it at your chin. Speak under the mic rather than into it, so your breath passes beneath the capsule.
Keep the mic above your mouth line, angled down, and place it just above the camera frame so it stays out of shot.
Mounting your mic for a steady setup
Mount the mic inverted on a boom arm, the jointed arm that clamps to your desk. A large diaphragm condenser is the recommended pick. Add a shock mount, the elastic cradle that holds the mic, so bumps travel less into the capsule.
Mark your foot position on the floor with tape. A permanent setup reduces variables, and the boom arm keeps the mic off your desk, so a bumped table won’t thump through your recording. Set it once and leave it.
Keeping pops and mouth noise out
Plosives are the hard bursts of air from p and b sounds, and lip smacks add their own noise. A pop filter, a mesh screen in front of the mic, catches that air first.
Then move the mic off the direct line of your breath. Consider a course creator who spent an afternoon cutting pops from her lessons. Once she moved her mic off that line and added a pop filter, her next batch needed far fewer fixes.
Fix it at the source and you’ll reach for fewer repair tools in editing.
Where to Put a Mic on Acoustic Guitar
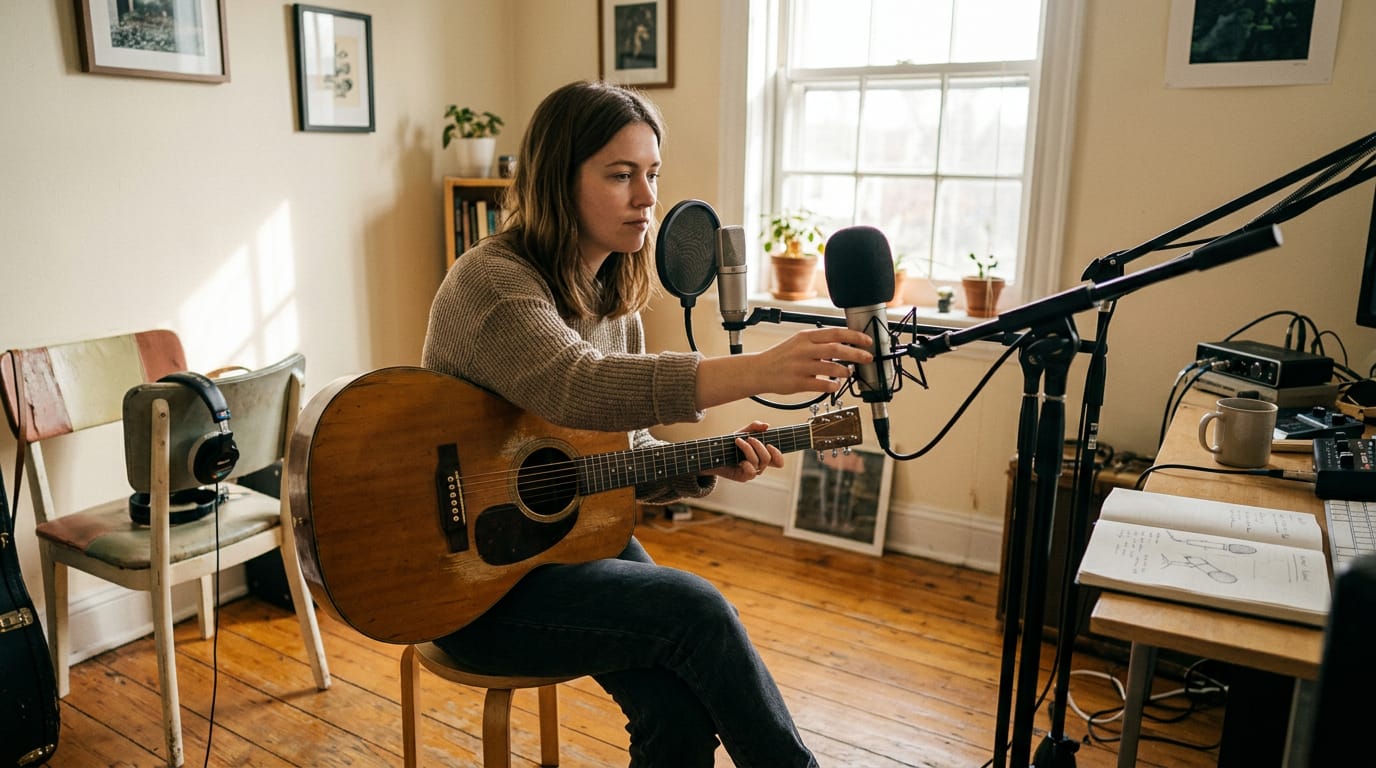
Where the mic sits changes everything, so test a few spots before you hit record. Here’s where to start, plus how to go stereo and shape the bass.
Good starting spots for one mic
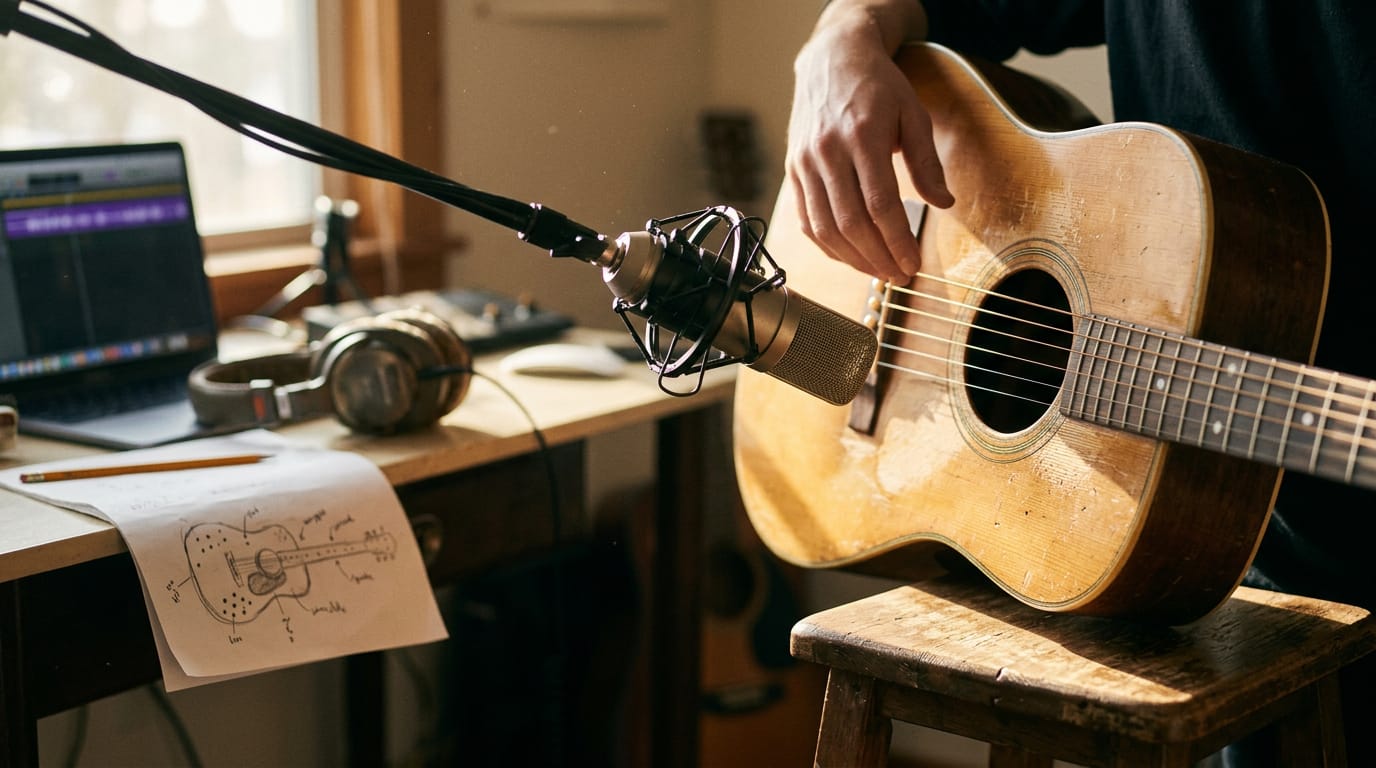
- Neck-body joint: Aim at where the neck meets the body, about a foot away.
- Behind or below the bridge: Warmer and rounder, though it can get boomy up close.
- Centered above the soundhole: A solid, balanced default.
- Avoid directly at the soundhole: Air rushing out of the hole can sound muddy.
- 12th fret aim: Point the mic at the 12th fret for an even, clear sound.
Recording in stereo with two mics
Two mics don’t automatically mean a better sound, because how you place them matters most. Here are the main setups:
- X/Y at 90 degrees: Both mics share one point, with their front ends angled 90 degrees apart.
- Spaced pair: Two mics set apart, both aimed at the guitar, with the gap creating width.
- Stereo X/Y mic holder: Locks both mics at the right angle, so you’re not juggling stands.
- Mono first, then stereo: Get one mic sounding right before adding the second.
Tweaking the angle to shape bass
Tilting the mic is a quick way to change your tone without touching the gear.
- Toward the soundhole adds bass for a fuller sound.
- Away from the soundhole reduces bass for a thinner, brighter sound.
- Small moves change tone: A slight tilt goes a long way, so adjust in small steps.
Take a songwriter filming covers in a spare bedroom whose guitar sounds thin on laptop speakers. She tilts the mic a touch toward the soundhole and the warmth comes back. No new gear needed.
Placing Mics for Live and Group Recordings
Recording a group means one mic serves many voices, so the real question is where you put them, not how many you’ve got.
Main stereo pair setups for concerts
A main stereo pair is two mics working together to capture a group’s width:
- Stereo pair above the conductor. Two mics hung above the conductor, aimed at the whole group.
- Mid/side. A cardioid (a front-favoring mic) aims at the center while a figure-8 picks up left and right, blended later for width.
- Coincident cardioids. Two cardioids stacked as close together as possible and angled apart.
- Near-coincident cardioids. The same setup with the mics spaced slightly apart for a more natural sense of space.
- Mostly direct sound. Close setups like these pick up mostly the players themselves, so the sound stays tight.
The same close approach suits a two-person podcast in a spare bedroom: each host gets a condenser aimed at their mouth, so voices stay clear over bare walls.
How mic height captures room ambience
Height changes what the mic hears. Higher and farther back, it picks up more of the room ambience.
- Tall mic stands are essential. A sturdy stand lifts the mic above the crowd, so it hears the room, not just the front rows.
- Hanging mics are cumbersome. They reach the height, but rigging and cable runs make them a poor fit at home.
- Spaced omnis in balconies. Omnis, which hear from every direction, spaced along a balcony rail capture the whole hall.
- Artificial reverb as compromise. If you can’t reach that height, reverb added in editing can suggest a room but only fakes it.
Height gets you the real room. Reverb only imitates it.
Good placement comes down to a few choices: how close the mic sits, which way it faces, how high it hangs, how your room shapes the sound, and where you set your gain (the input level). Get those right and the recording does most of the work for you.
Keep the mic out of the shot by solving for the sound first, then hiding the hardware, not the other way around. Trust your ears first, and let the camera catch up.
References
- Audio-Technica AT2020 review — soundguys.com (2025)
Sources
- Audio-Technica AT2020 review - SoundGuys, soundguys.com,