Portrait Lighting Setup Explained: Roles and Patterns
A portrait lighting setup uses three light roles to build four classic patterns, with budget LEDs you can position at a desk or window and adjust easily.
Chapters
In short
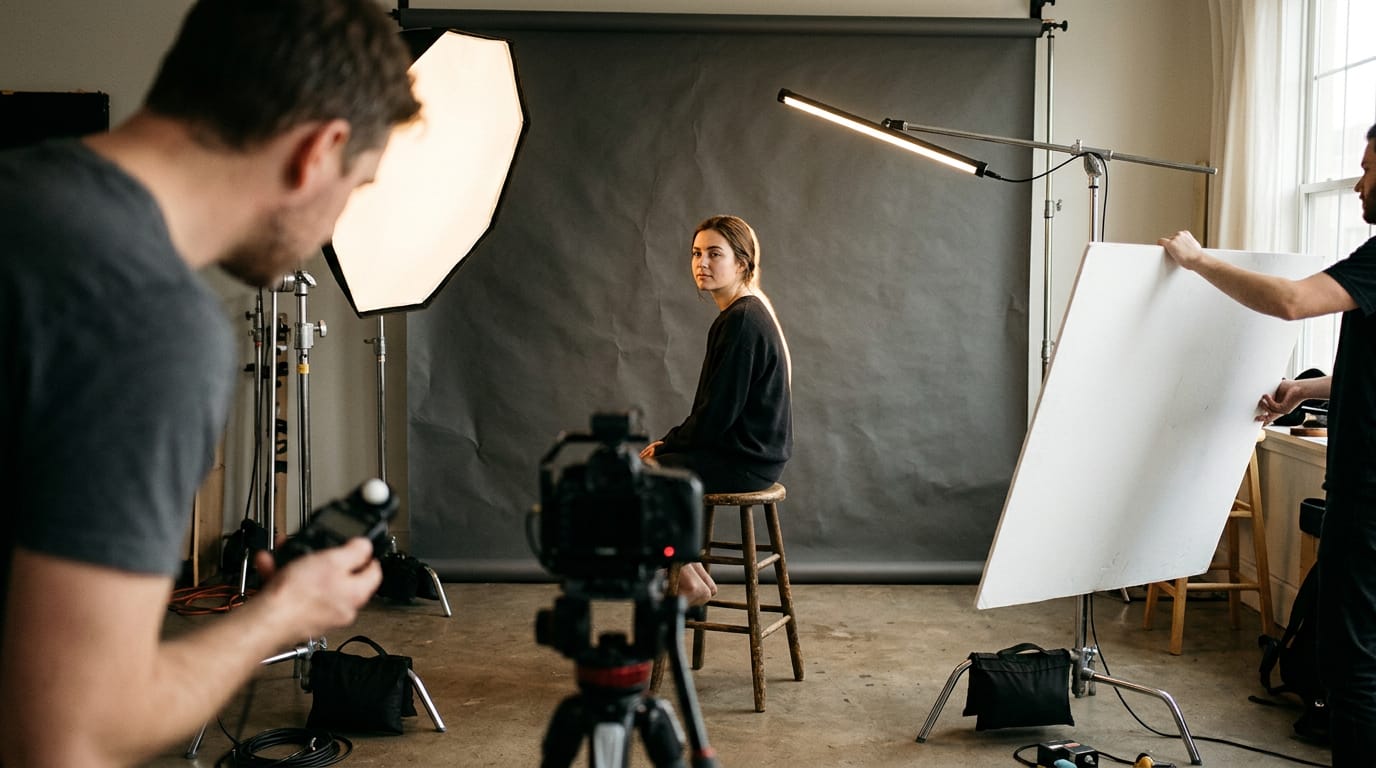
A portrait lighting setup is the arrangement of light sources around a person to shape their face and control how they appear on camera. Use a key light to define facial features, add fill to soften shadows, and use a back light to separate the subject from the background; changing the light’s position creates patterns such as butterfly, split, loop, and Rembrandt. A window, reflector, desk lamp, or budget LED can work, so adjust the direction and softness until the result suits the face and setting.
Think about the last time you tried to take a photo in a dim kitchen. You shifted your chair, tilted your phone, and still ended up with half your face in shadow. Portrait lighting solves that same puzzle, on purpose.
Get the light in the right spot and the same face looks clear, flattering, and natural.
This post walks through the three light roles every portrait setup relies on, the four classic patterns you can build with them, and how to recreate each one at a desk or window using budget LED (light-emitting diode) gear.
Let’s start with where the light goes.
Portrait Lighting Setup Basics
Every setup comes down to where the light sits, how big it is, and which side of the face it hits.
How light and shadow shape a face
Light catches the high points of a face and leaves shadow in the hollows. The shapes of that light and shadow make it read as three-dimensional on camera.
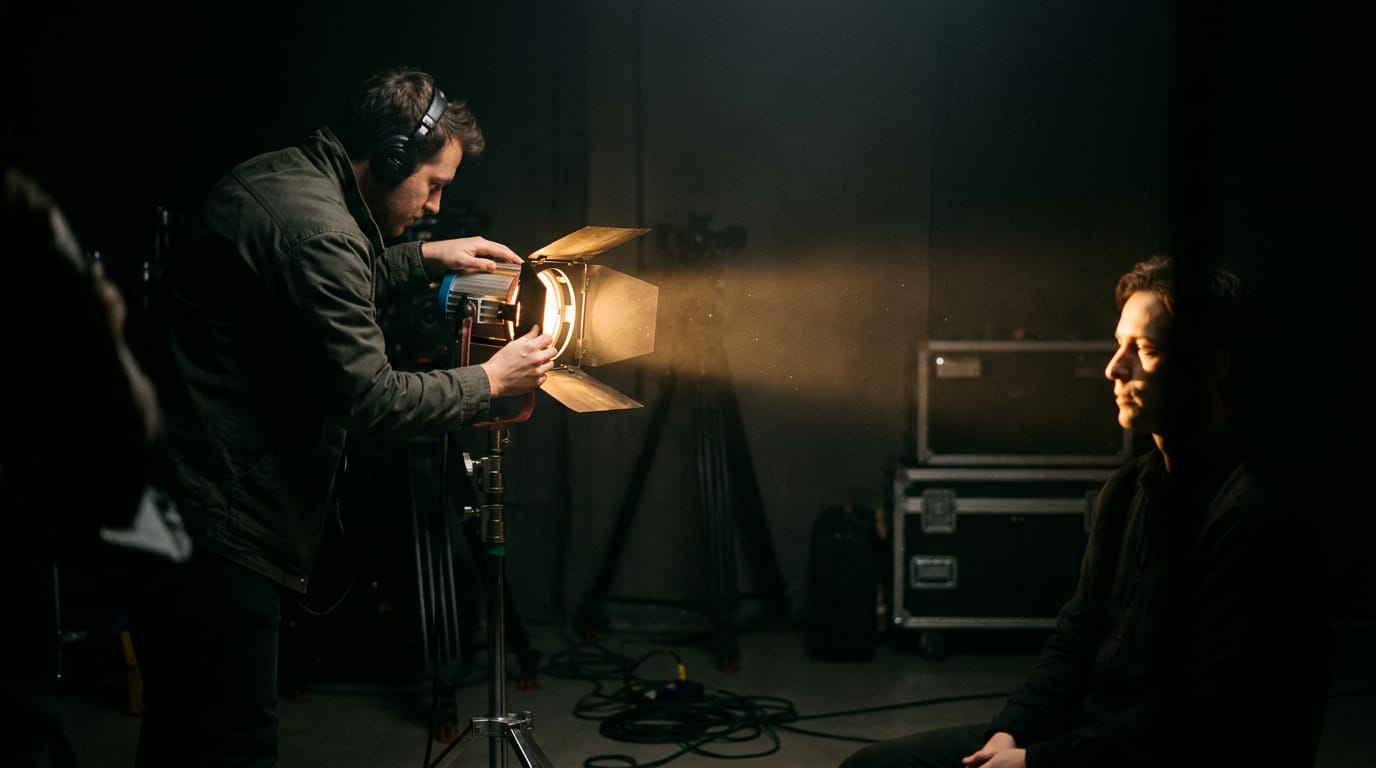
The key light is your main source and does most of the shaping. The fill light lifts the shadows it leaves behind, and the back light separates the subject from the wall.
Distance and size control softness. A small light up close gives hard shadow edges, while moving it back softens them. It’s where the light lands that sets the mood, not just how much of it there is. Small moves, big change.
Why the setting and background matter
Walls, windows, and clutter all reflect light and compete for attention, so lighting is the crucial factor in whether the background helps or hurts. A life coach who turns her chair so the bookshelf falls into soft shade gets texture instead of glare.
Telling lighting styles and patterns apart
Two styles cover the basics. In short lighting, the key falls on the side of the face turned away from the camera. In broad lighting, it hits the side turned toward the lens.
The four classic patterns are named for their shadows:
- Butterfly: key high and centered, casting a small shadow under the nose.
- Split: key off to one side, lighting half the face.
- Loop: key slightly off to one side, with the nose shadow angling toward the cheek.
- Rembrandt: key higher and farther out, forming a small triangle of light on the shadowed cheek.
Read the shadow, and the pattern follows.
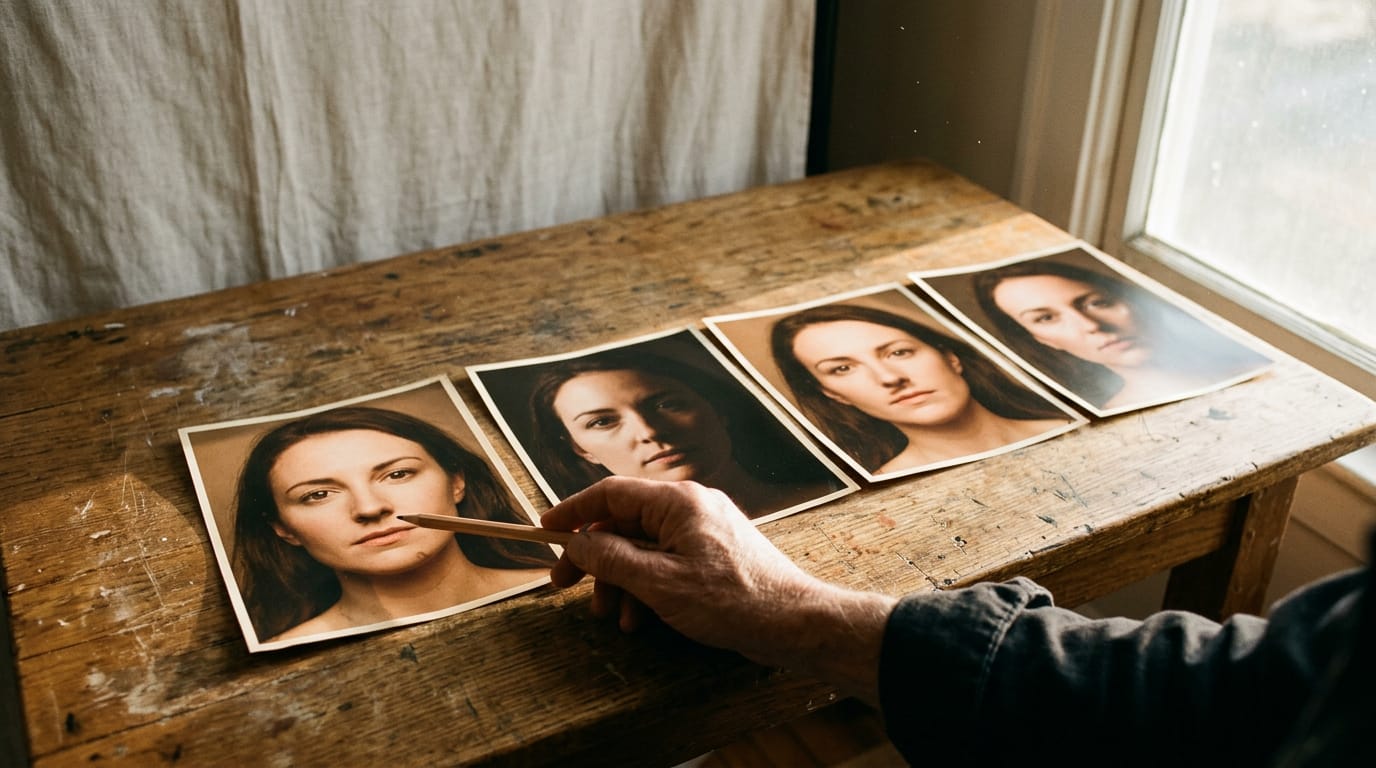
The Classic Patterns Worth Learning
Each of the four classic patterns is named for the shadow it leaves on the face, which makes them easy to spot and easy to build on purpose.
Butterfly lighting for glamour and fashion
Butterfly lighting is named for the small shadow it casts under the nose. Place the light above and behind the camera and aim it down at the face.
The downward angle also puts a shadow under the chin and minimizes wrinkles, which is why glamour and fashion creators reach for it.
A beauty creator filming tutorials from her apartment tilts one panel down from above her camera and gets smooth, flattering skin.
Split the face for dramatic portraits
Split lighting divides the face into two halves, one lit and one in shadow. Position the light at 90 degrees from the camera. It’s dramatic and deep, but the shadow-side eye must be lit or it vanishes, so bounce a little light back in with a reflector.
Natural light works here too: set your subject so a window sits at their side, not in front, and the light does the work for free.
Loop light for talking-head video
Loop lighting is the workhorse for talking-head video. Place the light slightly above eye level and about 45 degrees from the camera. The nose casts a small shadow onto the cheek, and the nose and cheek shadows stay separate.
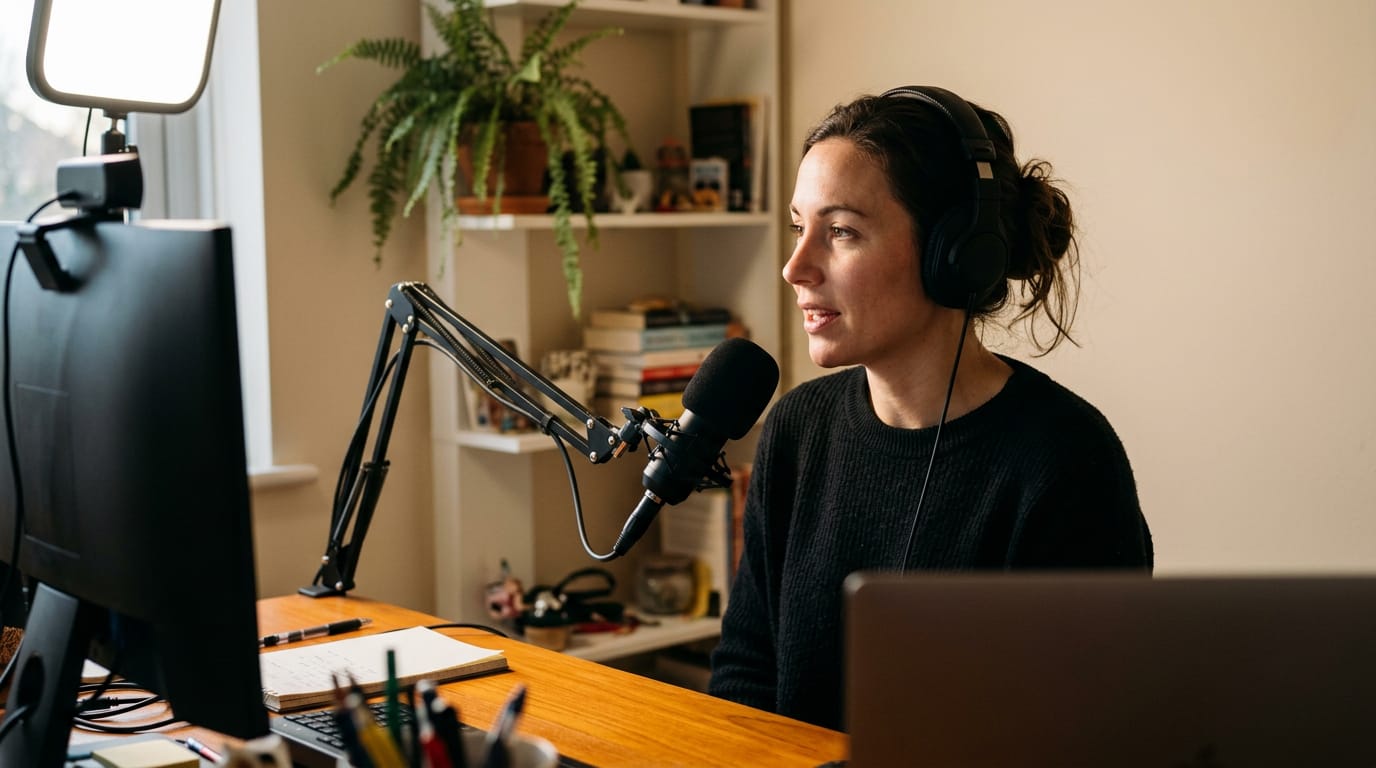
Every face is different, so nudge the light until the loop looks right. That’s the whole trick. A podcast host recording from a spare bedroom keeps one panel in that spot and never has to re-set it between episodes.
Rembrandt lighting and the cheek triangle
Rembrandt lighting puts a triangle of light on the shadowed cheek. Raise the light above head height and angle it down. Here the nose and cheek shadows touch rather than separate, and the triangle sits in the gap between them.
Look for a catchlight, the small reflection in the shadow-side eye. Some face structures don’t hold the triangle well, so switch to loop if it won’t show. Think of a streamer who wears glasses.
Her first attempt flared across both lenses, and raising the light’s angle moved the glare off them.
Short and Broad Approaches to Light
Short lighting and broad lighting are two sides of the same idea: each one decides which side of the face the light lands on. Once you know which side you want the camera to see, the rest of the setup falls into place.
Short lighting with the face turned in
Have your subject turn their face toward the light. The shadow then falls on the cheek nearest the camera, so the largest part of the face ends up in shadow.
Picture a podcaster who places one soft LED panel off-camera, to the side of her webcam, and turns toward it. The lit side faces away from the lens, not toward it, and only the far cheek catches the light.
That’s the whole trick, and a single panel is enough to pull it off.
Broad lighting that widens a slim face
Broad lighting lights more of the face the camera sees, not less. The subject looks away from the light, so the light falls on the side of the face facing the lens, while the far cheek drops into shadow.
That larger illuminated area is what helps widen a slim face, which makes this the pattern to reach for if you’re working with a narrow face. Consider a course creator who keeps one soft, diffused panel to her left.
She turns her head away from it, and her narrow face reads wider on camera with the same panel she uses for lessons. Same light, different angle.
Choosing Light Sources and Gear
Your light source sets the mood of the whole portrait. A budget light-emitting diode (LED) panel or chip-on-board (COB) light is a continuous light (one that stays on), while flash is a quick burst that fires only when you press the shutter.
Softening off-camera flash with modifiers
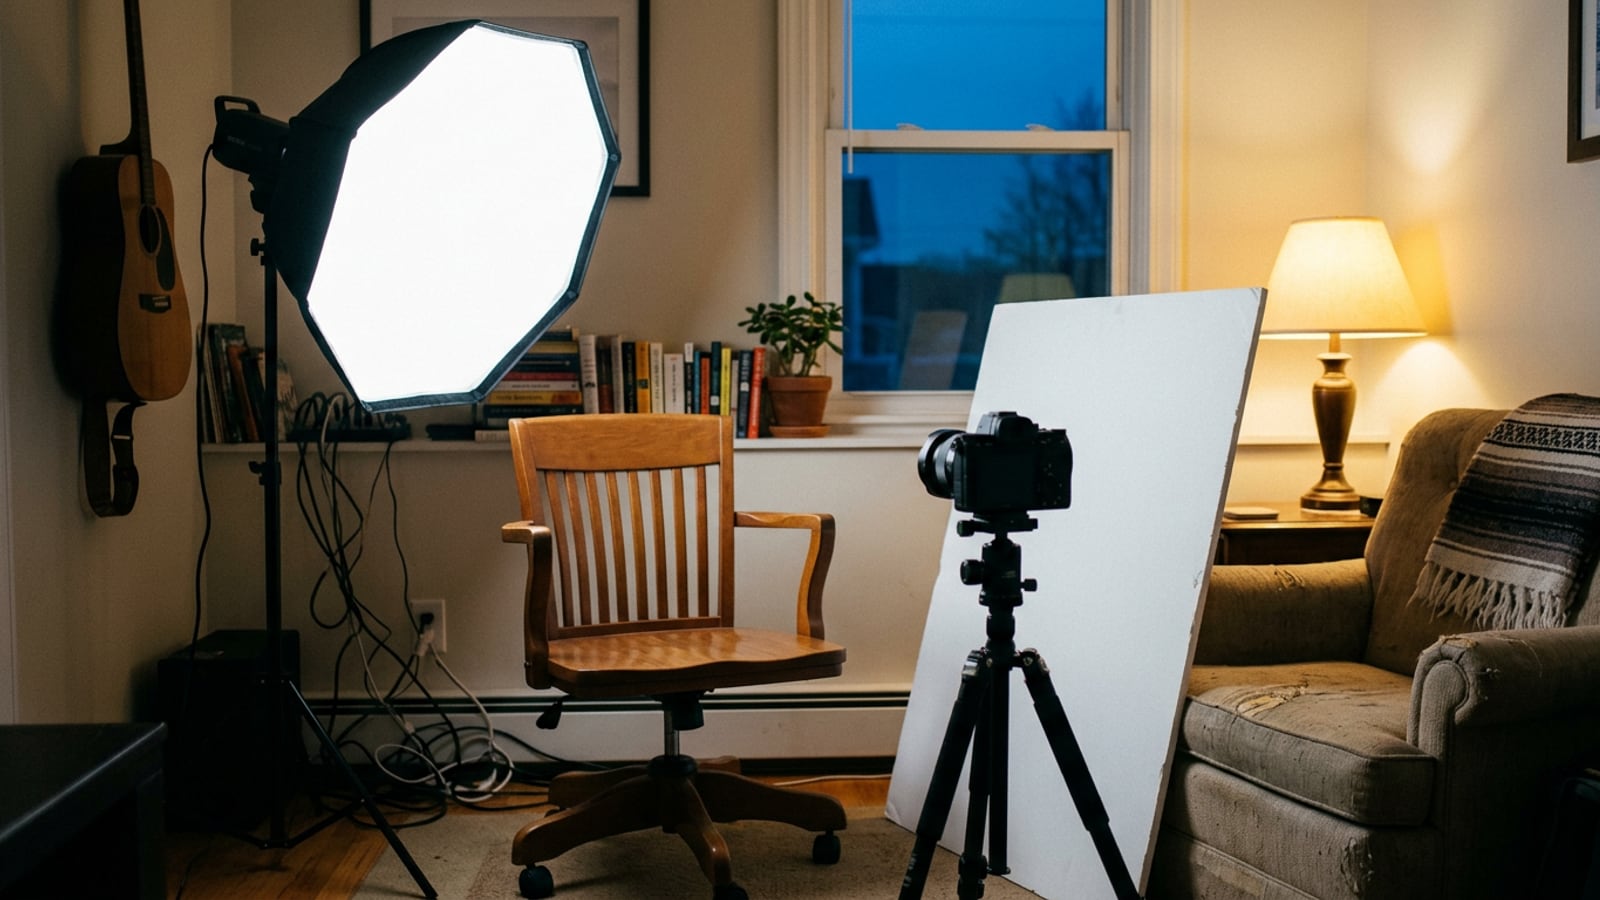
A modifier shapes flash light. Start with a flash that mounts on the hot-shoe (the bracket on top of your camera), then set it on a tripod at the angle you want. Here’s how to soften it:
- Mini softbox: a small fabric box that attaches to the flash head for soft, diffused output.
- Flash bounce reflector: a small reflector that aims light off a nearby surface, not straight at your subject.
- Bouncing off ceiling: aim the flash up so the ceiling becomes one large, soft light source.
Working with sunlight and reflectors
- Sunlight at 90 degrees: side-on sun lights one side of the face and leaves the other in shadow.
- Overcast conditions still work: you don’t need a sunny day, since clouds spread the light out for softer shadows.
- Subject in shade: just inside a doorway, the light is even and gentle.
- Reflector bouncing light upward: hold it low to lift light into the shadows under the chin.
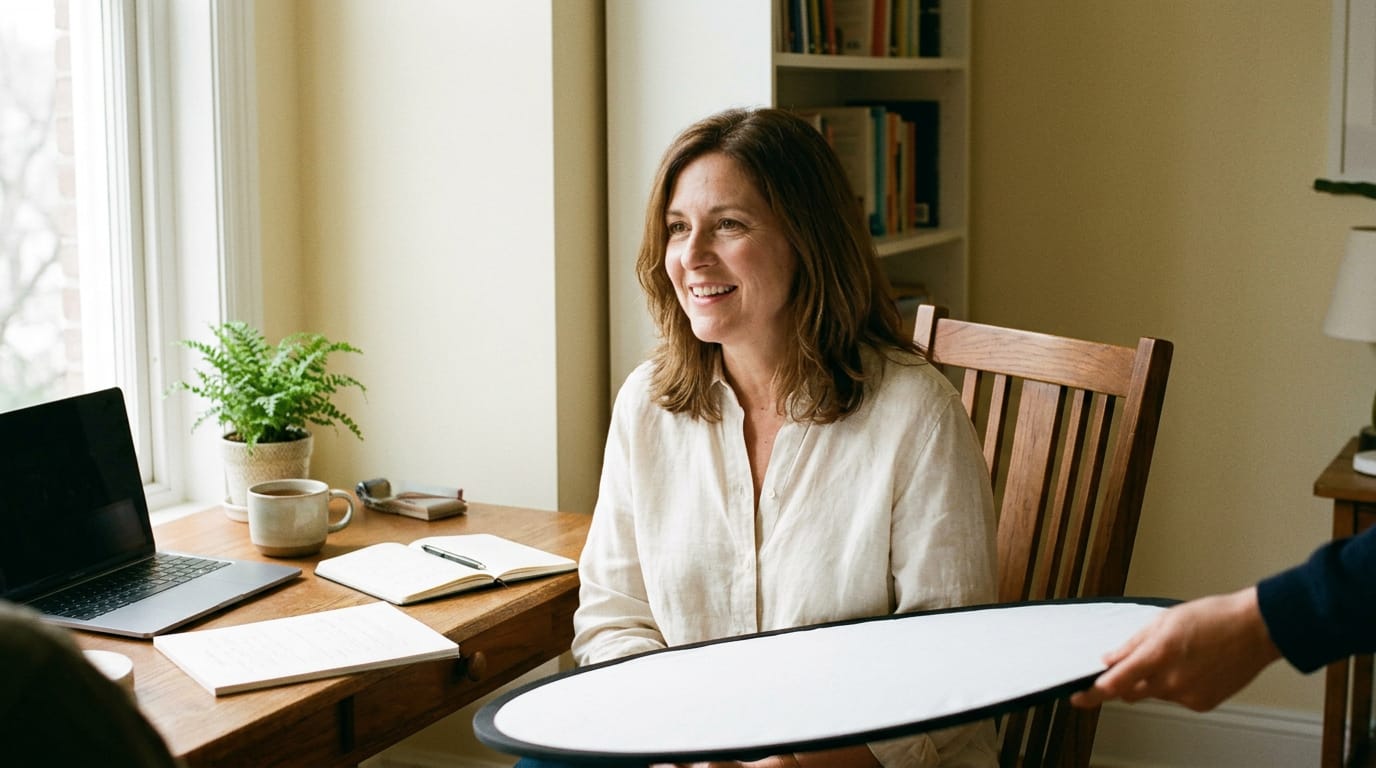
- Reflector at 45 degrees: angle it to catch window light and send it onto the shadow side.
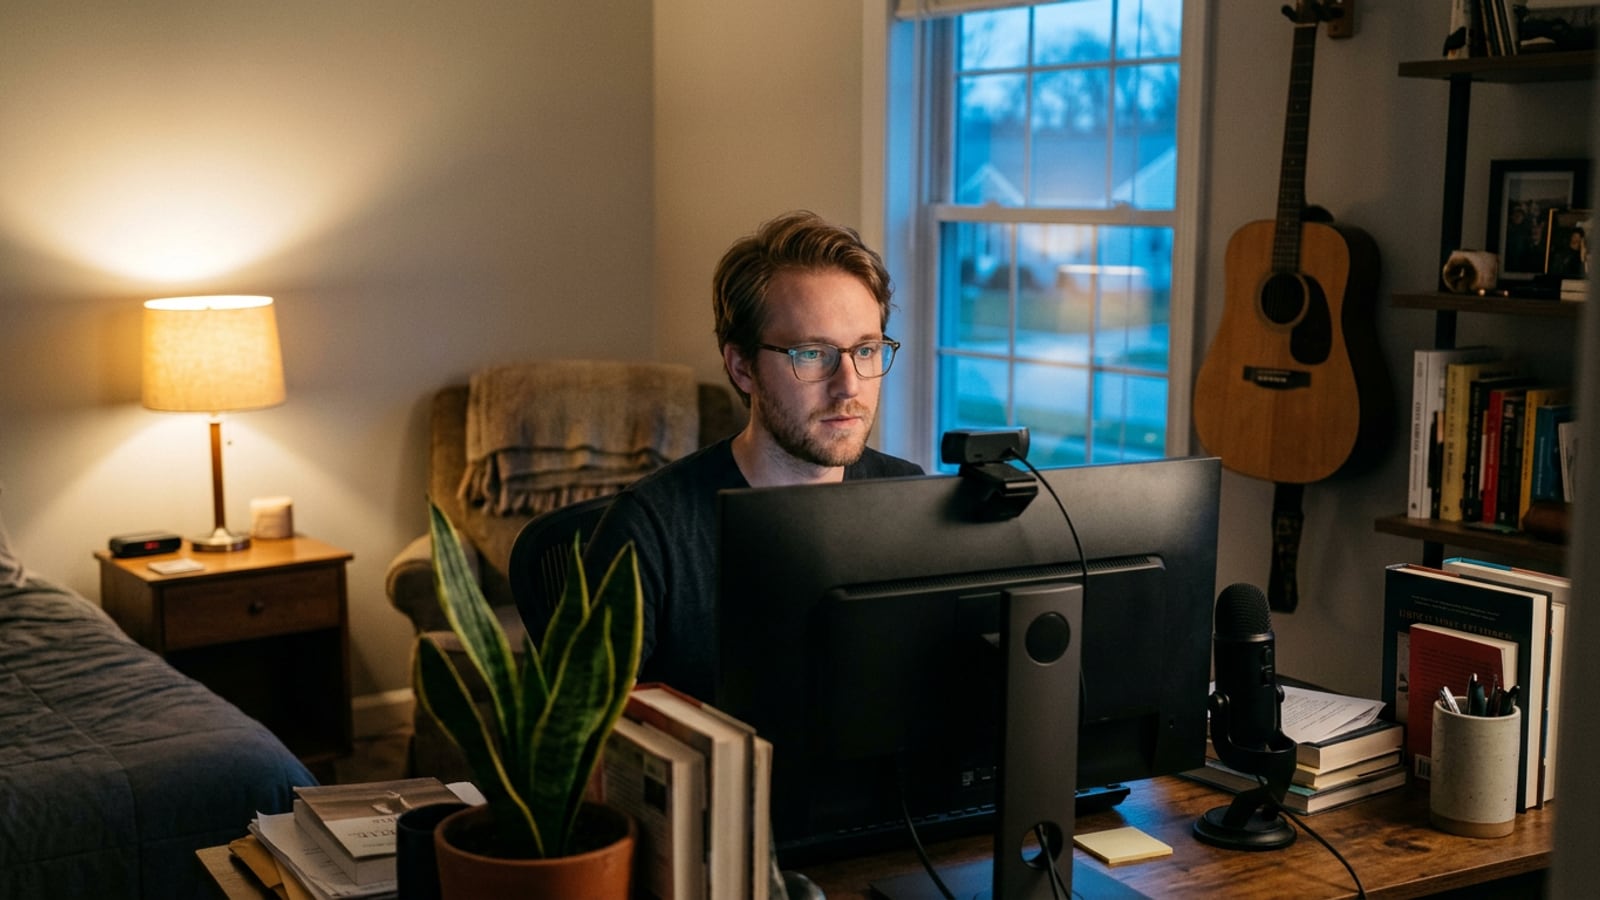
- Window as key, desk-side: put your desk beside a window so it acts as your key light, the main light on the face.
Consider a life coach shooting her website portrait at a desk by a window. She angles her chair so the window lights one side of her face and a reflector fills the other, giving her a balanced shot. Small move, big difference.
Practical Tips for Staying Flexible
Rules are a starting point, not a fence. Here’s how to bend them, and where to keep learning once you’ve got the basics.
Bend the rules and experiment freely
Consider a podcaster in a converted closet whose face looks flat under a classic setup. She moves her key light just above eye level, and the shadows under her chin disappear. One small move, one clear result.
- Exceptions to the rules. A guest in glasses may get glare across the lenses. Move the light rather than forcing the textbook setup.
- Experiment with light placement. Shift your key light a few inches at a time and check the screen after each move.
- Vary model angle and camera angle. Turning your subject a few degrees toward the window, or lowering the camera, can change the mood as much as a new light.
- Bend or break rules. Break a rule on purpose, not by accident. A bright, airy look can suit a cheerful brand even though it ignores the classic patterns.
- Any light type works. A desk lamp, a window, or a budget LED panel can serve as a key light once you control its direction and softness.
A few setup mistakes come up often, and they’re easy to fix. If the face looks flat, move the light off to the side. If one side is too dark, add a fill light on that side.
If the background is brighter than your subject, move your subject closer to the light or cover part of the window.
Where to keep learning portrait lighting
- Video overview demonstration. Watching the light move in real time shows you what a diagram can’t.
- Portrait photography course. A structured course builds your skills from the basics up.
Keep experimenting, and trust the screen more than the textbook.
Once you know what each light is doing, the setup stops feeling like guesswork. The key sets the mood, the fill softens the shadows it leaves behind, and the back light adds separation from the background.
Choose the pattern that suits your face and your room, then nudge the light a few inches until it looks right on camera. You don’t need a studio to get there, just a window or desk, a budget light, and a little patience.
Good light doesn’t have to be expensive. It just has to be placed with intention.