Best Premiere Pro Export Settings for Sharp Video
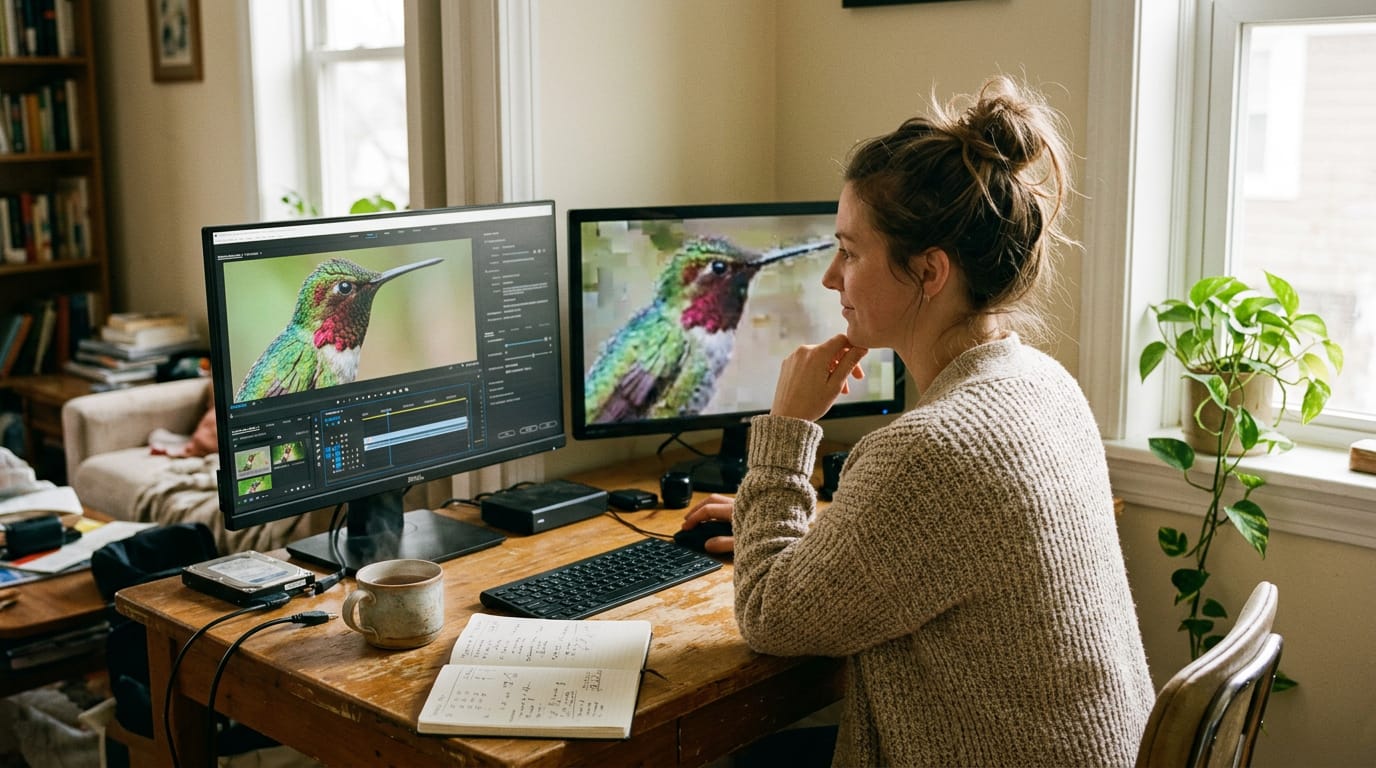
Premiere Pro best export settings keep your video sharp without bloated files, with bitrate and sizing choices for YouTube, Shorts, and Reels.

Chapters
In short
Premiere Pro export settings control how your finished video is compressed, sized, and packaged, affecting picture quality, file size, and playback. Start with an H.264 MP4 preset for your destination, match the frame size and rate to your footage, use progressive scan, and adjust bitrate to balance detail with storage; VBR works well for most uploads. In practice, export for the platform and device, test the result, and keep a high-quality master for future versions.
Think of exporting like packing a suitcase. You can cram everything in and hope for the best, or pack with a plan so it arrives looking right. Your export settings do that packing for your finished video.
In short, export settings decide how Premiere Pro compresses, sizes, and packages your edit, including the bitrate (how much data it uses each second). Get them right and your video looks sharp on YouTube, Shorts, and Reels alike.
We’ll walk through the Export Settings dialog, explain what each option does, show you how to keep file sizes in check, and recommend settings for each destination.
Best Premiere Pro Export Settings
A sharp edit can still look soft if the export is off. Let’s walk through getting to the export dialog and setting format, quality, and audio, so your upload looks like what you edited.
Getting to the export dialog
- Select the sequence you want to export first.
- Go to File > Export > Media.
- Or press Ctrl/Cmd + M to open the same dialog.
Then name your file and choose where it saves. A clear name makes it easy to find when you’re uploading.
Choosing a format and preset
Start with H.264, a common video format, as your standard. Then work through these:
- Adobe built-in presets: start with one that fits your destination, then adjust from there.
- Match source settings: keep the export close to how your footage was shot.
- Set size in sequence settings: make the frame size match your footage before you edit a single cut.
Here’s the question you’re probably searching for: what are the best sequence settings for YouTube? The short answer is to match your footage.
Quality starts on the timeline, not in the export dialog, so build your sequence to match your camera’s frame size and frame rate.
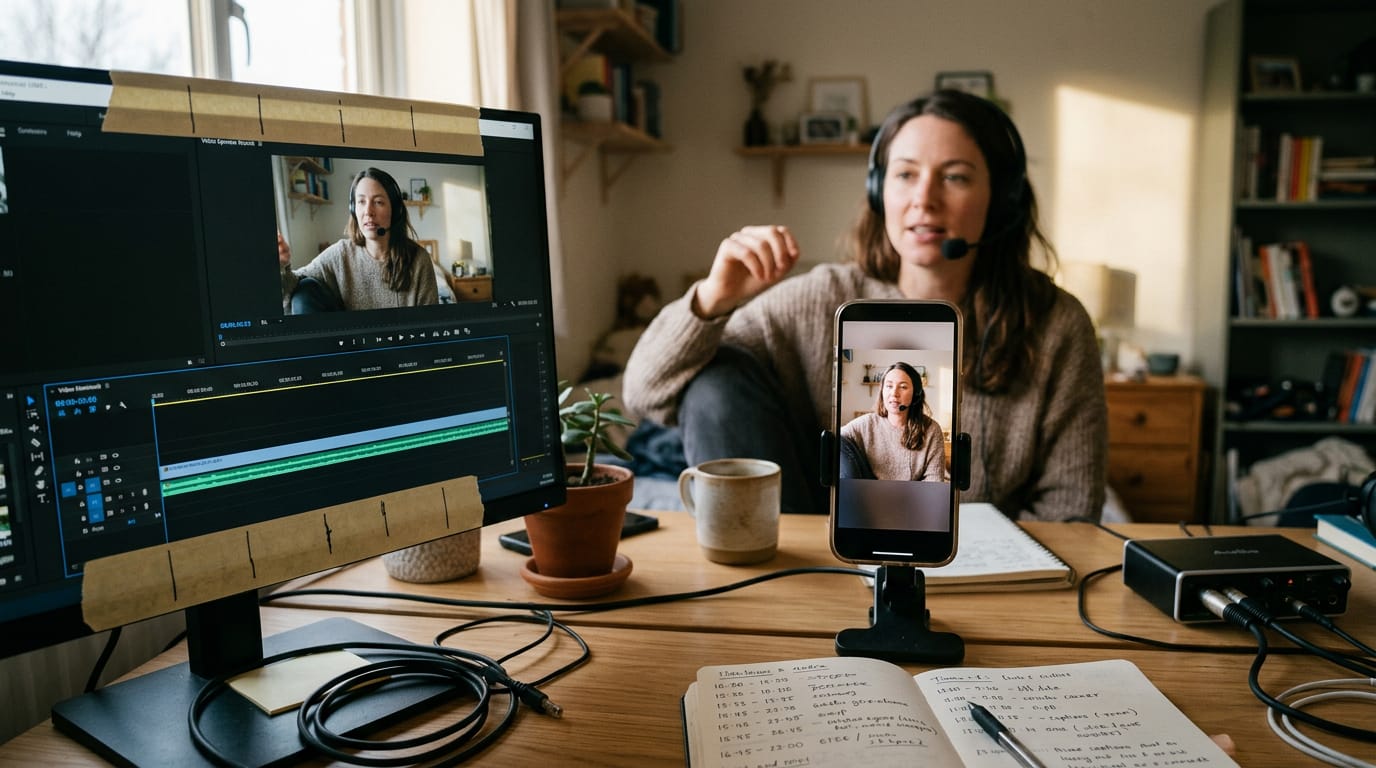
Consider a podcaster filming in a spare bedroom: her camera records at one size, so she sets her sequence to match, and her upload looks like the footage she shot. Match it, then export.
Quality options and audio choices
Before you click Export, check these options:
- Render at Maximum Depth: turn it on so Premiere renders at the highest depth it offers.
- Use Maximum Render Quality: turn it on to get the top render quality.
- AAC over MP3: choose AAC (Advanced Audio Coding) over MP3 (MPEG Audio Layer 3).
- Stereo, 48 kHz audio: keep your audio in stereo at 48 kHz (kilohertz).
Exporting one clip from a subsequence
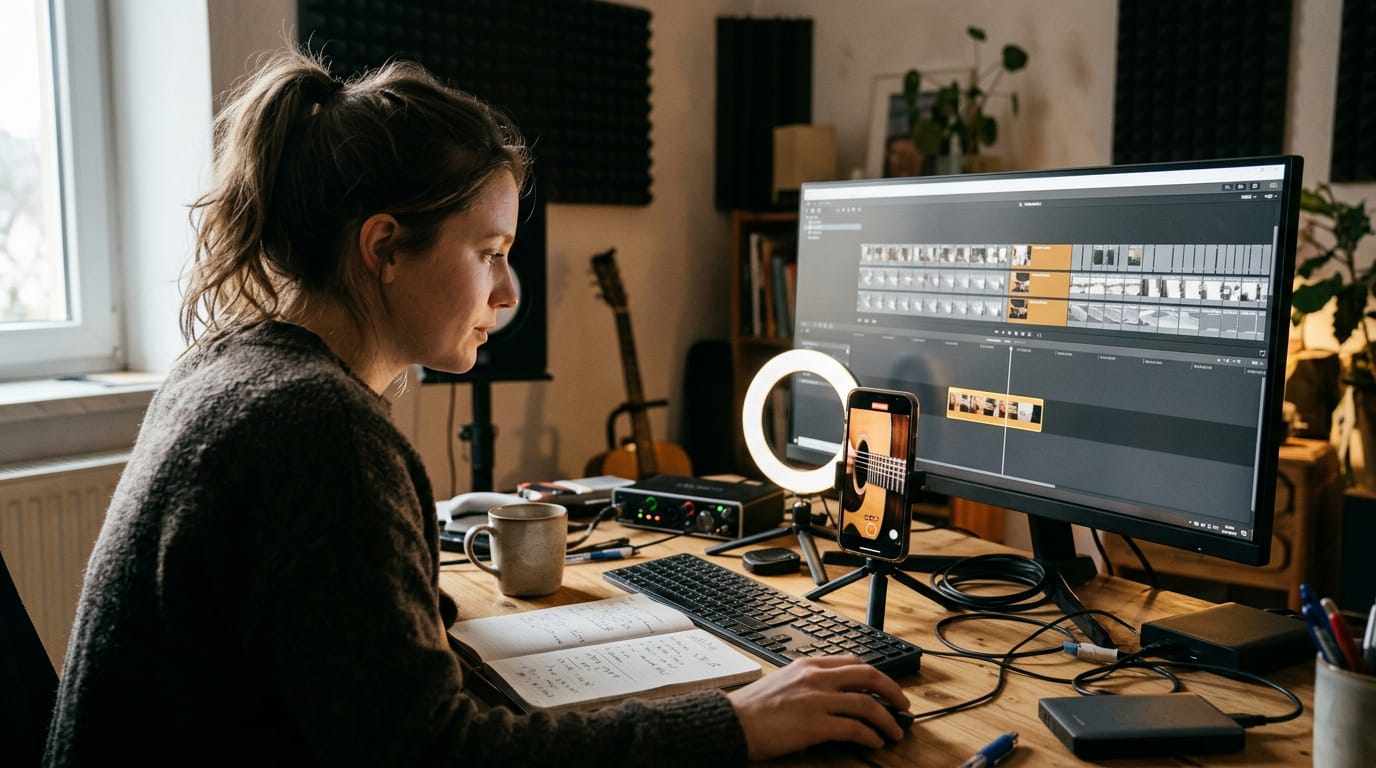
Sometimes you need one clip, not the whole video. Picture a home studio creator who wants a single short highlight from a long recording for Reels. This is less about the full edit and more about one clip.
Select those clips and use Make Subsequence, which builds a subsequence from only what you picked. Then export from that subsequence the same way you’d export any sequence, and only the highlight lands in your file.
What Each Export Setting Actually Does
Before you touch a slider, know what each setting controls.
The core video settings to check
- Format (.mp4 or .mov): The container wraps your video and audio. MP4 is the safe default for YouTube, Shorts, and Reels.
- Frame rate and size: Match what you shot, so the encoder doesn’t have to guess.
- Field order: Controls how frames are built. Most home cameras shoot progressive, so choose progressive.
- Aspect: The shape of the frame. Use 16:9 for standard uploads and 9:16 for vertical Shorts and Reels.
- Profile and level: Set how complex the compressed video can get and which devices can play it. High suits web uploads.
A course creator filming in a spare bedroom exports her 1080p footage at 30 frames per second as a 16:9 MP4 that plays smoothly on a student’s laptop. Match your export to the footage, and don’t chase the biggest numbers on the menu.
How encoding affects speed and quality
Encoding is the compression step. Hardware encoding is an option that hands that work to your graphics card, often finishing much faster but offering fewer fine-tuning options.
VBR, or variable bitrate, gives busy scenes more data and calm talking-head shots less. CBR, or constant bitrate, holds one steady amount every second. VBR suits most uploads.
The target bitrate is the average data per second the encoder aims for. Higher means bigger files and usually more detail.
One-pass encoding is quicker because the encoder decides as it goes. Two-pass analyzes the clip first, which takes longer but spends data more wisely. It’s slower, but it’s smarter.
If an export fails or stutters, confirm your sequence settings match the output, check that the drive has room, and close heavy apps. Still stuck? Export a short test clip.
How to Make Premiere Pro Exports Smaller?
To make a Premiere Pro export smaller, you mostly adjust the bitrate and codec in the Export Settings panel. Here’s how to shrink the file without losing the look you worked so hard to light.
Balancing quality against file size
Bitrate is the amount of data the file gets every second, and it’s the biggest lever you have. The goal is enough bitrate, not maximum bitrate.
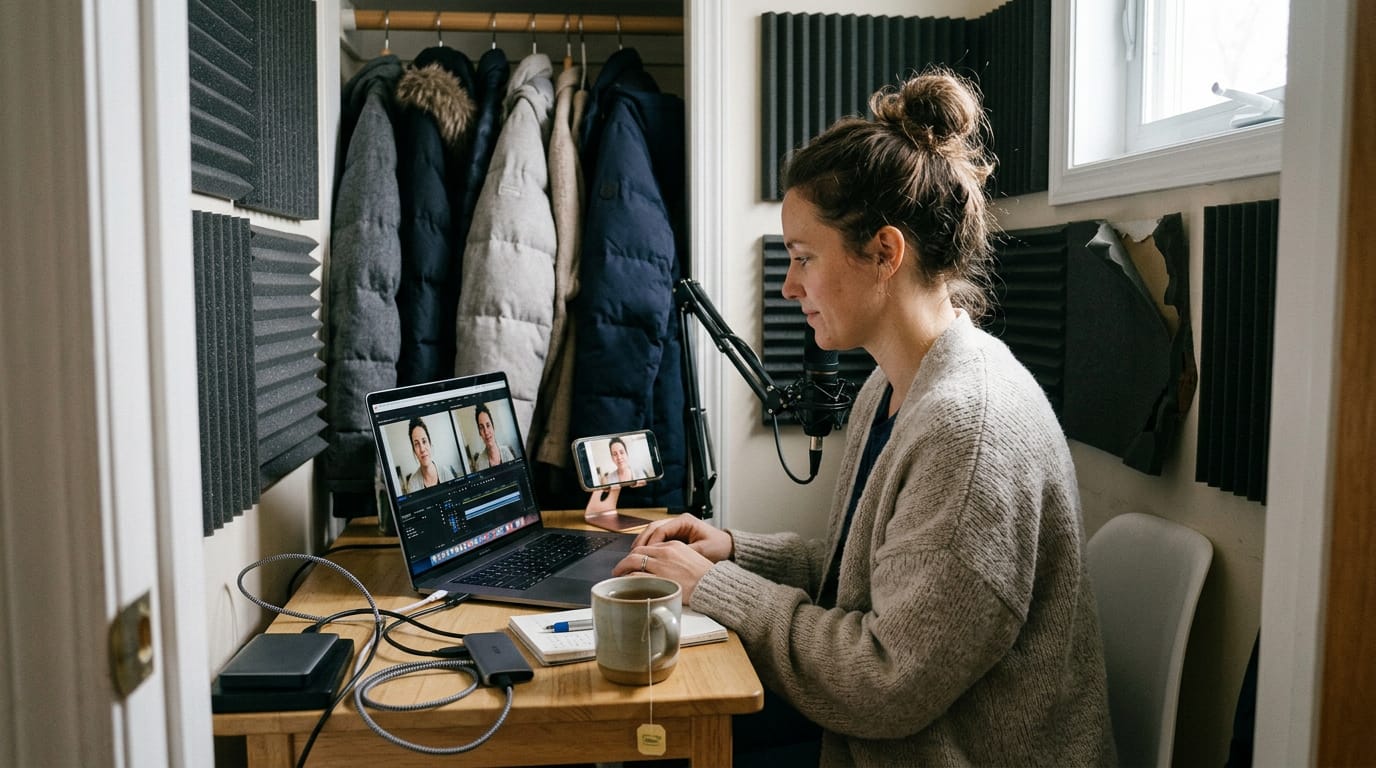
More motion needs higher bitrate, so a podcaster sitting still in a converted closet can often export at a lower setting than a streamer with fast gameplay and lots of movement on screen.
Matching the setting to the footage keeps her file manageable without making her face smear.
If a finished export already looks soft or blocky, raise the bitrate one step and compare the two. Better quality usually means giving the file a little more data, not finding a hidden setting.
Three habits keep that balance in check:
- Experiment with settings. Export a few seconds of your footage at two or three bitrate levels, then compare them on the screen your viewers will actually use.
- Storage vs quality tradeoff. Smaller files free up drive space and upload faster, but every step down costs some detail. You’re choosing which loss you can live with.
- Efficient codecs shrink files. A codec is the compression method your file uses. A more efficient one packs a similar picture into less data, so check the codec options before you cut bitrate.
If the smaller file still holds up on your screen, you’ve found the right setting. Then trust your eyes.
Recommended Settings for Each Destination
Every destination has its own sweet spot, so match the export to where the video plays, not how big the file looks.
Should YouTube and Vimeo use 1080 or 4K?
Short answer: export at 4K if your footage is 4K and your computer can handle the render. Otherwise, 1080p works well, and uploading at 4K gives YouTube more detail to compress. Here’s what we’d set:
- Codec and profile: Use H.264, a common compression format, in an .mp4 file set to High profile.
- Frame size: Choose 1080p or 4K to match your footage, starting from the YouTube 1080p preset.
- Progressive, matched frame rate: Use progressive scan at your footage’s frame rate.
- HD and 4K bitrate targets: Set a separate target for each, since 4K carries far more pixels.
Exports for QuickTime and computer playback
A coach sending a 10-minute lesson to a client’s office laptop plays the export there first. When it runs smoothly, she sends it with confidence.
- Codec: H.264 stays the safest default for playback.
- Test on target computers: Play the export on its destination machine first.
- Older machines: If playback stutters, drop to a lighter codec.
- Moderate data rate: Keep it moderate so the file plays smoothly and stays small.
H.265 and ProRes also show up in the codec menu, but H.265 can strain older machines and ProRes is built for editing, not sharing.
Exporting for DVD discs
- Video bitrate ceiling: Keep video under about 9 Mbps (megabits per second).
- Constant bitrate: Use CBR (constant bitrate) around 7 to 7.5 Mbps.
- Standard definition: Downsample to 480i/SD, the standard-definition size.
- Length decides fit: The longer the program, the lower the bitrate you can spare.
According to DVD Premastering: A Facility’s Perspective, the bitrate that fits depends on the program’s length and the disc’s capacity.
Master copies and uncompressed files
- Uncompressed files are huge: Uncompressed video runs roughly 100GB for every 10 minutes.
- Masters are highest quality: Your master keeps the most detail, so every smaller export starts from the best source.
According to Publishing on the WWW, Part 9 on video codecs, video produces very large files, especially when it’s uncompressed. So the master is about keeping the best copy, not sending it. Plan your storage first.
Pro Tips for Delivering to Many Platforms
Most creators publish in more than one place, so plan for that before you hit export.
Tailoring exports for each platform
Take a home podcaster who records a 16:9 episode for YouTube and wants a short clip for Shorts too. She builds one timeline that produces every file, rather than re-editing for each site.
- Multiple exports per project: Keep a master file for your archive, then export each destination from the same sequence.
- 16:9 for YouTube and Vimeo: Widescreen is the standard for both, so keep your main sequence landscape.
- Vertical for TikTok and Instagram: A separate 9:16 sequence fills the phone screen instead of sitting in black bars.
- Cinema needs different specs: Festival and cinema deliveries often have their own requirements, so check with the distributor first.
- Shoot vertical-safe framing for Shorts: Keep your subject near the middle and clear of the bottom edge, where captions and app buttons sit.
Frame for the vertical crop while you’re still recording, not after. Plan it now and the export is the easy part.
Use previews to export faster
Export time is where many creators lose an afternoon. Premiere can reuse the preview files it rendered while you edited, so it skips reprocessing those sections.
- Use Previews when exporting: Turn on Use Previews in the Export Settings window so Premiere pulls from the files you already have.
- High-quality preview codec: Pick a high-quality codec in Sequence Settings so the reused frames match your final picture.
- Faster export, good quality: Pair the two and your export gets quicker without giving up picture quality. No compromise needed.
Exporting from Other Video Editors
If you cut in DaVinci Resolve or Final Cut Pro, the same goals apply: a sharp picture, a sensible file size, and an export you won’t have to redo.
DaVinci Resolve export steps
Open the Deliver page, where Resolve handles all exports, and pick Custom Export so you control every setting instead of relying on a generic preset. Set the format to MP4 or QuickTime and the codec to H.264 or H.265.
H.264 is the more widely supported choice, while H.265 is worth using when your playback device handles it.
Set Quality from Automatic to Best for the sharpest result. Then add the job to the render queue, the list where Resolve holds exports waiting to run, and start the render from there.
If your computer has an Nvidia graphics card, check the encoder setting and choose the Nvidia option, which can speed up the render.
Consider a streamer who cuts a weekly recap in Resolve. She sets up Custom Export, queues the job, and starts her next video while the file renders.
Sending files out of Final Cut Pro
Go to File > Share > Export File to open the export window. For the highest quality, choose ProRes 4444 XQ, which is for masters you’ll keep or edit again, not for uploads. For smaller files, pick H.264, which keeps uploads quick.
Under Proxy media, select Optimized/Original so the export uses your full-resolution footage instead of lighter proxies. Select several clips in the browser to export them together.
Think of a podcaster with five short clips from one episode: she selects all five, picks H.264, and exports them in one go. That’s one export, five files.
Exporting is the final step, but it’s the one your viewers actually see. Set the format, bitrate, and resolution with the destination in mind, and check the result before you upload.
Start with the preset for your platform, adjust for your own footage, and save each setup so your next video is a click away. A good edit deserves to arrive looking the way you meant it to.
References
- Publishing on the WWW. Part 9 — pmc.ncbi.nlm.nih.gov
- Overall Video Quality In DVD Reproduction Chain — doi.org (2006)
- DVD Premastering: A Facility’s Perspective — doi.org (1997)
Questions
What are the best sequence settings for YouTube in Premiere Pro?
Set your sequence frame size and frame rate to match your source footage. For a standard YouTube upload, use a 16:9 frame, progressive scan, and the footage’s frame rate; export as an H.264 MP4 with the High profile. Start from a YouTube preset, then adjust the frame size and bitrate to suit your footage.
How to make Premiere Pro exports smaller?
Lower the target bitrate in the Export Settings panel, since bitrate is the main factor affecting file size. Use VBR for most uploads and choose an efficient codec such as H.265 if your viewers’ devices support it. Test a short section at a couple of settings to find a smaller file that still looks good.
How to make the quality better on Premiere Pro?
Match the sequence and export frame size and frame rate to your source footage, then use a suitable bitrate for the amount of motion in the video. Enable Render at Maximum Depth and Use Maximum Render Quality, and compare a short test export before rendering the whole project. Increasing bitrate can help if the result looks soft or blocky, but it also increases file size.
Should I export in 1080 or 4K?
Export in 4K when your footage is 4K and your computer can handle the render; YouTube’s compression can also retain more detail from a 4K upload. If your footage is 1080p or rendering 4K is impractical, export in 1080p. In either case, match the export to your source footage.
Sources
- Overall Video Quality In DVD Reproduction Chain, doi.org,
- DVD Premastering: A Facility's Perspective, doi.org,
- Publishing on the WWW. Part 9 - Video codecs and decompressors, pmc.ncbi.nlm.nih.gov