How to use window light for video at home
Where to sit by your window, how far and at what angle, how to bounce in fill, handle sun and clouds, and keep one color on your face when lamps are on too.

Chapters
In short
Sit beside the window and turn so it is about 45 degrees in front of you, 3 to 6 feet away, with a white reflector on your other side, and never sit with the window behind you. Switch off any lamp that lights your face, set the white balance by hand to about 5600K and lock the exposure on your face, because the clouds and the hour change the light while you film.
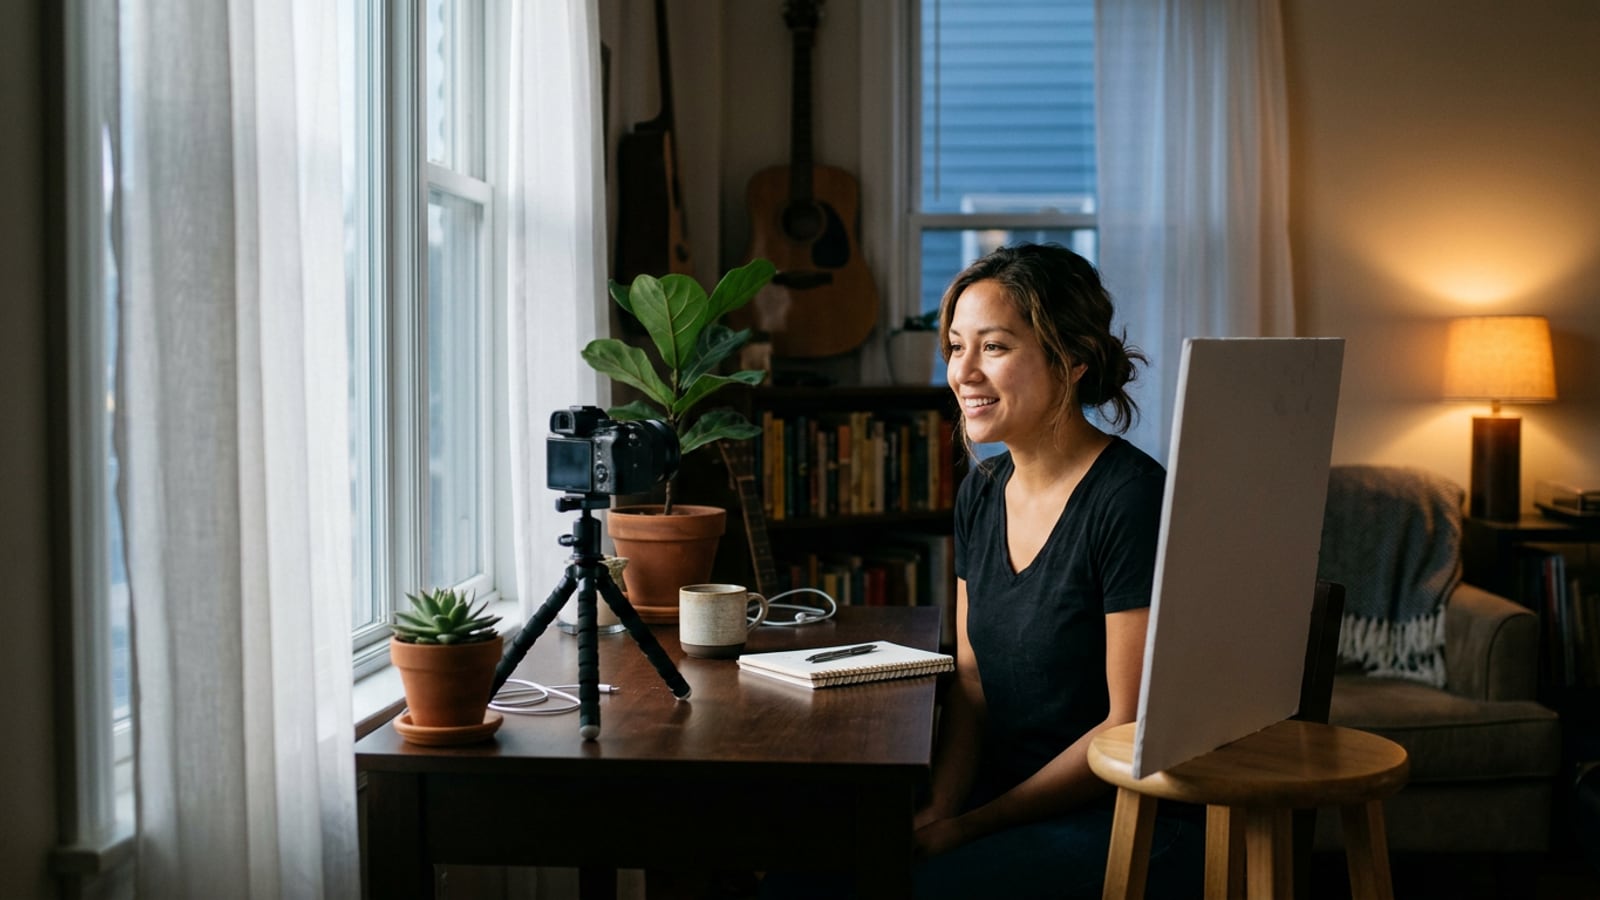
Sit beside the window and turn your chair so the window is about 45 degrees in front of you, 3 to 6 feet away, with the camera facing you from the room side and a white reflector on your other side. Switch off the ceiling light and any lamp that reaches your face, set the camera’s white balance by hand to about 5600K, and lock the exposure on your face. Never sit with the window behind you: the camera exposes for the bright glass and your face goes dark. The rest is detail: where your window is, what the sun and clouds do to it, and what to add when it isn’t enough.
Where to sit: beside the window, facing it, never with it behind you
Where you sit depends on where the window is in your room. In order of preference:
| The window is… | What it does to your face | Watch for |
|---|---|---|
| Beside you, turned 45° in front | One side brighter, the other in soft shadow: shape | Sun moving onto you during a long take |
| In front of you, behind the camera | Soft, even light on both sides, key and fill at once | A flatter look, and squinting |
| Behind you | The camera exposes for the glass; you go dark | Avoid it: turn the chair or the desk |
Beside you
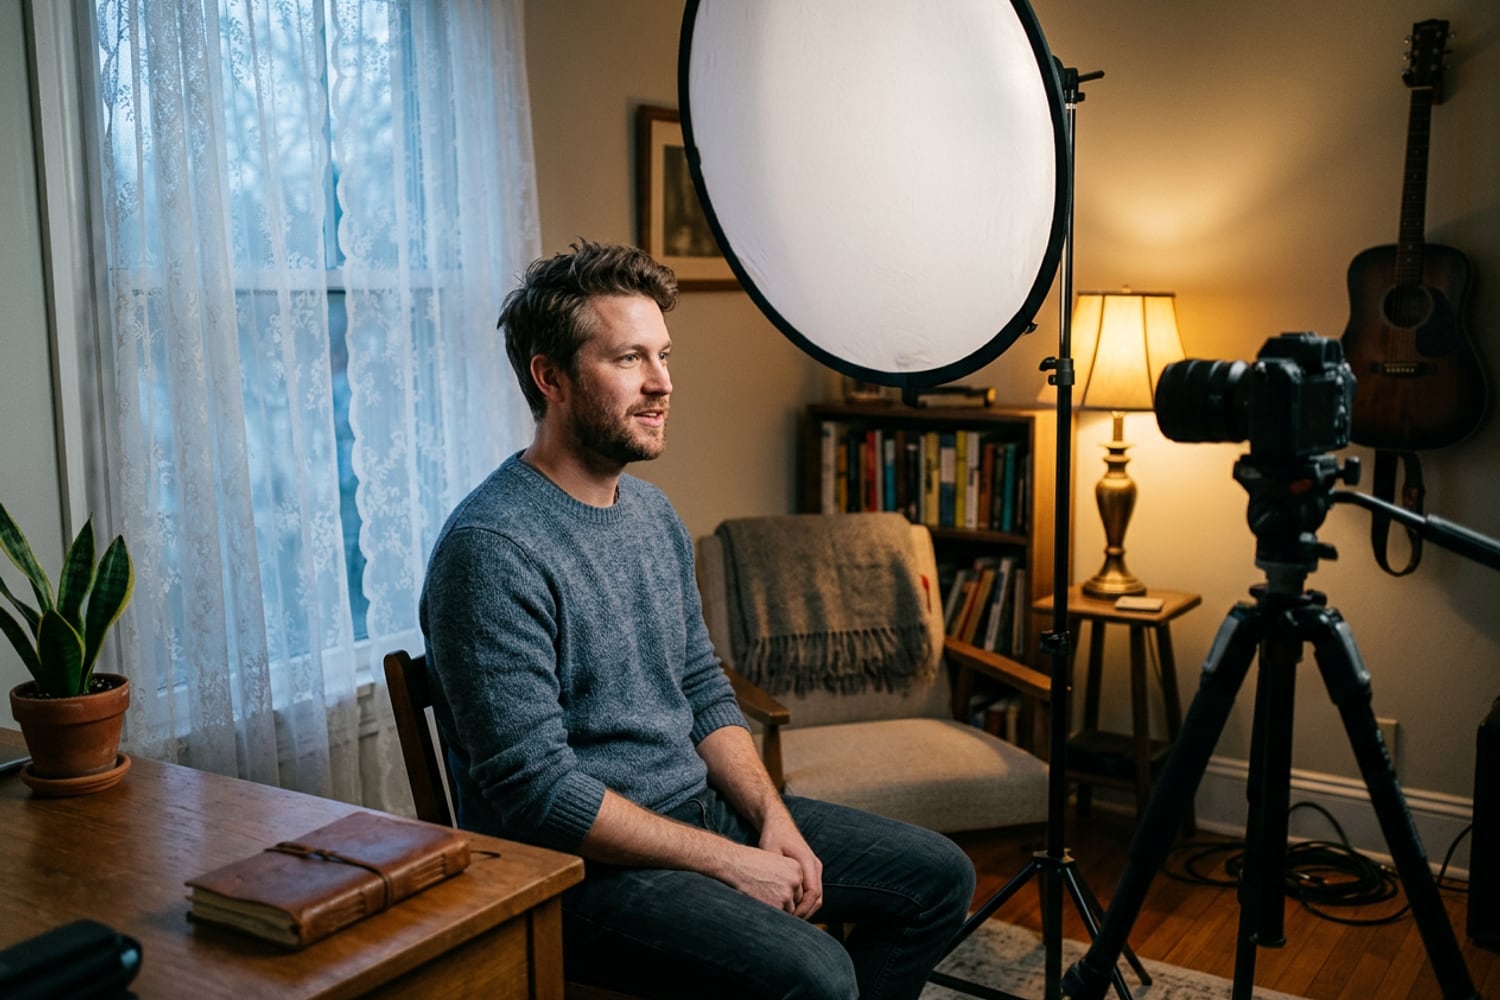
This is the classic setup and the one to start with. The window becomes your key light, the main light that shapes your face, and a reflector on the other side does the fill. Don’t sit square to the window, with it 90 degrees to your side: that lights one half of your face and leaves the other half dark. Turn toward it until it’s about 45 degrees in front of you and light reaches both eyes.
Facing it
With the camera between you and the window, the light falls evenly across your face and needs no fill, but it looks flatter. Sit a little off the window’s center so one side catches more of it, and add a small light behind you, aimed at your hair and shoulder, to lift you off the background. If direct sun comes through the glass, don’t face it at all.
With it behind you
The camera sets its exposure for the brightest thing in the frame, and a window is far brighter than a face. Turn the chair or the desk 90 degrees so the window is beside you. If you can’t, close the curtain and light yourself with an LED, or draw a sheer so the window glows behind you as a rim on your hair, with a soft key in front.
Distance and angle from the window
Start 3 to 6 feet from the window. Close to the glass, the light is brighter and softer, but it drops away quickly across the room, so the shadow side of your face goes darker. Farther back, it’s dimmer and more even. Move your chair a foot at a time and watch the camera’s screen.
Aim for 45 to 60 degrees between the window and the camera’s line to you; at a desk, angle the desk itself so the window sits a little in front of you rather than at your shoulder. Then look for a catchlight, a small reflection of the window, in each eye. If only the eye nearer the window has one, turn a little more toward the glass.
Sit 4 to 6 feet out from the wall behind you if the room allows, so the wall falls darker than your face. The Light Planner’s window-beside-you setup draws this layout with distances, and the kit at three budgets.
Fill the shadow side with a bounce
The side of your face away from the window will be darker. Fill it with white:
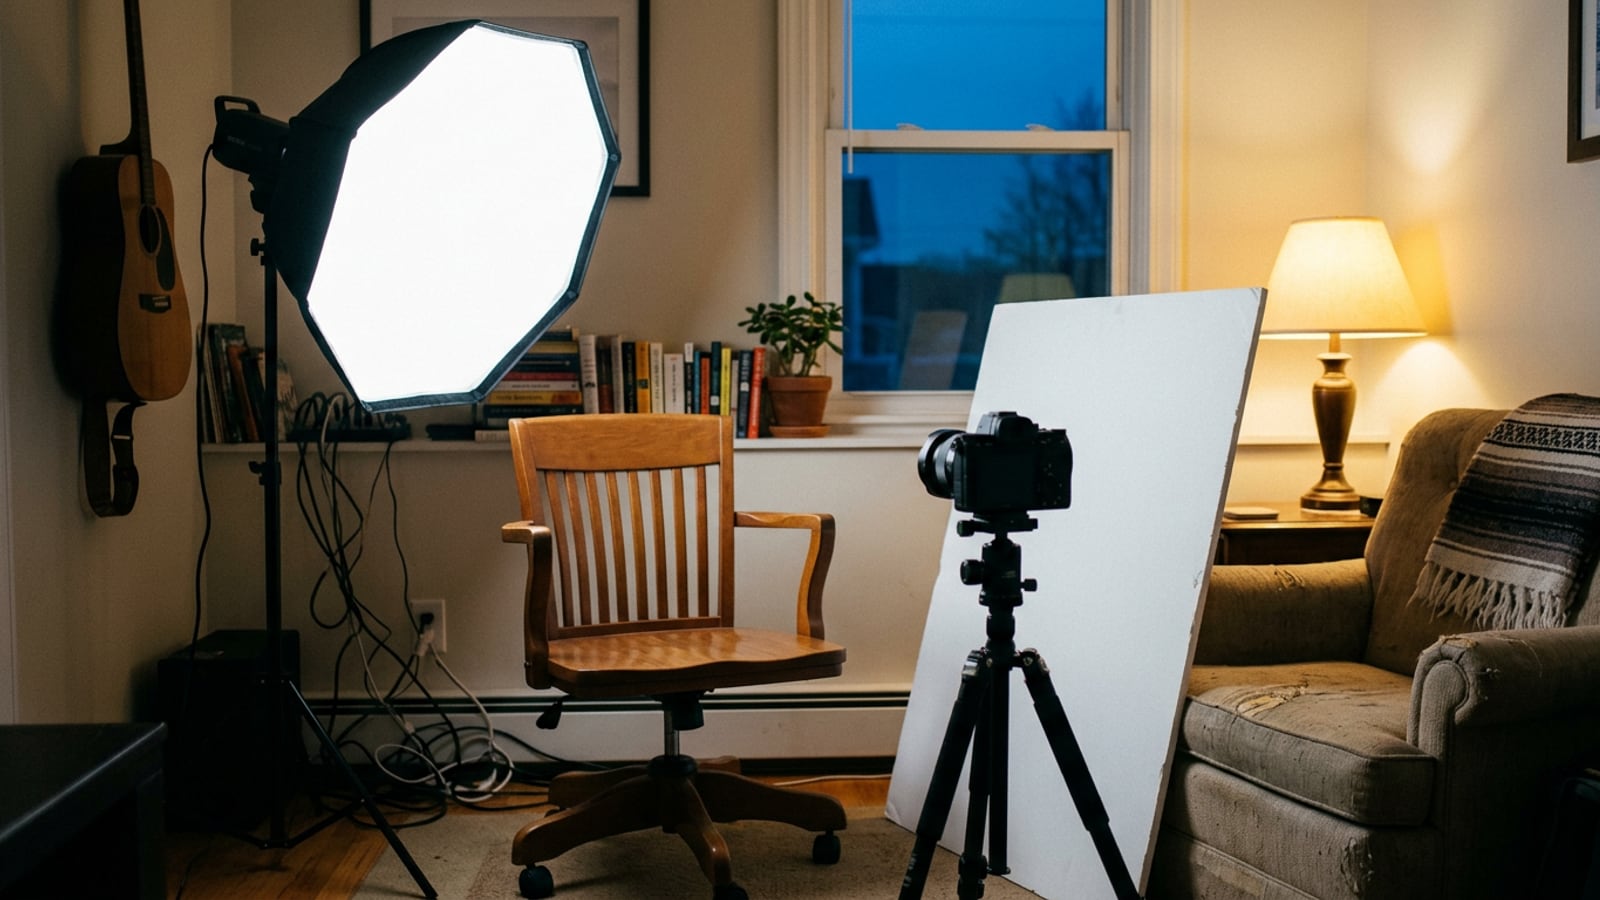
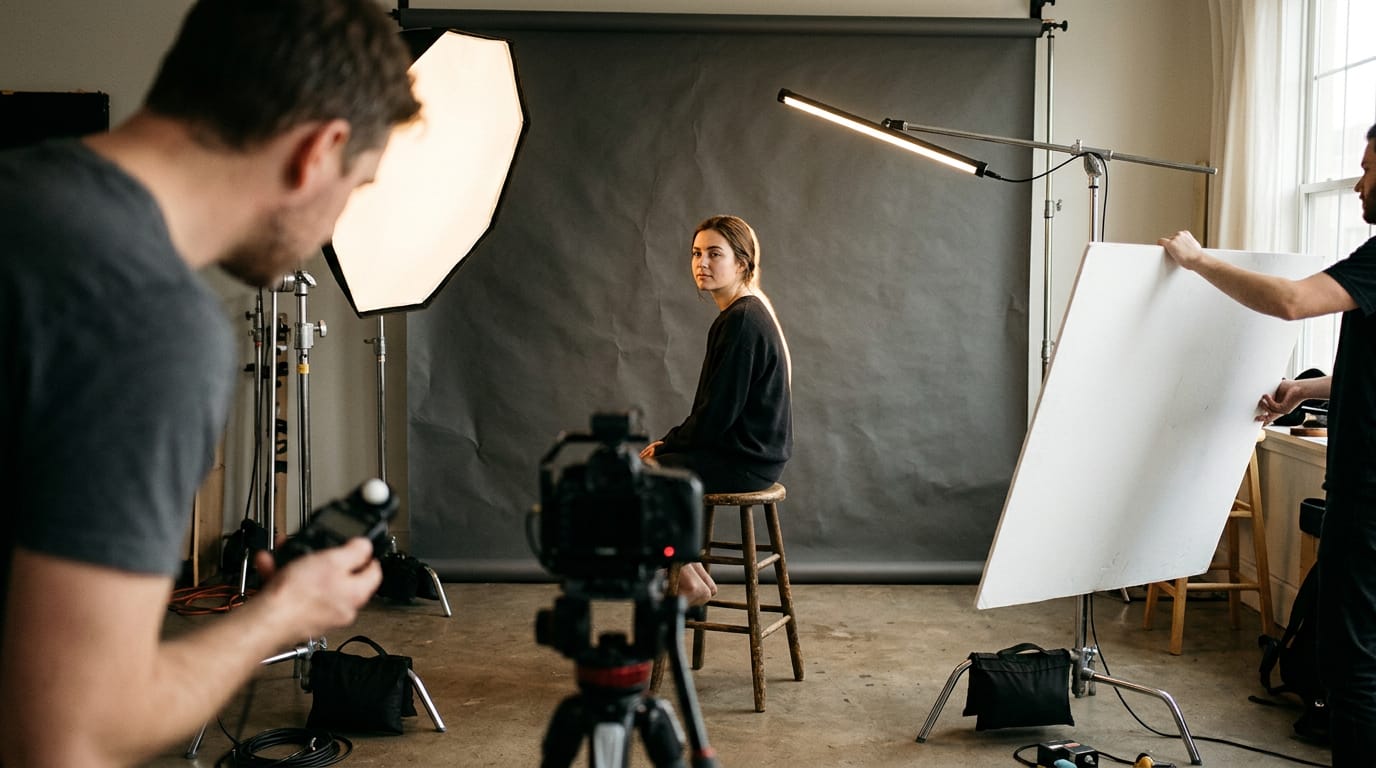
- Put a white reflector or a sheet of white foam board on the side away from the window, 2 to 3 feet from you, at face height.
- Angle it to catch the window light and send it back into the shadow side of your face.
- Move it closer for more fill and farther away for less, keeping the shadow side a little darker than the lit side.
Use the white surface. Silver bounces more and can look harsh up close, and the gold or “sunlight” side tints the shadow side a different color from the window. A pale wall on that side may already do the job; in a white room where your face looks flat, turn the black side of a 5-in-1 reflector toward you to bring some shadow back. It’s the same bounce that does the fill in a one-light setup, and the Kit lists a 5-in-1 reflector with all four surfaces.
Direct sun, clouds and the time of day
Window light is best when the sun isn’t shining straight through the glass. Direct sun throws hard shadows, makes you squint and moves across you within a few takes. Never look toward the sun to film. If it reaches you, draw a sheer white curtain across the window: it turns the bright patch into a large, soft light, as a softbox does for an LED.
Which way the window faces decides when that happens. In most of the US:
- North-facing: little or no direct sun, so the light is steady through most of the day.
- East-facing: direct sun in the morning; film in the afternoon.
- West-facing: direct sun in the afternoon; film in the morning.
- South-facing: sun for much of the day, so keep the sheer curtain closed.
An overcast sky turns the whole window into a soft source, but a dimmer and bluer one: overcast daylight is around 6500K, against 5500 to 6000K for sunlight from high in the sky. Broken cloud is the hardest weather to film in, because the light jumps in the middle of a sentence. Lock your exposure, and if it keeps changing, close the curtain and switch to an LED.
The hour changes the color. Golden hour, shortly after sunrise and before sunset, is warm, about 3500K against about 5500K at midday, and it shifts within minutes: lovely in a still, a drift in a long recording. If you film videos in a batch, record them at the same time of day, by the same window, with the curtain in the same place.
Daylight and lamps: keeping one color on your face
Your camera can set its white balance for one color of light. Daylight through a window sits around 5500 to 6500K and a “soft white” household bulb around 2700K (color temperature sets out the scale). If both reach your face, the camera can make only one look white, so one side of your face goes blue and the other orange. It’s a common problem in footage shot at home, and the fixes run in this order:
- Switch off the ceiling light and any lamp that lights your face. A warm lamp can stay in the background, where its glow reads as a lamp rather than a cast on your skin.
- Set any LED you add to daylight, about 5600K, so it matches the window.
- Turn the monitor’s brightness down. A screen is cooler than daylight, tints the side of your face nearest it and shows in glasses.
- After dark, close the curtain and light with LEDs alone, all at one color temperature, with the camera set to match.
Film crews put blue gel over tungsten lamps to match a window; at home, switching the lamp off does the same job.
Tip: turn each lamp off and on while you watch your face on the camera’s screen. If your skin changes color, that lamp is lighting you and should stay off while you film.
Set the camera for window light
Automatic settings follow every cloud, so lock the camera once the light looks right:
- White balance by hand: 5600K, or a custom white balance taken off a sheet of white paper held at your face. Set it again if the weather changes. If your phone’s camera app has no white balance setting, a camera app with manual controls will.
- Exposure on your face, then locked. On an iPhone, touch and hold your face on the screen until AE/AF Lock appears, then drag up or down beside the focus area to brighten or darken it (Apple’s guide to the camera tools). On a webcam, turn off auto exposure in its app.
- Shutter: 1/60 at 24 or 30 fps on US 60Hz power, or 1/50 on 50Hz power. Daylight doesn’t flicker, but an LED or lamp in the room might.
- ISO and aperture: the ISO as low as the light allows, and on a camera f/2.8 to f/4 for a talking head. If a bright window still overexposes you, a neutral density (ND) filter on the lens cuts the light without changing the shutter.
Check the picture between takes. If a cloud has moved, wait a minute rather than fix a jump in the edit.
When the window isn’t enough
A window gives out when many people film: evenings, gray winter days, and rooms where the only window is small, far away or behind the desk. Add light that behaves like the window rather than fighting it:
- On gray days, put a soft LED on the window side, set to 5600K, so it adds to the window.
- After dark, put the soft LED where the window was, 3 to 4 feet from you in a room (2 to 3 feet at a desk), its center 1 to 2 feet above your eyes, and the setup looks as it did by day.
- For separation, keep the window as your key and add a small light behind you on the side away from it, aimed at your hair and shoulder.
A battery LED panel covers gray days at a desk; a COB light with a softbox replaces the window after dark. The Kit lists both, with a cheaper option in each group. Once you’re adding lights, three-point lighting at home shows where each one goes when the window is only one of them, and there is more in Lighting. The same window and reflector light a still just as well: see how to take a YouTube thumbnail photo of yourself.
Questions
Should I face the window or sit beside it when filming?
Beside it, turned so the window is about 45 degrees in front of you, for most videos: one side of your face is a little brighter than the other, which gives it shape on screen. Facing the window, with the camera between you and the glass, gives softer, more even light, but it looks flatter and can make you squint. Either is far better than having the window behind you.
What if the window has to be behind me?
Close the curtain or blind and light your face with a soft LED 45 degrees to one side of the camera. Or draw a sheer curtain so the window glows behind you as a back light, and turn the LED up until your face is as bright as you want it. Either way, expose for your face and lock it, and frame the shot so the window sits at the edge rather than behind your head.
What time of day gives the best window light?
Any time the sun is not shining straight through that window: in most US homes that means afternoons for an east-facing window, mornings for a west-facing one, and most of the day for a north-facing one. An overcast sky gives soft light through any window, though dimmer and a little bluer. Early morning and late afternoon light is warm and changes fast, so if you film in batches, record at the same time of day each time.
Why is my face blue on one side and orange on the other?
Two colors of light are reaching your face: cool daylight from the window and warm light from a lamp or the ceiling bulb. The camera’s white balance can correct only one of them, so the other side stays blue or orange. Switch off the lamp and set any LED you add to daylight, about 5600K, or close the curtain and light with LEDs alone.
Sources
- Color temperature, Wikipedia
- Golden hour (photography), Wikipedia
- Use iPhone camera tools to set up your shot, Apple Support