High key photography explained, from lighting to editing
High key photography makes bright, airy images with few shadows. Set up home lighting for stills or talking-head video before picking a camera.
Chapters
In short
High key photography is a bright, airy style in which most tones are light, the background is white or nearly white, and shadows are soft or minimal. Create it by lighting the background evenly, filling shadows, exposing for the subject, and keeping the frame uncluttered; brighten carefully so skin, fabric, and other details remain visible. The practical lesson is to get the lighting right before relying on camera settings or editing, since a clean, well-lit setup makes the look achievable at home for photos and video.
Picture a bakery display on a bright Saturday morning: everything looks crisp, airy, and a little dreamy, with almost no shadows.
That’s the feeling behind high key photography, a style of bright, soft light and mostly light tones that fades the background to white or near it.
The good news is you don’t need a studio to get there. We’ll show you how to light a bright look at home, shoot it for stills and talking-head video, and keep the light fixed before you choose a camera.
Then we’ll cover exposure, gear, posing, and editing so the result holds up.
What High Key Photography Looks Like
High key photography is the bright, open style behind clean catalog shots and airy portraits. Here’s what defines it, where it shows up, and how it compares to its moodier cousin.
What defines its bright, airy style
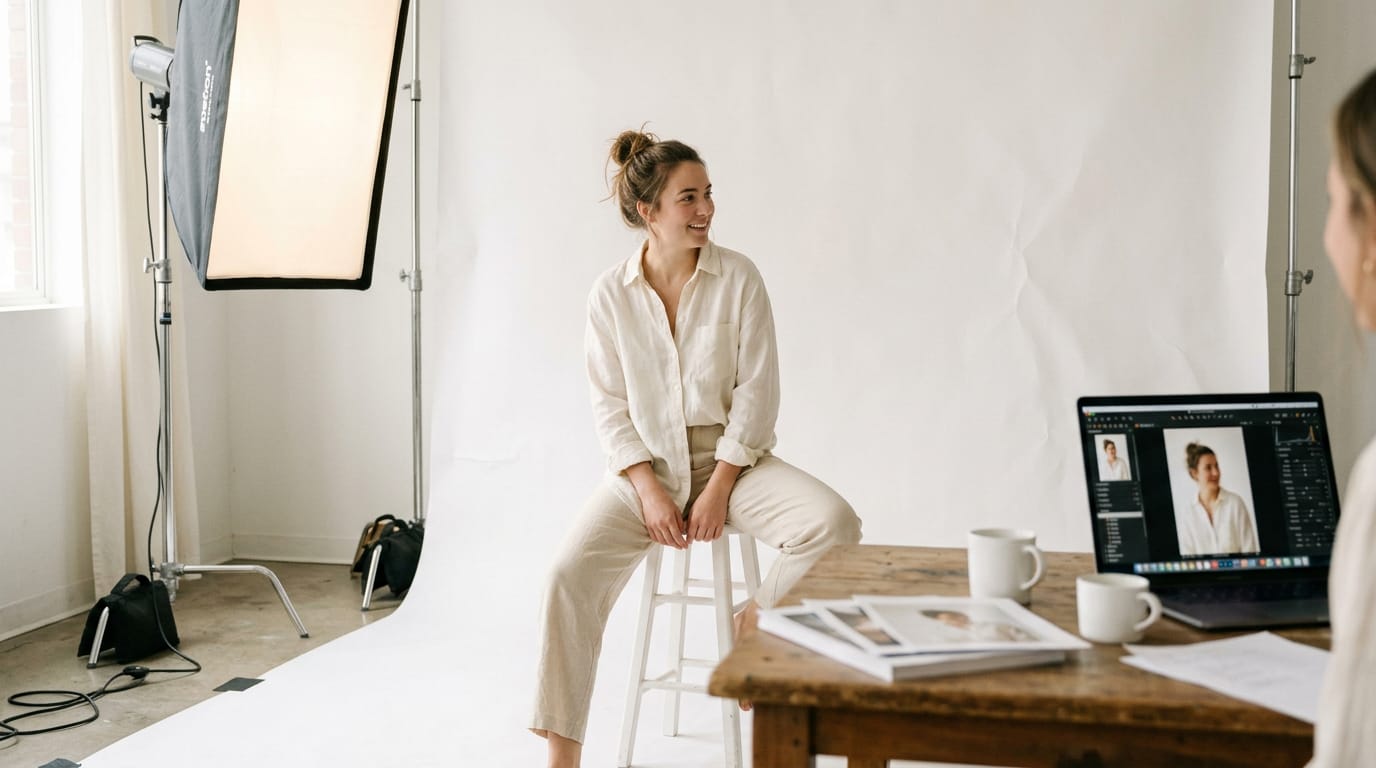
A high key image feels light and ethereal. Most tones sit lighter than mid-tone (the middle grey halfway between black and white), and shadows are minimal or absent.
The background is white or very light, so the whole frame seems to float. Nothing looks heavy.
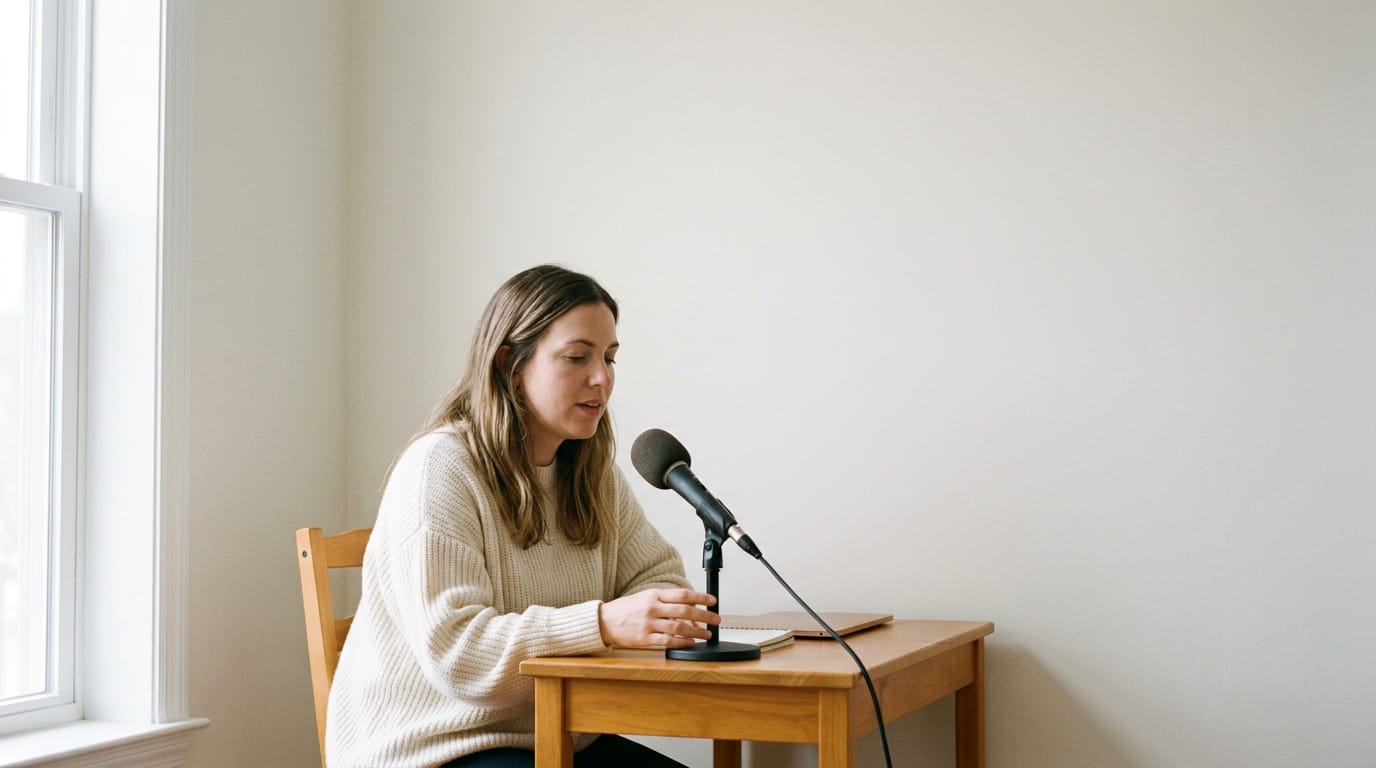
Picture a podcaster shooting a headshot against a pale wall. Two soft lights placed evenly on her face and the wall wash out the shadows, and the background brightens until it blends into the frame.
The payoff is a friendly image she can drop onto her show notes page.
Where this style is most often used
You’ll see high key most in:
- Fashion and beauty, where soft, even light keeps skin smooth and fabrics bright.
- Product photography, where a white backdrop makes an item look crisp and easy to see.
- Portraits and children, where the airy look feels gentle and approachable.
- Architectural photography, where evenly lit rooms read as open and inviting.
How it contrasts with moody low key
Low key is the opposite: darker tones, deep shadows, and a dark background that keeps attention on the subject. High key leans light, pushing most tones above mid-tone, while low key leans dark, keeping most of them below it.
That changes how you control light. High key asks you to add light so the scene fills in and the background lifts. Low key asks you to hold light back, keeping it off the background and out of the shadows. Same tool, opposite job.
Setting up Lights and Where to Shoot
Placement comes first. Here’s how to light a studio, a small room, daylight, and fast-moving kids.
Positioning lights in your studio
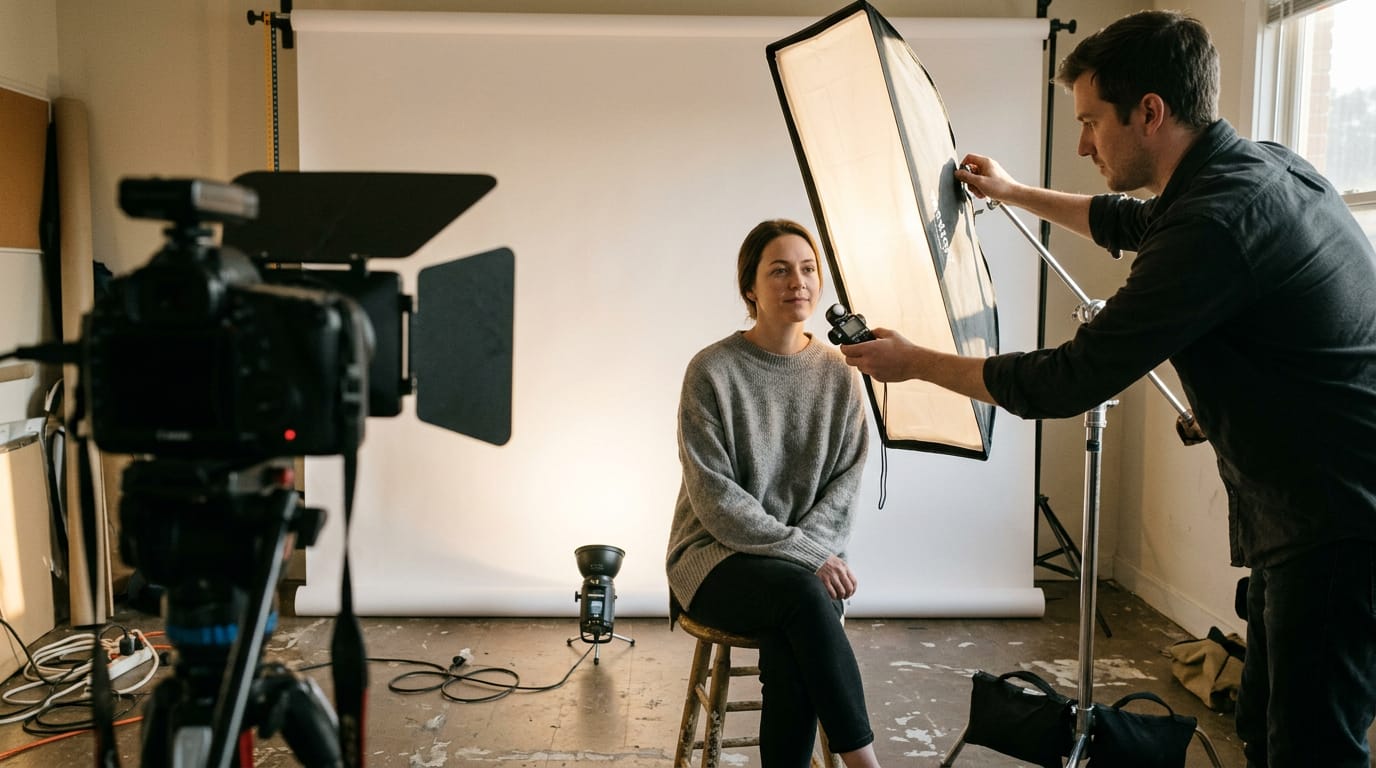
Start by lighting the background evenly so it reads as clean white. Place a strobe (a studio flash) behind your subject on a short stand, aimed at the backdrop.
Set a front softbox (a fabric-diffused light) as your main light, the key light, then angle it diagonally for dimension.
Push light into the shadows until they fade, watching your light ratio (the balance between key and shadow light). Meter the backdrop separately (background metering) so it lands bright.
Watch for spill (backdrop light washing over your subject’s edges) and lens flare (stray light hazing the lens). Keep your subject a step from the backdrop and shield the lens. Placement beats power.
Small spaces and simple home setups
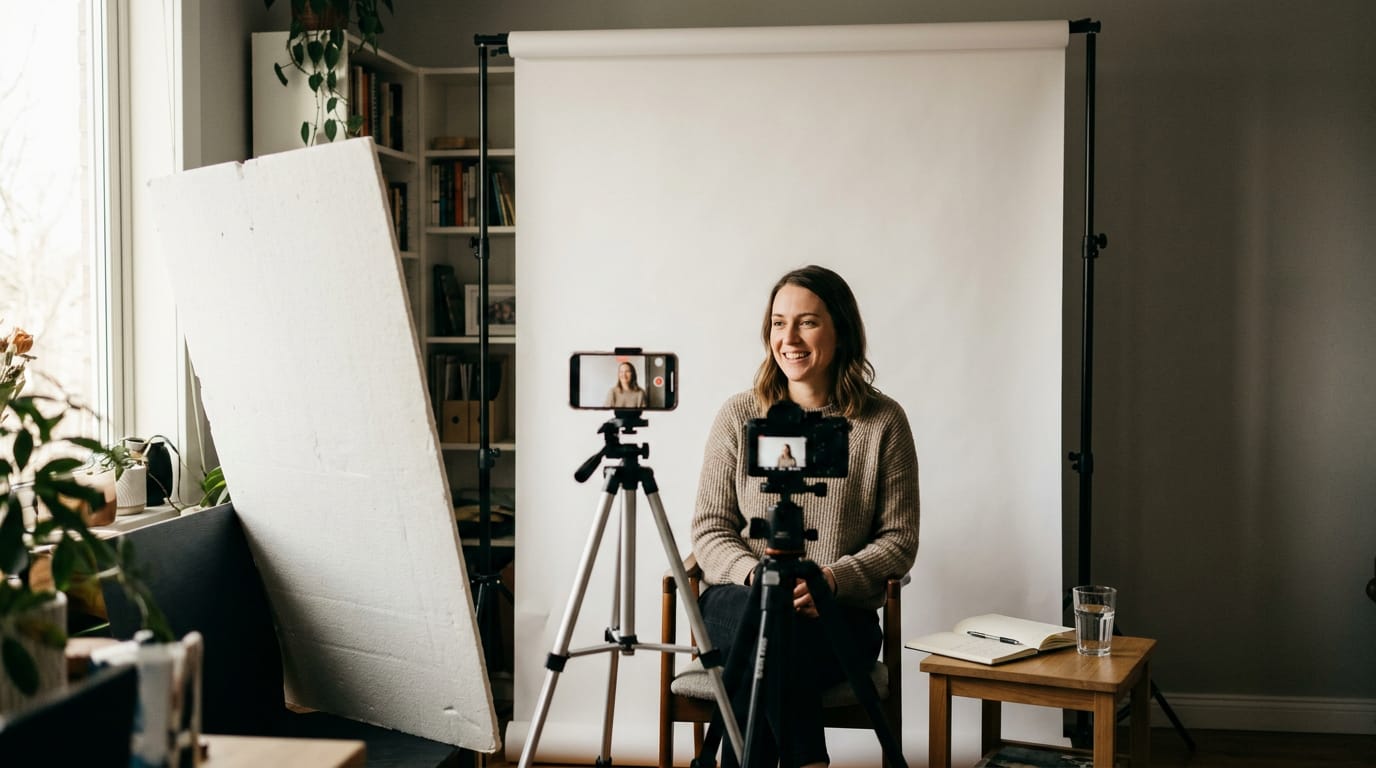
In a tight room, one well-placed light beats three poor ones. A basic do-it-yourself (DIY) studio can be:
- a plain white wall
- a foam board to bounce light
- one diffused light
If your wall is dark, pull your subject forward and hang a white sheet behind them.
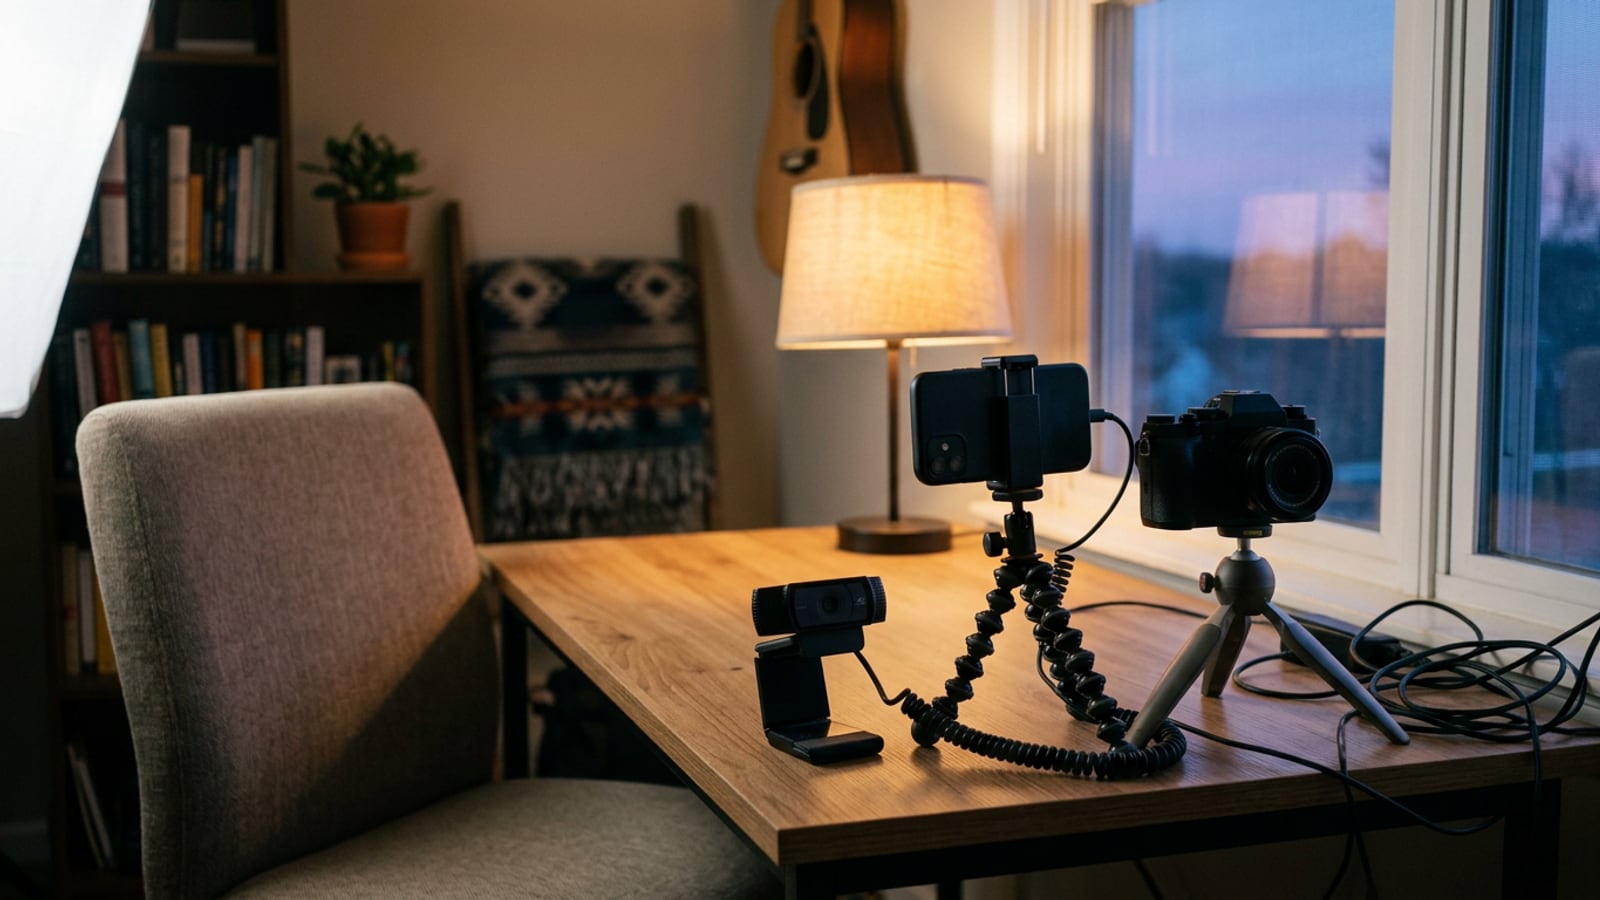
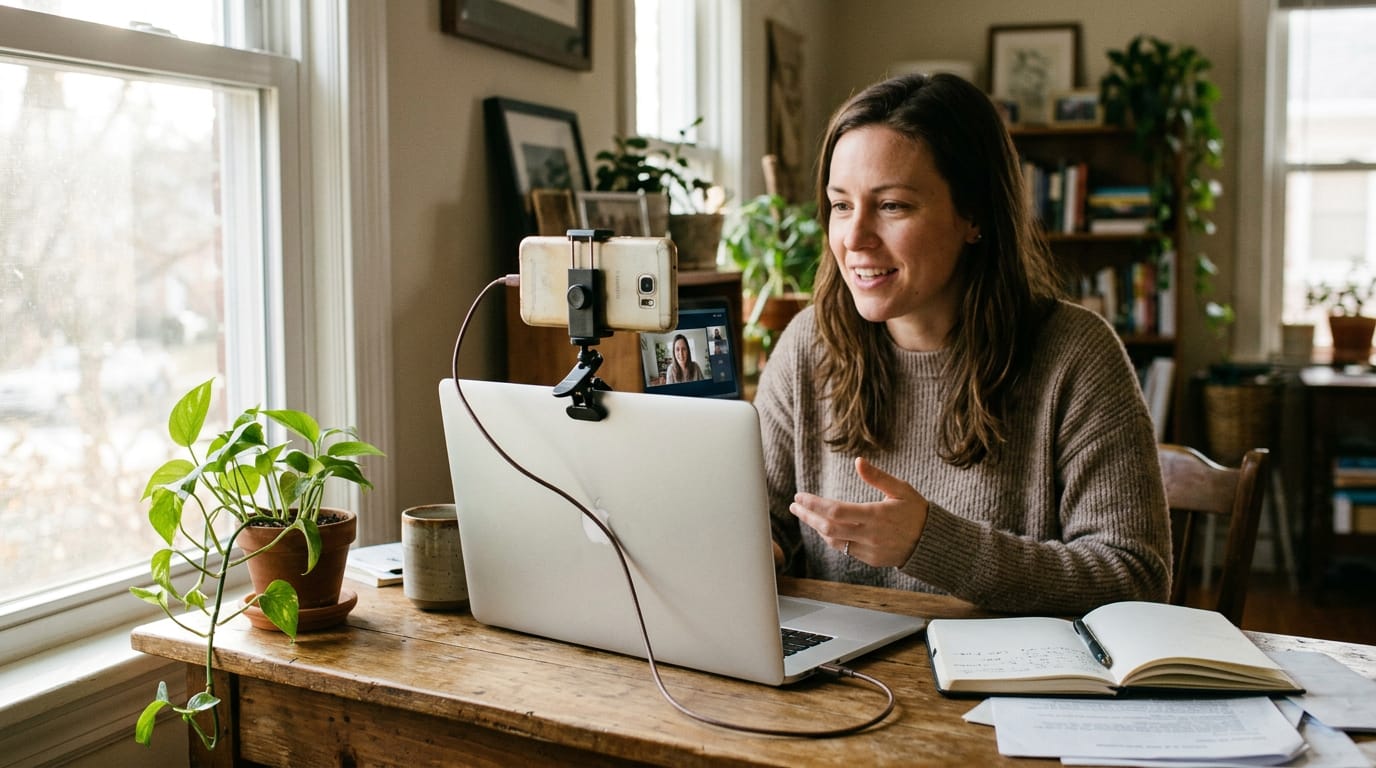
For talking-head video (you speaking straight to camera), aim one light at your face near eye level and light the wall behind you. For example, a podcast host in a bedroom office sets a softbox beside her webcam so her video calls look bright, not gloomy.
Using daylight and shooting on location
Daylight is free and often the softest light around. On an overcast day, the clouds act as a giant diffuser, so shadows stay gentle. Park your subject by a large window and you won’t need any artificial lighting at all.
To turn a grey backdrop white, move it closer to the window so it catches more daylight than your subject does.
Photographing kids and fast action
Kids and pets move fast, so your light has to keep up. A short flash burst freezes motion, so a child mid-jump stays sharp. Look for fast recycle times (the pause before a flash fires again) so you aren’t waiting between frames.
For messy shoots, use a washable backdrop, and avoid hot lights that heat up and make kids fidget. Cool-running LED (light-emitting diode) panels keep things calm.
Exposure Basics and In-camera Technique
Exposure is the heart of high-key work, so let’s get the basics straight. Your meter assumes everything should average out to mid-tone (a middle grey), so a white wall reads as grey and the camera darkens the whole frame to match. If you want to control that brightness yourself, start with what is ISO photography.
The sunny f/16 rule gives you a quick starting point in bright daylight, the histogram (a graph of how your tones spread from shadows to highlights) shows whether highlights are piling up at the right edge, and exposure tables serve as a reference for common light conditions.
Getting the look right in camera
Sort out:
- steady support
- sharp focus
- a clean lens
first, since a bright frame shows every soft edge. Then:
- overexpose slightly from the meter reading
- expose for the subject
- let the background run lighter than your subject
Picture a real estate agent filming a listing in a white-walled living room. She meters off her own face, nudges the exposure up a touch, and the room glows while her face keeps its detail.
Once it’s dialed in, lock it using auto-exposure lock (AE-L) so the camera doesn’t drift as you move. Then use zebras, the striped overlay that flags areas nearing overexposure.
Common exposure mistakes to avoid
- Clipped highlights lose detail. Areas that blow out to pure white have nothing left to recover, and no editing brings that texture back.
- Washed-out texture and detail. Fabric, skin, and product edges flatten into a milky haze.
- Don’t push exposure too far. The goal is a frame that feels bright, not blown out. Past that point you’re not getting a brighter image, just an empty one. Stop before the detail disappears.
The Gear You’ll Need in the Studio
High-key work runs on a handful of tools, and most of them exist to control light rather than chase sharpness.
Which camera and lens to pick
A digital single-lens reflex camera (DSLR) and a mirrorless camera both handle high-key work, so use whichever you already own. In a small room, pick a lens that frames your subject comfortably without cramping the shot.
A phone or webcam can work too, especially for talking-head video, but no camera can make a gray wall look white.
Strobes, continuous lights, and triggers
Strobes fire a short, bright burst, while continuous lights stay on the whole time. Continuous lights are easier to learn on, since what you see is what the camera records.
Strobes are the powerful option, and a fast-recycling model can fire again quickly. A backlight behind your subject can run at lower power than your main light and still add separation.
Hot, orange continuous lights are problematic, since they can turn a white backdrop muddy. A radio trigger fires your flashes wirelessly from the camera, so no cords cross the floor.
A slave fires when it sees another flash, so you can add a light without a cable.
Shaping light with softboxes and reflectors
A softbox spreads light and softens it, and large ones give you the gentle, wrapped look that high-key images rely on. Umbrellas spread light too, and a translucent umbrella lets light pass through its fabric for even softer output.
Reflectors and white card bounce light into shadowed areas, lifting one side of a face without adding another light. Snoots and barn doors are made to narrow light for low key, while high key asks you to spread it. Leave them in the bag for this look.
Backdrops and the stands that hold them
White paper or white muslin gives you a clean, bright field to shoot against. Consider a course creator filming lessons in a spare bedroom.
She hangs a washable reflective vinyl roll on a stand, and when a coffee ring lands on it mid-shoot, she wipes it clean and keeps filming. Her background stays bright, and the lesson doesn’t need a re-shoot. Clean white is harder than it looks.
Heavy-duty support stands keep the backdrop from sagging or toppling. Portable collapsible backdrops fold into a bag, which suits a home studio that doubles as a living room.
A lightbox background glows from behind, so you get a bright field without lighting a wall separately.
Spending wisely on your kit
- Invest in what you’ll keep. Buy your main light and its modifier with room to grow, so you aren’t replacing them as your work gets more ambitious.
- Go cheaper for background lights. Entry-level lights can handle a backlight or background light, where you need less power.
- Get consultant advice on setup. A lighting consultant can look at your room and suggest how the pieces fit together, which can help you avoid buying the wrong thing.
Posing and Framing for a Clean Look
Once the light is set, the frame does the rest. Pose and framing decide whether the bright look feels deliberate.
Keeping the frame clean and simple
Start with an uncluttered frame. Every object behind your subject competes for attention. A laundry basket, a half-open laptop, or a cable crossing a window pulls the eye away. Clear the space, or move your subject until the backdrop is a plain wall.
Clean doesn’t mean empty; the eye should land on the face, not the clutter.
Take a podcast host recording in a spare-bedroom corner. Her first test showed a bookshelf, a jacket on a chair, and a tangle of cables. She moved the chair, hid the cables, and framed a bare stretch of wall. Same light, better picture.
Next, consider light-coloured clothing. Whites, creams, and soft pastels sit naturally against a bright background. Dark fabrics absorb light and can swallow the shoulders. Just keep a little contrast at the edges so the outline still reads.
Exposing different skin tones takes care. Lighter skin can wash into featureless white if the exposure runs hot, while deeper skin can lose detail if you push brightness just to lift the background.
Expose for the face, then check your preview on a bigger screen.
Finally, experiment with poses and angles. Turning the head a few degrees toward the window or raising the camera slightly can soften shadows under the eyes and chin.
A wedding videographer working a bright hallway might try a few stances with a couple, then keep the one where the light wraps across both faces. Ask yourself which pose lets the light do the work.
Editing Your Images After the Shoot
Once the shoot wraps, editing gives a bright frame its final polish. Here’s how to finish it in Lightroom and Photoshop, and how to rescue a shot that fell short.
Editing in Lightroom with presets
In Lightroom, start here:
- Set white balance first so whites look white, not yellow or blue.
- Raise Exposure and Whites until the backdrop glows, stopping before highlights lose detail.
- Check that skin still looks natural.
A preset saves those adjustments for one-click reuse. A headshot photographer shooting a whole session against a white wall can apply one to every frame so the portraits match. Presets are a starting point, so nudge exposure after applying one.
Video tutorials can walk you through the steps too.
A decent frame that’s a little dark can still go high key. Lift exposure and whites gradually, stopping when skin looks washed out.
Converting to black and white in Photoshop
Black and white is a classic high key route, since a bright, low-color frame feels calm and deliberate. In Photoshop, add a Black and White adjustment layer and use its color sliders to set how bright skin and backdrop come out.
A light touch of Curves builds the classic monochrome look, with bright whites and soft grays.
Essential edits and cleanup work
Four basic moves handle most frames:
- Exposure and brightness. Raise them until the backdrop reads clean white, then ease off before highlights clip.
- Contrast on the subject. Add it to the face and hair with a mask, not across the whole frame.
- Background distractions. Clone out cables, dust, or clutter.
- Texture. Bring texture back where brightening flattened fabric or hair, but dial it down if skin looks waxy.
Rescuing shots that turned out poorly
Sometimes the light is the real problem. Muddy colors usually come from mixed light, like a warm lamp competing with daylight. Fix white balance first, then lift exposure.
One streamer’s warm desk lamp turned his white wall muddy orange, and correcting white balance plus moving a key light in front of him cleared it.
Black and white works when you remove color on purpose, not when you use it to hide a color problem.
If a frame needs long masking and cloning to look usable, adjust the light before the next shoot. Good light saves the edit.
High key photography comes down to one idea: bright, even light does most of the work. Get the light right at home, and the camera simply records what you’ve built, whether you’re shooting stills or a talking-head video.
Keep the room bright, the background clean, and the shadows soft, and that airy finish is well within reach without renting a studio.
Light it first, and the bright look takes care of itself.