How to reduce echo in a room for recording voice
Make your voice sound close and dry in a bedroom or spare room: the free fixes first, where acoustic panels go, and a ten-second test to tell you when to stop.

Chapters
In short
Move the mic closer to your mouth first, then sit where soft things surround you and cover the bare surfaces nearest your head with something thick and soft, using 2-inch acoustic panels where the room still rings. Record the same ten seconds after each change, and stop when the next change makes no difference you can hear.
Echo in a home recording is your voice bouncing off hard surfaces and back into the mic, and the fastest fix costs nothing: get the mic closer to your mouth. Halve the distance and your voice reaches the mic about four times as strongly, while the room’s reflections barely change. Then sit where soft things surround you, cover the bare surfaces nearest your head with something thick and soft, and add acoustic panels only where the room still rings. A ten-second test recording tells you when you’re done.
Echo isn’t noise: what treatment can and can’t fix
Two different problems get called echo, and they have different fixes.
- Echo, or reverb, is your own voice reflecting off the walls, the window, the ceiling and the desk, and reaching the mic just after the direct sound. It makes a voice sound hollow, as if you were talking in a box.
- Noise comes from somewhere else: traffic, the neighbors, the fridge, the air conditioning.
Treatment, soft material that absorbs sound, fixes the first. How much a surface soaks up depends on the material and the pitch: the tables in Simon Fraser University’s Handbook for Acoustic Ecology show painted brick and bare concrete sending nearly all of it back, and thick, porous things like heavy drapery and rock wool taking in far more.
Treatment does very little for noise. Stopping sound passing through a wall takes mass and airtight seals, which is building work, so foam on the wall won’t quiet the street. For noise, use the room farthest from it, close the windows and doors, switch off fans and appliances while you record, and record at the quiet times of day.
Move the mic closer first
As you get closer, your voice gets louder at the mic while the room’s reflections, arriving from every direction, stay about the same. Shure’s advice is to bring the mic within 2 to 12 inches of your mouth, and its guide to podcast mics has you within 2 or 3 inches of its SM7B broadcast dynamic. For its large condensers, RØDE suggests 6 to 12 inches: closer than about 6 adds bass (the proximity effect), and farther away “will capture more of the room”.
On video, a mic that close can end up in the shot. There are two ways around it, and one to avoid:
- A boom arm clamped to the desk holds the mic just outside the top or side of the frame, a few inches from your mouth.
- A clip-on mic on your collar sits a hand’s width below your chin, wired or wireless.
- Not the mic on the camera. A shotgun mic on a camera 4 to 6 ft away hears a lot of the room, however good it is.
The Kit has a boom arm and a pair of wireless clip-on mics, from $99.
Point the mic at your mouth. Most voice mics are cardioid: they hear best from the front and least from the back. Check whether yours takes sound from the end or the side (RØDE marks the front of its side-address NT1 with a gold dot), and speak a little across it rather than straight in, which keeps the puffs of air from p and b sounds out.
Then set the gain so your loudest words stay clear of the top of the meter, and leave it. Turning the gain up to make up for a distant mic turns the room up with it.
Pick the right spot in the room
Before you buy anything, find the best-sounding place to sit. RØDE’s advice for recording at home is to clap or sing in the room and listen for the sound bouncing off flat, hard surfaces. Clap once in each spot you could film in: a ring or a flutter afterwards is the room answering.
- Furnished beats bare. A bedroom with a bed, curtains and a rug usually sounds drier than a larger room with hard floors and little in it.
- Don’t face a bare wall or a window up close. A foot or two away, it sends your voice straight back into the mic.
- Stay out of corners. They build up the low end and make a voice boomy.
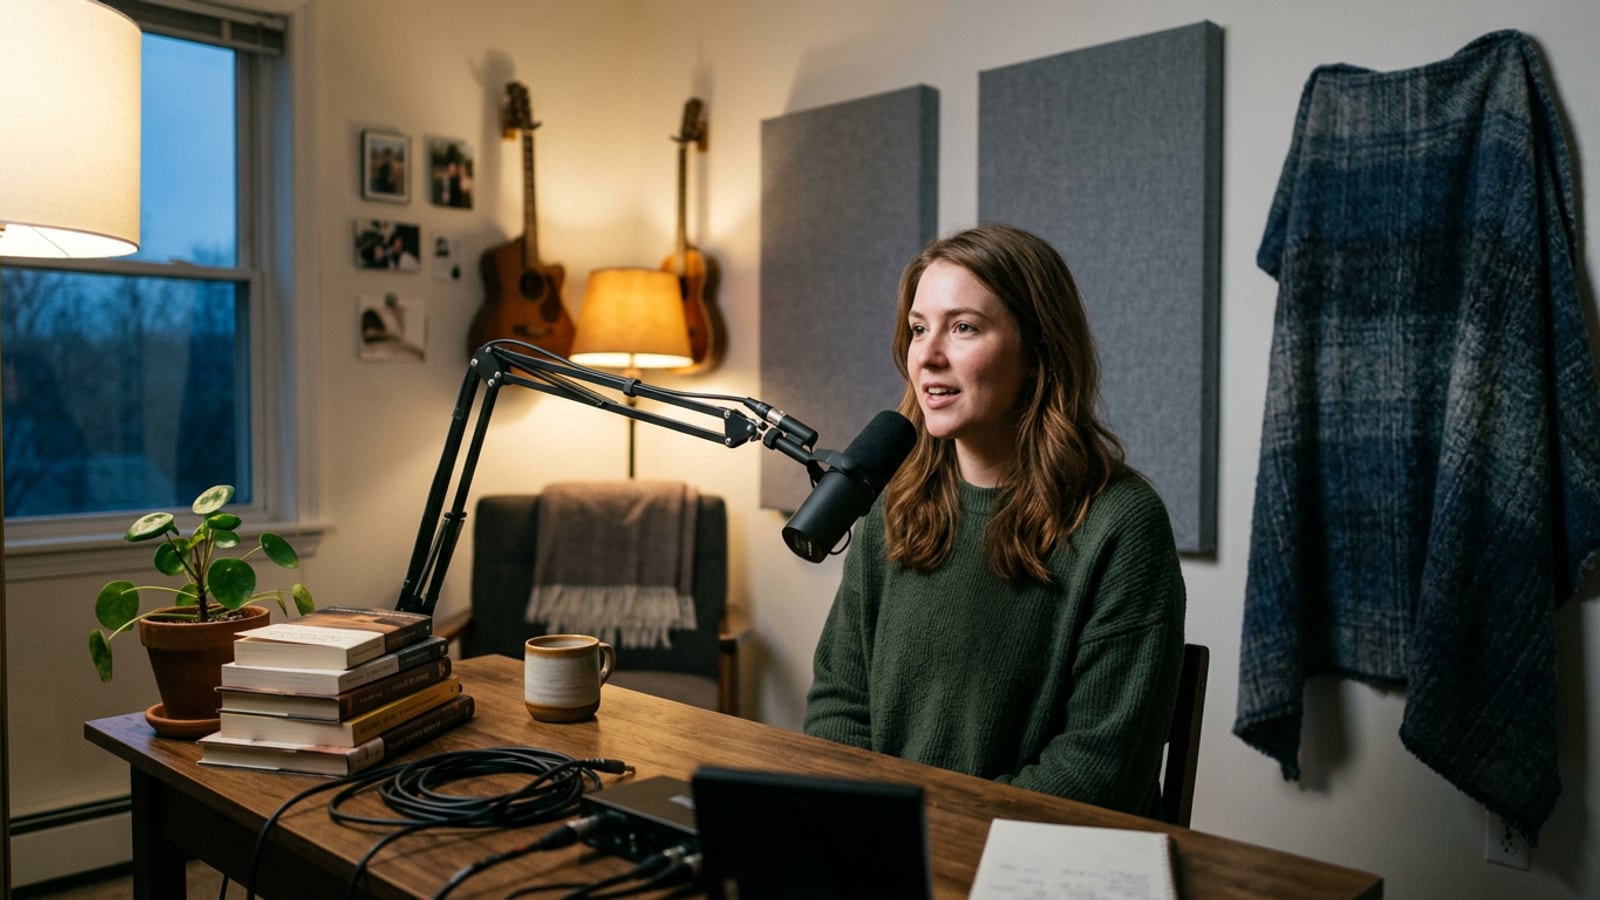
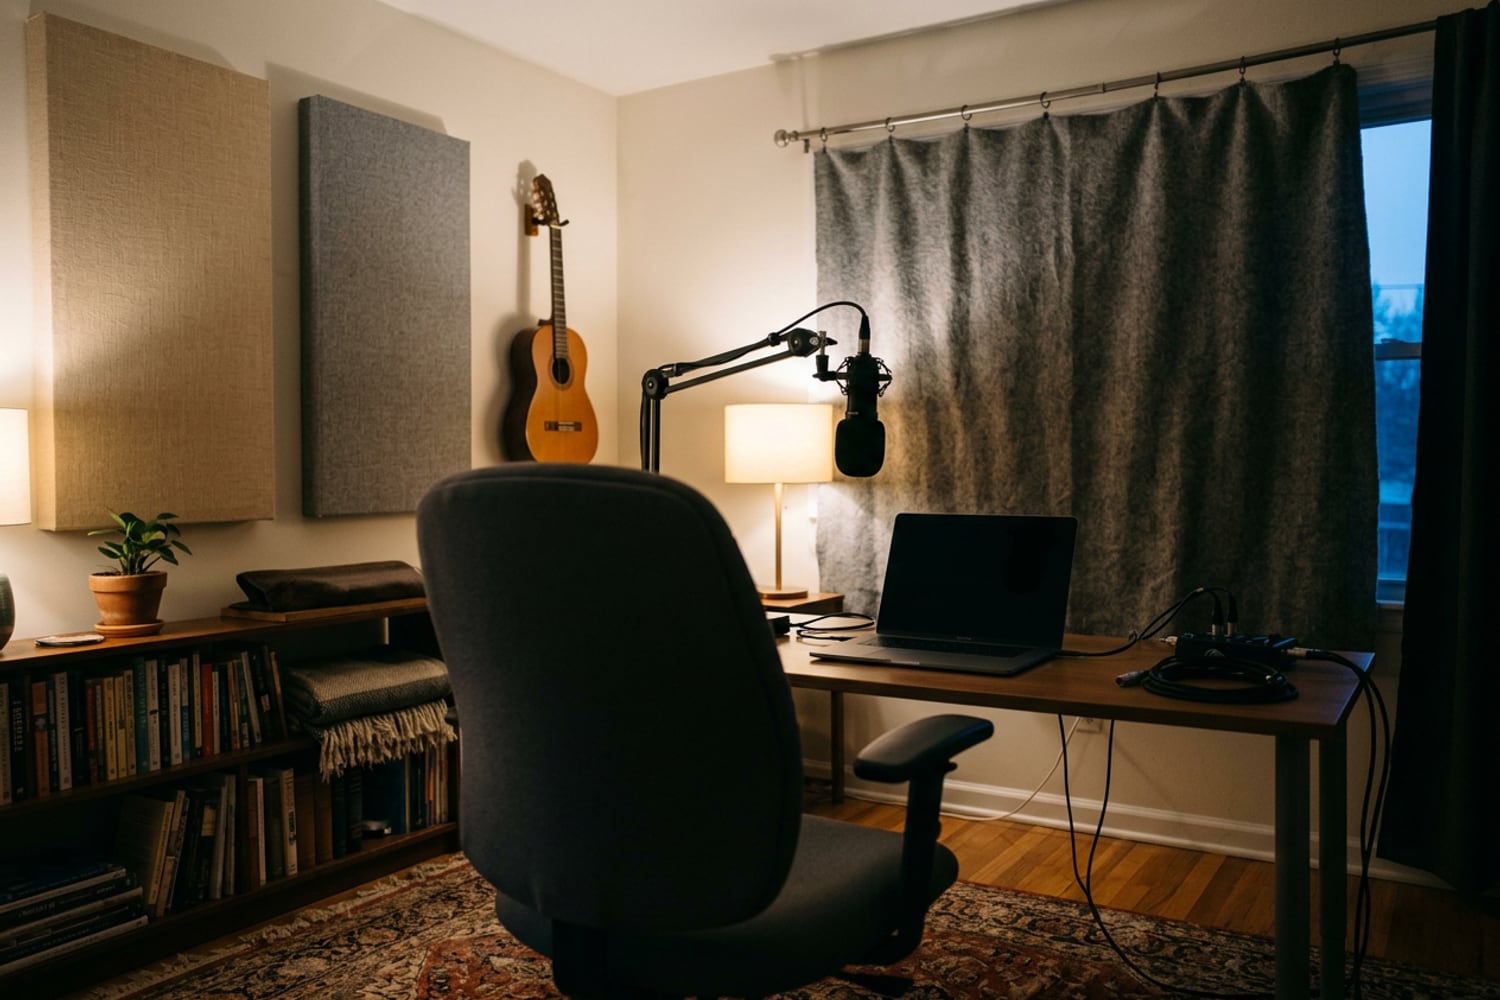
- Mind the wall behind you. The front of the mic faces you, so it also faces the wall behind your head and hears its reflections at full sensitivity. A full bookcase, a curtain or a fabric backdrop there does more than a bare wall, and sitting 4 to 6 ft from it, as the setups on this site do for the picture, weakens the reflection too.
- Soften the desk. A folded towel under the mic, out of shot, stops a hard desktop reflecting your voice up into it.
For voice-over with no camera, a closet full of clothes is the classic quiet booth.
Soften the room with what you own
Rugs, heavy curtains, duvets, blankets, upholstered chairs and full bookshelves all absorb sound; RØDE says rugs, blankets, curtains and soft furniture “can make a huge difference”. Use them in this order:
- Close heavy curtains over the windows: glass is one of the hardest surfaces in the room.
- Put a rug down on a hard floor, between you and the camera.
- Hang blankets on the wall you face, behind the camera. On video that wall is never in shot, so it can look like anything.
- Hang more on the side walls level with your head, out of the frame.
Hang them a few inches off the wall if you can. The same handbook lists cotton drapery hung 4 inches out absorbing 0.33 of the sound at 256 Hz, in the lower range of a speaking voice, against 0.05 hung flat. Use hooks, a curtain rod or a light stand, never a light, and keep fabric clear of lights that run hot and of heaters.
Soft things on the walls change the light as well as the sound. A pale wall that bounced your key light back onto your face gives much less once a dark blanket covers it; the Light Planner’s note on how light walls act as free fill explains the trade. Put the blankets on walls your lighting doesn’t use, or bring the fill back with a white reflector.
Where acoustic panels go, and which kind
Panels do the same job as blankets, better and tidier: a dense, porous core of fiberglass or mineral wool wrapped in fabric. Here is how they compare with the other fixes:
| Fix | Cost | What it does to echo |
|---|---|---|
| Mic closer (boom arm or clip-on mic) | Free to $139 on the Kit | The biggest change: more voice, same room |
| A better spot in the room | Free | Less sound reflected straight back into the mic |
| Rugs, curtains, blankets | What you own | Absorbs the upper range; more when hung off the wall |
| Thin foam tiles (about 1 inch) | Low | Takes the ring off the top, little below it |
| Fabric panels, 2 inches thick | From $49.95 each on the Kit | Absorbs much of a speaking voice |
| Editing | Free to a subscription | Takes off a little; taking off a lot sounds processed |
For a voice, 2-inch panels are the usual choice: ATS Acoustics, whose panels are on the Kit, recommends its 2-inch panels for speech and its 4-inch ones where you also want to absorb bass.
Start close to you and work outward:
- The wall you face, behind the camera, at head height.
- The side walls, level with your head. Sit at the mic while someone slides a mirror along the wall: wherever you can see the mic in it, your voice bounces off that point into the mic.
- The wall behind you, if it’s out of shot or the panels suit the set. If it’s in shot, a bookcase or a fabric backdrop does part of the job.
- The ceiling above you, if it is low and hard.
A few panels close around you do more than many spread round the room. Hang them as the maker says, or stand them on the floor behind the camera. If you make your own from mineral wool or fiberglass board, the fibers irritate skin and lungs: cut and wrap it wearing gloves, long sleeves and a dust mask, and cover it in breathable fabric.
Test it with a clap and a ten-second recording
Set up exactly as you’ll record, with the lights on, since some lights have cooling fans. Then:
- Clap once, sharply, and listen to the tail.
- Record ten seconds of you reading the same few lines at your normal distance and volume.
- Listen on closed headphones at the same volume every time, to the end of each sentence: does the room carry on after the last word?
- Change one thing, record the same lines again, and compare the two.
- Stop when a change makes no difference you can hear.
Tip: start each test recording with two seconds of silence. With nothing over it, the room’s noise is easy to hear, and Audacity needs a stretch of noise alone if you use its Noise Reduction later.
What editing can and can’t take out
Editing cleans up noise far better than echo.
- Noise reduction in Audacity learns from a stretch of noise on its own, and its manual describes it for steady sounds such as hum, hiss and fans. It does poorly with irregular noise like traffic, it isn’t made for echo, and pushed too far it leaves short random tones the manual calls more objectionable than the noise.
- AI voice tools such as Descript’s Studio Sound, also on the Kit, say they reduce room echo. They can tidy a recording with a little room in it; the more echo they take out, the more processed a voice tends to sound.
- A noise gate quiets the gaps between words, but the echo under the words stays.
So record as dry as you can: you can add a little room in the edit, but never really take it out. If what’s left is noise coming through the walls, that’s work for a builder, not more panels.
The sound is one step of the small-room studio checklist, which goes through the spot, the light, the camera and the background in the order a setup needs. There’s more on mics and quiet rooms in Audio.
Questions
Does acoustic foam stop echo?
Thin foam reduces it only in part. Foam an inch thick soaks up the high frequencies, the ring and hiss of a room, but little of the lower range of a voice, so a room lined with it can sound dull and still boxy. Thicker panels, about 2 inches of fabric-wrapped fiberglass or mineral wool, take in more of a voice. Neither foam nor panels stops sound getting into or out of the room.
Do moving blankets reduce echo?
Yes. Heavy ones do a good job for very little money, especially on the bare walls nearest where you sit. They absorb more, and lower down, when they hang a few inches off the wall rather than flat against it. Hang them from hooks, a curtain rod or a stand, out of shot, and keep them clear of hot lights and heaters.
Is a dynamic or a condenser mic better in an echoey room?
Usually a dynamic. It is less sensitive and is made to be used a few inches from your mouth, so your voice is far louder in it than the room is, and Shure notes that condensers pick up more of noises such as air vents. A condenser works well in a softer room at 6 to 12 inches, but in a bare one it records more of the echo.
Can you remove echo from a recording afterwards?
Only in part. Audacity’s Noise Reduction is built for steady noise such as hum, hiss and fans, not for echo, and the AI voice tools that say they reduce room echo do best on a recording that had only a little. The more echo there is, the more processed the voice tends to sound once it is taken out, so it is usually quicker to fix the room and record again.
Sources
- Absorption Coefficient, Handbook for Acoustic Ecology, Simon Fraser University
- How to Record Better Vocals at Home, RØDE
- Choosing a Microphone for Podcasting, Shure
- Noise Reduction, Audacity Manual