X/Y Mic Technique Explained: Stereo Recording Basics
X/Y mic technique captures a natural stereo image. Compare recording methods and place mics to avoid phase cancellation in your home studio.

Chapters
In short
X/Y mic technique is a way to record stereo sound using two directional microphones positioned almost together and angled apart, usually at 90 degrees. The angle creates left-right placement through differences in loudness, while keeping the capsules close helps limit phase problems and preserve a clear center when the recording is played in mono. X/Y is quick to set up and works well for focused, natural-sounding audio, though its stereo width is narrower than some alternatives and room placement still matters.
Ever notice how a café sounds fuller when you turn your head and let each ear catch a different side of the room? That’s the idea behind X/Y mic technique, a stereo method that stacks two mics tightly together and angles them in an X shape.
Each one picks up its own side of the sound, giving playback a wider, more natural feel.
If you film yourself at home, stereo might seem like more gear than you need.
Here’s what we’ll cover: how X/Y works, where it shines, where it falls short, and how it stacks up against other methods, plus placement tips for a bedroom, office, or basement corner.
How the X/Y Mic Technique Works
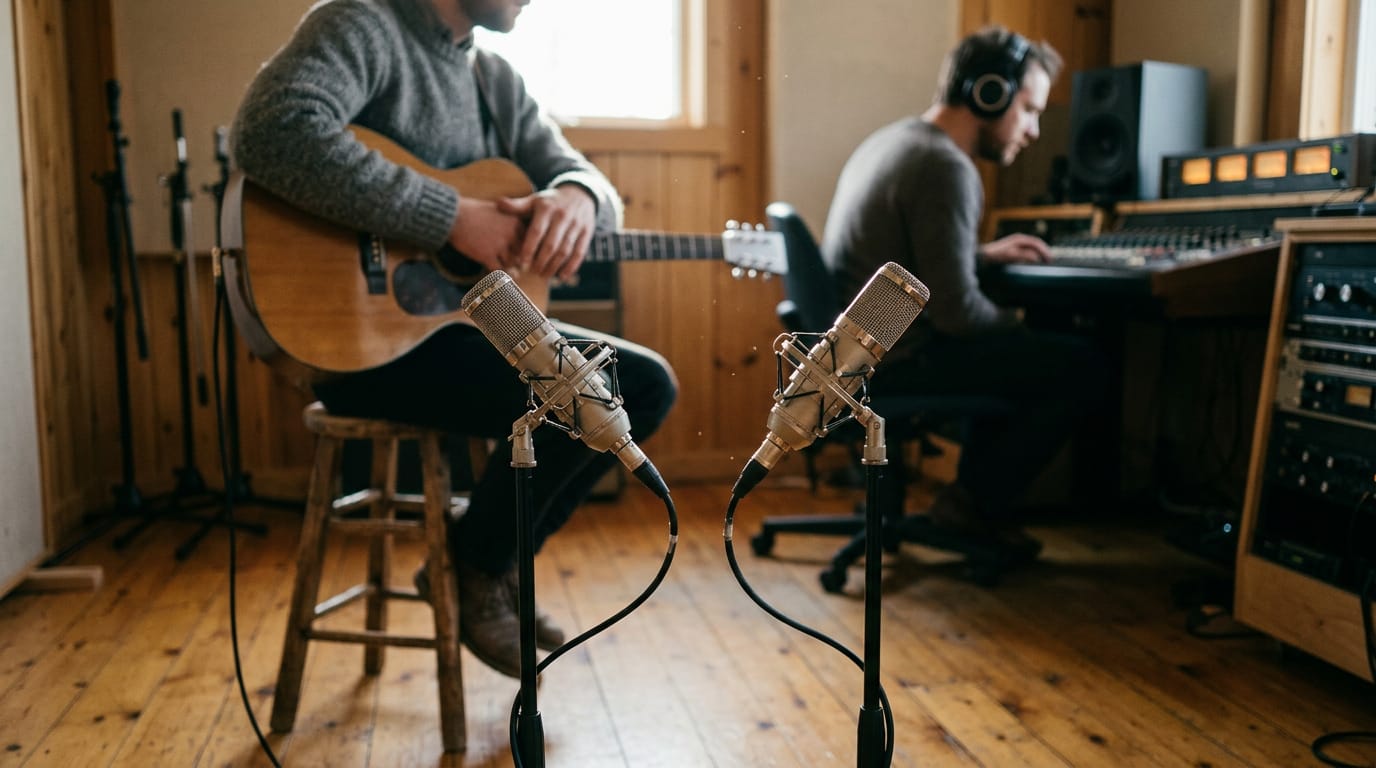
X/Y is one of the simplest ways to capture a stereo image: two microphones placed together, each aimed in a different direction.
Two mics capturing one source together
The technique uses two microphones to record one source at once. Both sit in nearly the same spot, making a coincident pair: the two capsules (the sound-sensing parts) act as one point in space.
The result is a left-right stereo image, and it mimics how your ears hear. Two mics, one stereo picture.
Think of a creator filming a cooking video who wants the sizzle to sit on the side where the pan actually is. An X/Y pair does exactly that.
Setting up the pair and its angle
Setup comes down to a few choices:
- Two identical cardioid mics. Cardioids pick up mostly from the front; matching models keep both sides balanced.
- Capsules nearly touching. Keep them as close as you can, often with one mic stacked directly above the other.
- A 90-degree angle. That’s the common spread, though you can open it to 135 degrees. Changing the angle shifts how wide the image feels.
- A stereo bar or stand. It holds the pair steady so the angle doesn’t drift during the take.
How your ears locate sound direction
Your ears locate sound using two cues:
- Interaural timing differences, or gaps in arrival time between your ears: sound from one side reaches the nearer ear a fraction of a second first.
- Interaural intensity differences, or loudness gaps between your ears: the nearer ear hears it slightly louder, because your head shades the farther one.
X/Y leans on intensity rather than timing. Each mic faces one side, so a sound from the left is louder on the left mic, and that level gap places it in the stereo image. The angle does the work.
Where the technique came from
According to a comparison of XY and mid-side microphone techniques, the X/Y technique originated in the mid-20th century, and Alan Blumlein introduced a mid-side stereo arrangement built on a crossed bi-directional (figure-8) microphone in the early 1930s.
It later moved into film and video production, the world you’re working in when you record to camera.
Choosing Stereo over Mono Recording
Every recording starts with one choice: a mono file, which packs all the sound into a single channel, or a stereo file, which keeps separate left and right channels. Here’s how to choose, and we’ll show you when each one shines.
Why stereo adds width and depth
Stereo is less about whether a sound is there and more about where it sits. That shows up in four ways:
- Width, depth, and dimension. Sounds spread left to right and sit at different distances, so a voice, a desk, and a window don’t collapse into one flat point. Together, they give the audio a three-dimensional feel.
- Realistic image. Your ears hear each sound slightly differently on each side of your head, which is how you know where things are without turning. Stereo keeps that clue, so the recording sounds closer to how the room felt; mono flattens it.
- Mono still works sometimes. A single person talking straight to camera in a quiet room doesn’t need a second channel. Mono is simpler, and sometimes that’s the right call.
- Ambience added. Stereo also picks up the room, which helps when the space has character but records echo and hum on both sides.
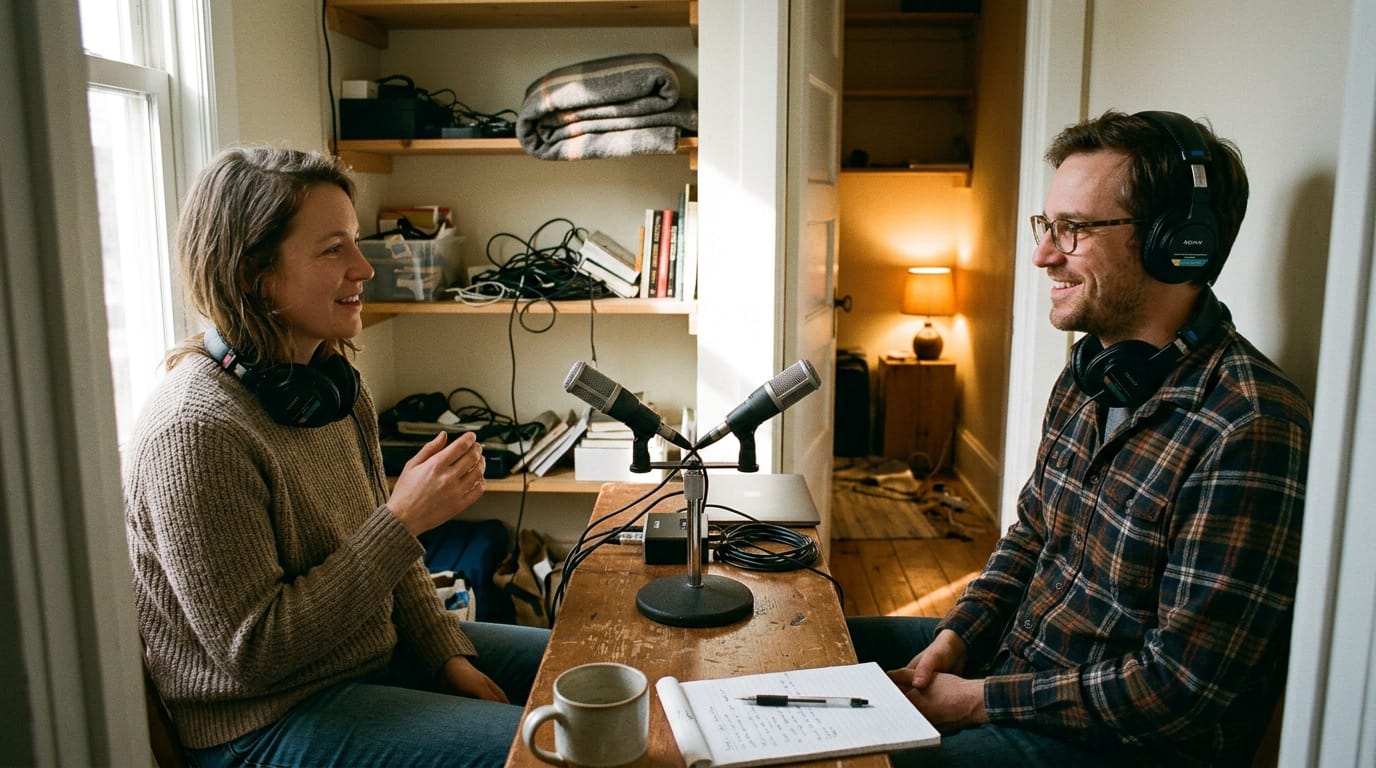
Think of a podcaster with two guests in a converted closet. Mono blends both voices into the middle, so viewers can’t tell who’s sitting where. A stereo pair keeps them apart, and the conversation is easier to follow.
The Basics of Phase Cancellation
Every stereo mic technique runs into one problem sooner or later: phase cancellation. Here’s what we mean, and why it matters before you place a single mic.
What happens when signals cancel
Sound travels as waves that rise and fall. When two mics pick up the same sound, each one captures its own version of that wave, and whether those versions help or hurt each other depends on how they line up.
- Timing differences between mics. Sound reaches each mic at a slightly different moment because the mics sit in different spots. That small gap shifts where the peaks and troughs land.
- Signals cancel or boost. Where a peak in one signal meets a peak in the other, the sound gets louder. Where a peak meets a trough, the two push against each other and lose strength.
- Frequency fluctuations. The effect doesn’t hit every pitch the same way. Some frequencies get louder while others thin out, so the sound turns hollow or colored in a way nobody asked for.
- 180 degrees gives silence. When the two signals are exactly half a wave apart (180 degrees out of phase), each peak lands on the other’s trough. They cancel completely. Nothing at all.
Picture a podcaster who sets two mics side by side, aims them at the same spot, and hits record. Her voice comes out hollow and a little distant, and she can’t figure out why it’s lost its punch. Her gear isn’t the problem. The timing is.
It’s less about how loud each mic is and more about when each one hears the sound. Get the timing wrong, and the sound works against you.
Where X/Y Shines and Falls Short
X/Y is a stereo technique that trades width for focus, and that trade-off decides where it shines.
Holding up well when played in mono
Many viewers hear your audio on a phone speaker or one earbud, so mono compatibility (how well a mix holds up when both channels fold into one) matters. X/Y does well here.
Both capsules sit at the same point, so sound reaches them together, which keeps phase cancellation (two copies of a sound arriving out of step and partly erasing each other) to a minimum.
It also avoids the timing issues of a spaced pair, where mics sit apart and catch the same sound at slightly different moments. Nothing falls apart.
What the stereo image sounds like
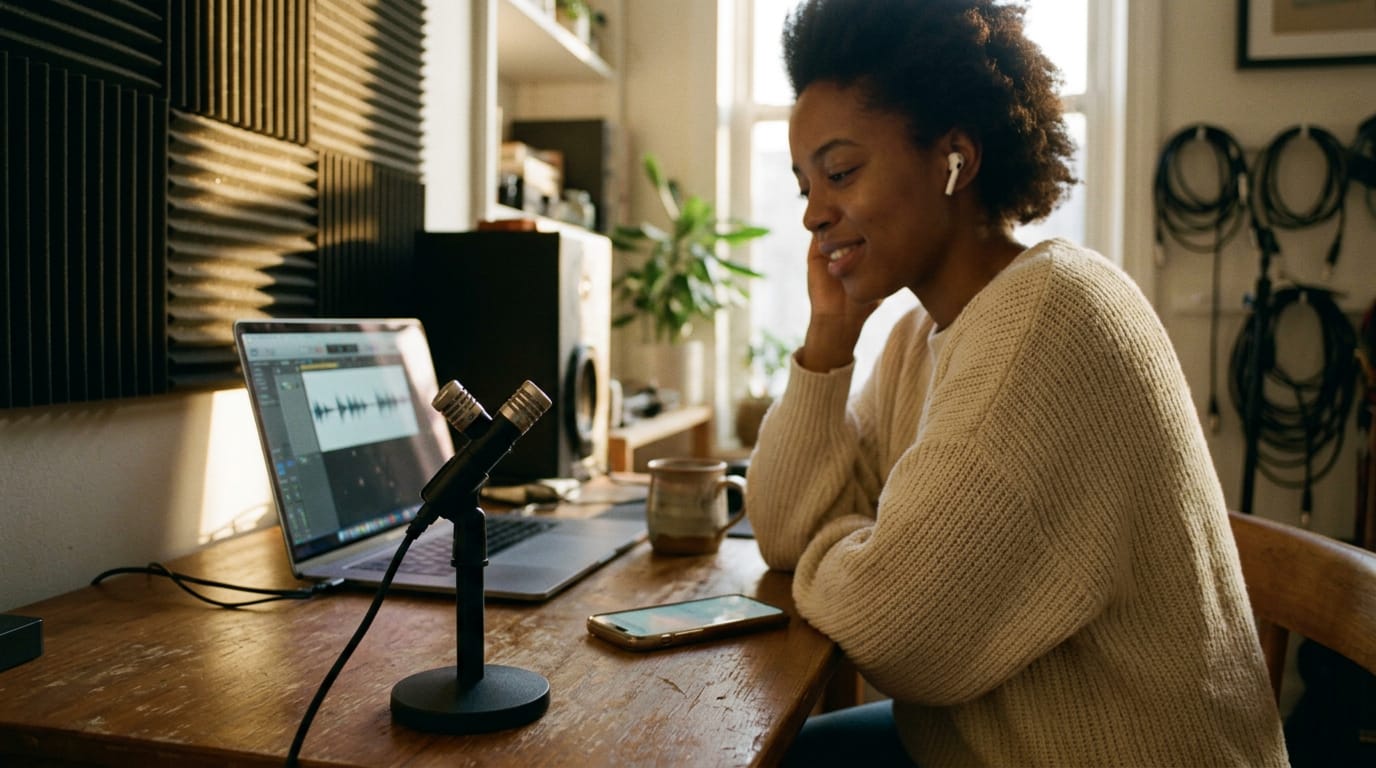
X/Y gives you a tight, focused image. Sounds land in a narrower field than a spaced pair gives you. The imaging sounds natural, with no hole in the middle (a gap at the center that makes a voice seem to split in two).
The trade-off is off-axis coloration: cardioid mics (ones that pick up mostly from the front) change tone for sound arriving from the sides. Picture a streamer whose co-host leans back during a long session.
Keeping both mics aimed at the speaking position keeps that voice sounding like itself.
Quick setup with consistent results
Setup is where X/Y pays off for home creators. Place the two capsules together, angle them toward your source, and you’re recording in minutes. It’s an easy, quick setup that needs minimal gear, so there’s no hunt for extra hardware.
Because the geometry stays fixed, you get consistent results from take to take, with no rebalancing every time someone sits down.
How X/Y Stacks up Against Other Methods
X/Y is one of several ways to capture stereo, and we’ll see how each alternative trades something away.
Why spaced pairs can sound unnatural
A spaced pair places two mics apart for a roomy sound, but it often lands unnatural. These are the usual problems:
- A wide, sometimes unnatural image. Voices can spread so far they feel detached from the middle.
- Phase issues. Each mic hears the sound at a slightly different time, so the signals can thin out the mix.
- The 3:1 rule. A placement guideline tied to spaced pairs, which a surround miking guide says are spaced in proportion to the room and source.
- Weaker center definition. The middle can blur, losing the focus X/Y is known for.
- Omni or cardioid mics. Spaced pairs usually use omnis, which pick up from every direction and bring in more room.
Spaced pairs give you width; X/Y gives you focus.
An ORTF near-coincident alternative
ORTF, short for Office de Radiodiffusion Télévision Française, sits between X/Y and a spaced pair. It’s a near-coincident setup, with the mics close enough to nearly share one point.
That French broadcaster developed it in the early 1960s, per Sound On Sound. The mics are angled at 110 degrees and spaced 17 cm apart, an attempt to mimic how human ears hear, according to a study of classical recording techniques.
Adjusting stereo width with mid-side
Mid-side (M/S) gives you the most control. A cardioid mic faces the source to capture the center, while a figure-eight mic, which picks up the sides and rejects the front, is turned sideways to capture left and right.
Mixing software combines them using a matrix or a phase-inverted duplicate of the side track (a flipped copy), and the side level sets the stereo width. Picture a musician who records one take, then tests a few widths in the edit until it suits the shot.
No re-shoot needed. It’s also the most involved method here.
How the Blumlein pair captures room sound
A Blumlein pair uses two figure-eight mics placed 90 degrees apart. Because figure-eight mics pick up from behind as well as the front, the pair captures the rear ambience, the room sound around the mics.
Think of a streamer recording acoustic sets in a spare room full of rugs: the pair brings back a big, open sound. The same mics in a bare, echoey kitchen would catch every hard surface. Good room, big sound. Rough room, stick with X/Y.
Tips for Better Placement and Sound
Most of a clean X/Y recording is decided before you hit record. Pick the right pair, place it carefully, and trust your ears.
Choosing matched mics for a clean sound
Start with two matched microphones: identical models so both channels respond the same way. Small diaphragm condensers are the go-to choice for X/Y.
Mismatched mics add a tone you didn’t intend, and the stereo image tilts toward whichever side sounds brighter.
Match gain on both channels. Set them to the same level, or one side will sound louder. Check mono compatibility as you go by summing the channels to mono now and then; if the sound thins out or vanishes, something’s out of phase.
Finding the right distance and position
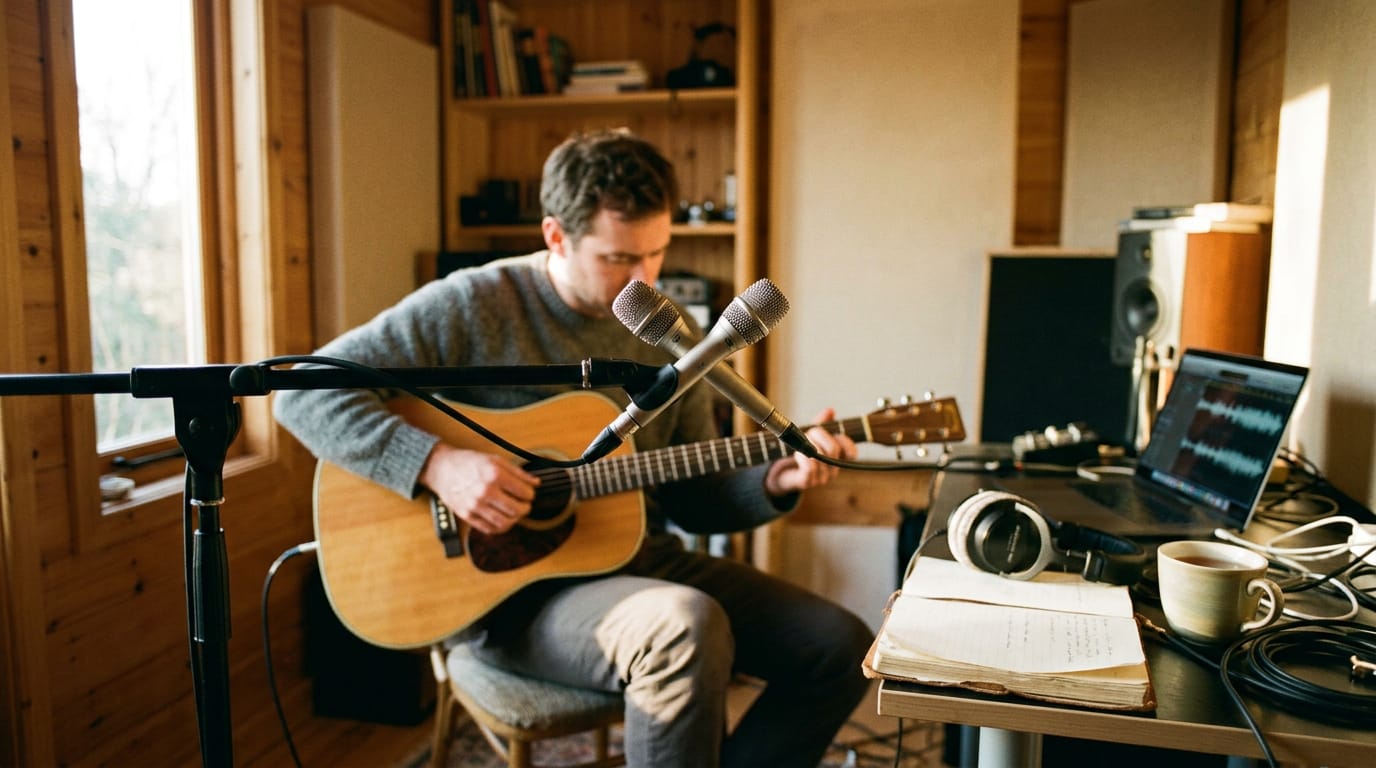
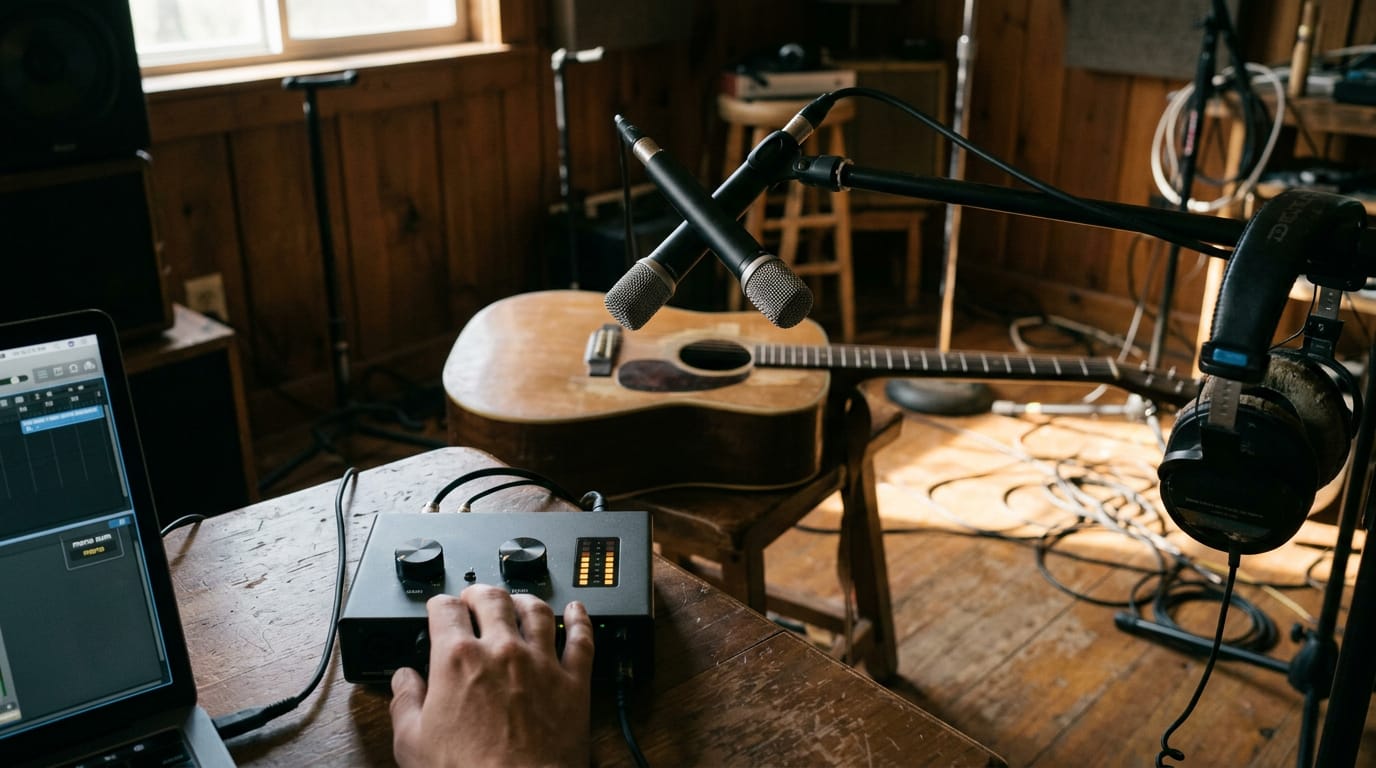
Think of a solo YouTuber recording an acoustic guitar at her desk. She starts with the pair about 7 inches back and aimed at the 12th fret, and the strumming sounds full without the room swallowing it.
Closer gets you more direct sound, while farther back picks up more room ambience. Align the capsules and keep them at the same height so the image stays balanced, then experiment with angle and position. Dialing in distance for voice and guitar means a closer look at condenser mic placement.
How your room changes the recording
Reflective rooms need adjustment. Bare walls, hard floors, and a glass desk bounce sound back into the mics and muddy the picture.
Listen critically: record a few seconds at each placement, play them back on headphones, and you’ll hear which one is clearest.
Working in an untreated bedroom? Move the mics closer so your voice dominates and the room has less to color. Your ears are the final judge.
Where X/Y Recording Gets Used
X/Y uses two directional mics angled to cover left and right, with the two pickups as close together as possible. It’s about where sound comes from, not just how loud it is. That’s the whole trick.
Capturing film, video and field sound
- Documentary ambience. A solo creator filming a bakery sets an X/Y pair by the door to catch the street and room together.
- Dialogue scenes. X/Y captures the room around a conversation while a close mic carries the voices.
- Wildlife and outdoor recording. A birder at a pond gets the stereo spread of birdsong.
- Sound design. Stereo rain or traffic gives you layers to build from.
- On-camera stereo mics. They apply this same approach to the camera.
- Stereo ambience under mono dialogue. Keep a close mono mic on the speaker and let an X/Y pair sit underneath for the room.
Recording instruments and live ensembles
An acoustic guitar sounds open when one pair catches the body and neck. For live performances and ensembles, a pair in front of the group spreads the image across the stage. Placement above conductors captures the ensemble as the conductor hears it.
For vocalists and instruments, a songwriter recording voice and piano in her living room can share one pair, so both sound like one performance.
Buying a ready-made X-Y mic
- Rode NT4. A dedicated stereo mic for a fixed spot in your room.
- Stereo VideoMic Pro. A camera-mounted option for sound that rides with your footage.
- i-XY for iPhone. A phone add-on for quick location captures.
- Matched pairs and stereo bars. Two identical mics on a bar let you set your own angle.
- Phone and recorder X/Y options. Some handheld recorders have X/Y built in.
Start with the room, then pick the gear.
X/Y gives you a natural sense of space with very little fuss, but its trade-offs are real. The image can feel narrow, and phase problems can creep in if the mics aren’t placed with care.
Knowing when it fits and when another stereo method works better is what makes a recording sound intentional.
For home creators, that means working with the room you have, angling your mics with purpose, and listening back before you hit record. You don’t need a studio for a clean, balanced sound. Get the angle right, and your ears will do the rest.
References
- Técnicas de grabación de música clásica. Evolución histórica y propuesta de nuevo modelo de grabación — hdl.handle.net (2015)
- XY AND MS MICROPHONE TECHNIQUES IN COMPARISON — doi.org (2024)
- MICROPHONE TECHNIQUES FOR SURROUND: SOUND HOW MANY MICROPHONES AND WHERE TO PUT THEM? — doi.org (2023)
- Q. Does the centre of an image suffer with the ORTF recording technique? — soundonsound.com
Sources
- Técnicas de grabación de música clásica. Evolución histórica y propuesta de nuevo modelo de grabación, hdl.handle.net,
- Q. Does the centre of an image suffer with the ORTF recording technique?, soundonsound.com
- MICROPHONE TECHNIQUES FOR SURROUND: SOUND HOW MANY MICROPHONES AND WHERE TO PUT THEM?, doi.org,
- XY AND MS MICROPHONE TECHNIQUES IN COMPARISON, doi.org,